
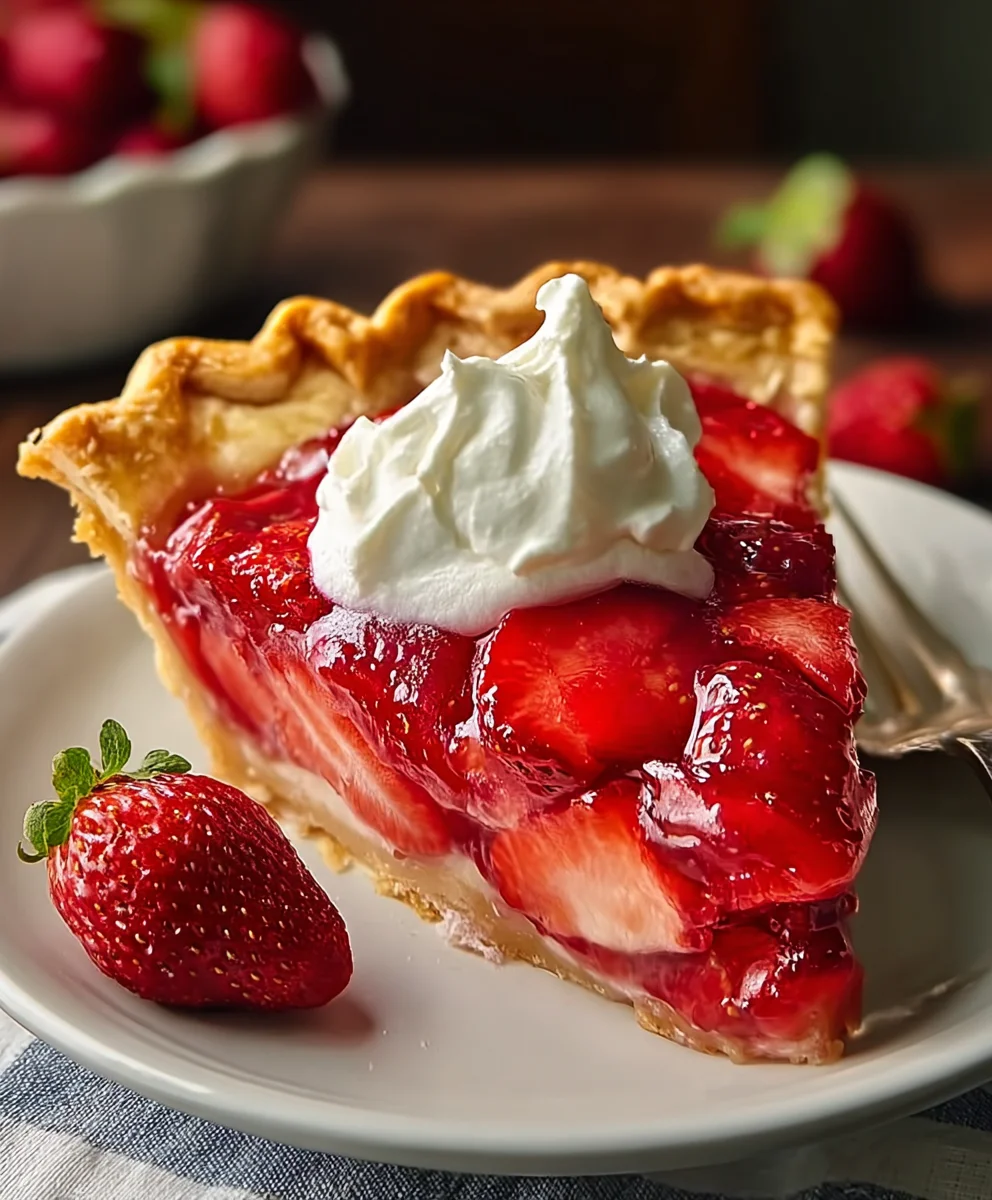
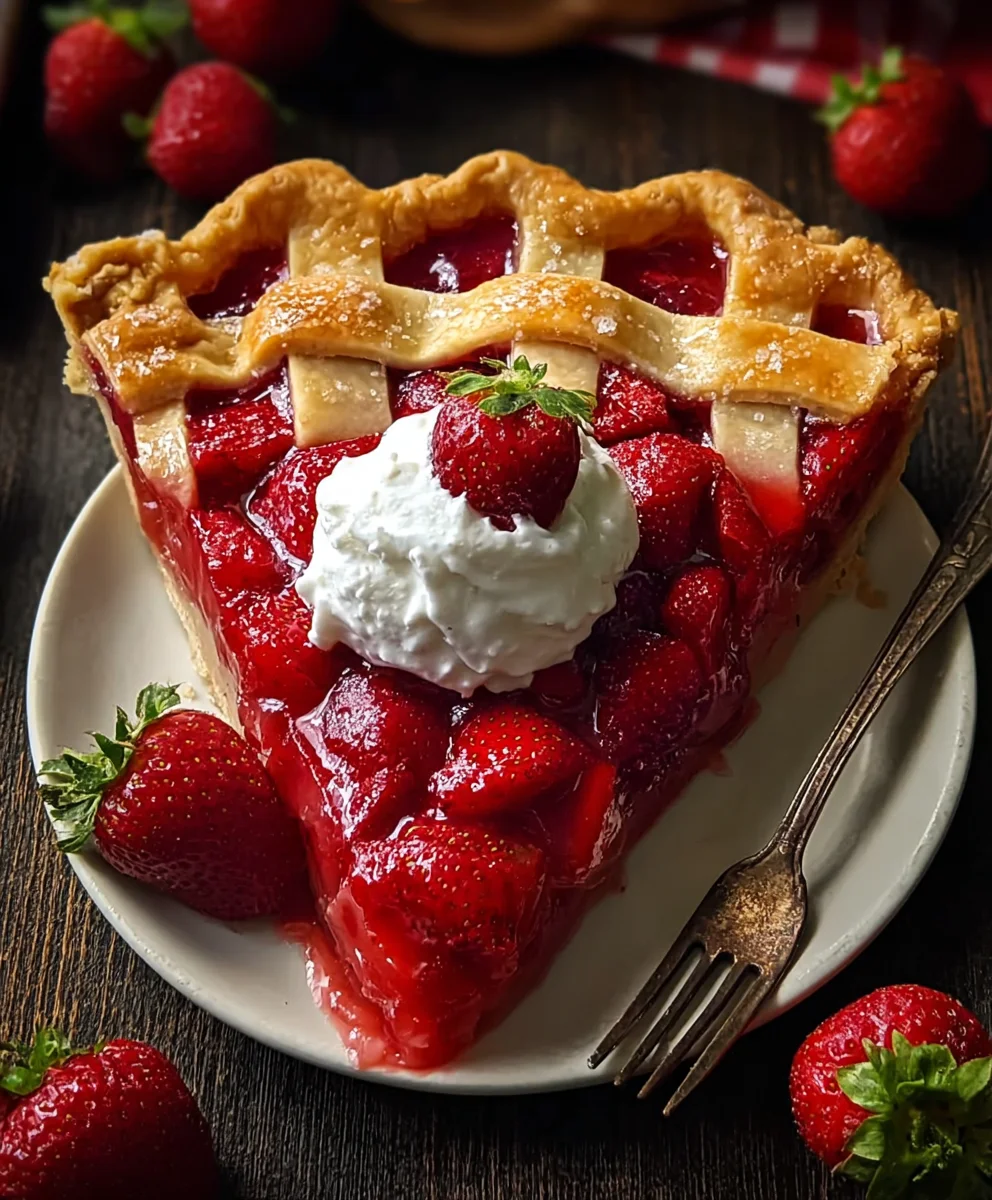
Strawberry Pie. Just the name conjures up images of warm summer days, sun-kissed berries, and pure, unadulterated joy. What is it about this classic dessert that captures our hearts and taste buds so completely? Perhaps it’s the vibrant ruby-red hue, a visual promise of the sweet, slightly tart burst of flavor waiting within. Or maybe it’s the delightful contrast of textures: the flaky, golden crust giving way to a luscious, jewel-like filling that simply melts in your mouth. This isn’t just any dessert; it’s a nostalgic trip, a celebration, a comforting embrace all rolled into one. We adore strawberry pie because it’s so wonderfully versatile – perfect for a picnic, a family gathering, or a quiet moment of indulgence. What truly makes this particular Strawberry Pie recipe special is its balance, the way the natural sweetness of ripe strawberries sings without being overpowered, complemented by a hint of brightness that leaves you wanting more. Get ready to create a masterpiece that will have everyone asking for seconds!
Ingredients:
- 1 pre-baked pie crust
- 1 1/2 pounds fresh strawberries, hulled and halved
- 1 cup granulated sugar
- 3 tablespoons cornstarch
- 1/2 cup water
- 1 tablespoon fresh lemon juice
- Whipped cream for garnish (optional)
Preparing the Strawberry Filling
The magic of a truly outstanding Strawberry Pie lies in its filling. We want those fresh strawberries to shine, enhanced by just the right balance of sweetness and a hint of tartness. This step is where we build the luscious, glossy texture that makes each bite so satisfying.
First, take your beautifully hulled and halved strawberries and gently place them into a large mixing bowl. We’re aiming for about 1 1/2 pounds of these vibrant jewels. Make sure they are as dry as possible after washing; excess water can dilute the flavor and affect the thickening process. You can pat them gently with paper towels. Set this aside for a moment as we create our thickening slurry.
In a separate medium saucepan, whisk together the granulated sugar and cornstarch. It’s important to do this before adding any liquid to ensure the cornstarch doesn’t clump. Ensure there are no visible pockets of dry cornstarch remaining. Then, gradually pour in the 1/2 cup of water, whisking continuously until the mixture is smooth and homogenous. This forms the base of our glossy filling.
Cooking the Strawberry Mixture
Now, place the saucepan over medium heat. Continue to whisk the mixture constantly. As it heats up, you’ll notice it starting to thicken. This is the cornstarch working its magic. Keep whisking! It might take a few minutes, but you’re looking for the mixture to become translucent and achieve a pudding-like consistency. It should coat the back of a spoon without immediately running off. Don’t rush this process, as undercooked cornstarch can lead to a less stable and less glossy filling. You want it to be thick enough to hold the strawberries beautifully.
Once the cornstarch mixture has thickened to the desired consistency, remove the saucepan from the heat. Immediately add the 1 tablespoon of fresh lemon juice to the hot mixture. Stir it in well. The lemon juice not only adds a subtle brightness that cuts through the sweetness but also helps to enhance the natural flavor of the strawberries. It’s a little trick that makes a big difference in the overall taste profile of your Strawberry Pie.
Now, it’s time to introduce the stars of the show: the strawberries. Gently add the prepared hulled and halved strawberries to the warm cornstarch mixture in the saucepan. Carefully fold the strawberries into the thickening liquid. You want to coat each strawberry half evenly without crushing them too much. We want them to retain their shape and provide bursts of fresh strawberry flavor within the pie. The residual heat from the cornstarch mixture will slightly warm the strawberries and help them meld beautifully with the filling.
Assembling and Chilling the Pie
Carefully spoon the strawberry filling into your pre-baked pie crust. Distribute the strawberries as evenly as possible, making sure to get plenty of the glossy sauce into every corner of the crust. You can use a spatula to gently spread the mixture and ensure an even layer. Don’t overfill the crust, as some expansion can occur during chilling.
Once the pie is assembled, cover it loosely with plastic wrap. It’s important to place the plastic wrap directly onto the surface of the filling to prevent a skin from forming as it cools. Then, place the Strawberry Pie in the refrigerator to chill completely. We recommend chilling for at least 3 to 4 hours, or preferably overnight. This chilling period is crucial. It allows the filling to set properly, giving you clean slices and ensuring the flavors meld together perfectly. A warm or unset filling will result in a messy pie, so patience is key here.
When you’re ready to serve your magnificent Strawberry Pie, you can garnish it with a generous dollop of whipped cream. The cool, airy sweetness of the whipped cream is the perfect counterpoint to the rich, fruity filling. Slice into your masterpiece and enjoy the vibrant flavors and textures. This Strawberry Pie is a testament to the beauty of simple, fresh ingredients prepared with care.
Conclusion:
And there you have it – the perfect guide to creating a delightful homemade Strawberry Pie that’s sure to impress! We’ve walked through each step, from selecting the freshest strawberries to achieving that golden-brown, flaky crust. This classic dessert, with its vibrant colors and sweet, tangy filling, is a testament to simple, wholesome ingredients coming together beautifully. Don’t be afraid to experiment and make this Strawberry Pie your own; the joy of baking often lies in personalization.
For serving suggestions, a dollop of freshly whipped cream or a scoop of vanilla bean ice cream is simply divine. You can also sprinkle a little powdered sugar over the top for an elegant finish. If you’re feeling adventurous with variations, consider adding a hint of lemon zest to the filling for an extra bright note, or incorporate a touch of balsamic glaze to complement the sweetness of the berries. I encourage you to try this recipe, even if you’re new to pie-making. The rewarding taste of a freshly baked Strawberry Pie is absolutely worth it!
Frequently Asked Questions:
Can I use frozen strawberries for this Strawberry Pie?
Yes, you absolutely can! If using frozen strawberries, it’s best to thaw them completely and drain off any excess liquid before incorporating them into the filling. This prevents a watery pie. You might need to slightly increase the amount of cornstarch or flour to account for the extra moisture.
How do I prevent my strawberry pie crust from becoming soggy?
To avoid a soggy bottom, ensure your crust is well-chilled before filling and baking. Blind baking the bottom crust for about 10-15 minutes before adding the filling can also significantly help. Make sure your filling isn’t overly wet, and consider adding a thin layer of crushed cookies or breadcrumbs to the bottom crust before adding the fruit.
Best Strawberry Pie Recipe- Easy and Delicious
An easy and delicious recipe for a fresh strawberry pie with a glossy, luscious filling.
Ingredients
-
1 pre-baked pie crust
-
1 1/2 pounds fresh strawberries, hulled and halved
-
1 cup granulated sugar
-
3 tablespoons cornstarch
-
1/2 cup water
-
1 tablespoon fresh lemon juice
-
Whipped cream for garnish (optional)
Instructions
-
Step 1
Gently place hulled and halved strawberries into a large mixing bowl. Pat them dry with paper towels if necessary. -
Step 2
In a medium saucepan, whisk together granulated sugar and cornstarch until combined. Gradually add water, whisking until smooth. -
Step 3
Cook the mixture over medium heat, whisking constantly, until it thickens to a translucent, pudding-like consistency that coats the back of a spoon. -
Step 4
Remove from heat and stir in fresh lemon juice. Then, gently fold in the prepared strawberries until evenly coated. -
Step 5
Spoon the strawberry filling into the pre-baked pie crust, distributing evenly. -
Step 6
Cover loosely with plastic wrap, ensuring it touches the surface of the filling to prevent a skin from forming. Chill in the refrigerator for at least 3-4 hours, or preferably overnight, until set. -
Step 7
Garnish with whipped cream (optional) before slicing and serving.
Important Information
Nutrition Facts (Per Serving)
It is important to consider this information as approximate and not to use it as definitive health advice.
Allergy Information
Please check ingredients for potential allergens and consult a health professional if in doubt.


Leave a Comment