
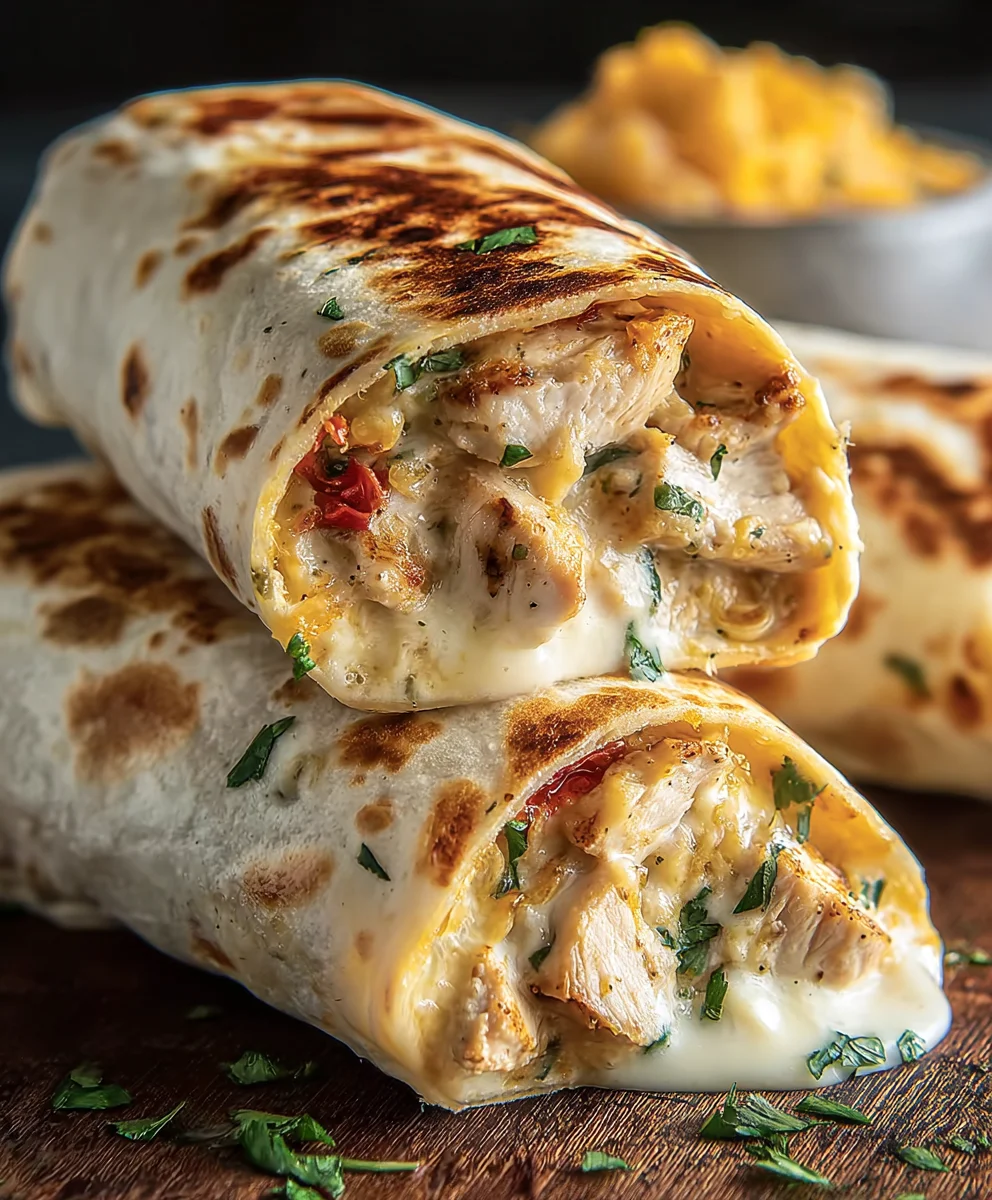
Cheesy Garlic Chicken Wraps are more than just a meal; they’re a hug in a tortilla, a culinary shortcut to pure comfort. If you’re anything like me, you crave those dishes that deliver maximum flavor with minimum fuss, and these wraps absolutely nail it. We all have those evenings when inspiration is low, but hunger is high, and that’s precisely when the magic of Cheesy Garlic Chicken Wraps shines. What makes them so universally loved? It’s the irresistible combination of tender, seasoned chicken bathed in a rich, garlicky, cheesy sauce, all bundled up in a warm, pliable tortilla. It’s the ultimate fusion of savory, gooey goodness and satisfying texture, making it a family favorite for busy weeknights or a delightful treat for weekend indulgence. Get ready to discover your new go-to recipe for these delightful Cheesy Garlic Chicken Wraps!
Ingredients:
- 2 large tortillas (regular or low-carb/high-protein)
- 7 ounces cooked chicken, chopped (rotisserie works perfectly)
- 3 ounces grated cheese blend (cheddar or Mexican blend)
- 1 green onion, chopped
- 2 garlic cloves, minced or grated
- 2 tablespoons light mayonnaise
- 1 tablespoon light Greek yogurt
- 2 teaspoons hot sauce (like Frank’s RedHot)
- 1/4 teaspoon salt
- Olive oil spray
Get Your Filling Ready
Step 1: Prepare the Chicken Mixture Base
The heart of our Cheesy Garlic Chicken Wraps is a flavorful and creamy chicken filling. Start by taking your 7 ounces of pre-cooked, chopped chicken and placing it into a medium-sized mixing bowl. If you’re using a whole rotisserie chicken, make sure to remove any bones and skin before chopping. This mixture comes together very quickly, so having your chicken ready to go is key. Next, add your grated cheese blend to the bowl. I find a sharp cheddar or a zesty Mexican blend works wonderfully here, offering a great cheesy foundation. The combination of the warm chicken and the cheese will create a delightful texture.
Step 2: Craft the Creamy Garlic Sauce
Now, let’s build the sauce that brings everything together. In a separate small bowl, combine your 2 tablespoons of light mayonnaise with 1 tablespoon of light Greek yogurt. The Greek yogurt adds a subtle tanginess and helps to lighten up the mayonnaise, making the overall filling less heavy without sacrificing creaminess. To this base, we’ll add the star of our flavor profile: the garlic. Add your 2 minced or grated garlic cloves. Grating the garlic will distribute its pungent flavor more evenly throughout the sauce, while mincing will leave more distinct bursts of garlic goodness. For a touch of heat and a familiar zing, stir in your 2 teaspoons of hot sauce. Frank’s RedHot is a classic for a reason, but feel free to use your favorite. Finally, season with 1/4 teaspoon of salt. Taste this mixture and adjust the salt or hot sauce if needed. Remember, the chicken and cheese will also contribute to the saltiness, so don’t overdo it at this stage.
Step 3: Combine and Incorporate
It’s time to bring all those delicious components together. Pour the prepared creamy garlic sauce over the chicken and cheese mixture in the larger bowl. Using a spoon or a spatula, gently fold the sauce into the chicken and cheese. You want to ensure that every piece of chicken is coated in the creamy, garlicky goodness. Be careful not to overmix, as this can make the chicken tough. The goal is to achieve a cohesive mixture where the cheese is starting to melt slightly from the warmth of the chicken and the sauce is binding everything together. Add your chopped green onion to this mixture now. The fresh, sharp bite of the green onion provides a lovely contrast to the richness of the chicken and cheese. Give it one final gentle stir to distribute the onion evenly.
Assemble and Toast Your Wraps
Step 4: Load and Fold the Tortillas
Lay your 2 large tortillas flat on a clean surface. Divide the cheesy garlic chicken mixture evenly between the two tortillas, placing it slightly off-center towards one edge. Don’t overfill them, or you’ll have a difficult time wrapping them neatly. Gently spread the filling out into a log-like shape. Now, it’s time to wrap. Take the edge of the tortilla closest to the filling and fold it tightly over the mixture. Then, tuck in the sides of the tortilla to enclose the ends. Finally, roll the tortilla up from the folded edge to create a secure wrap. Repeat this process for the second tortilla. Having the sides tucked in before rolling helps prevent the filling from escaping during the cooking process.
Step 5: Achieve the Perfect Golden Crisp
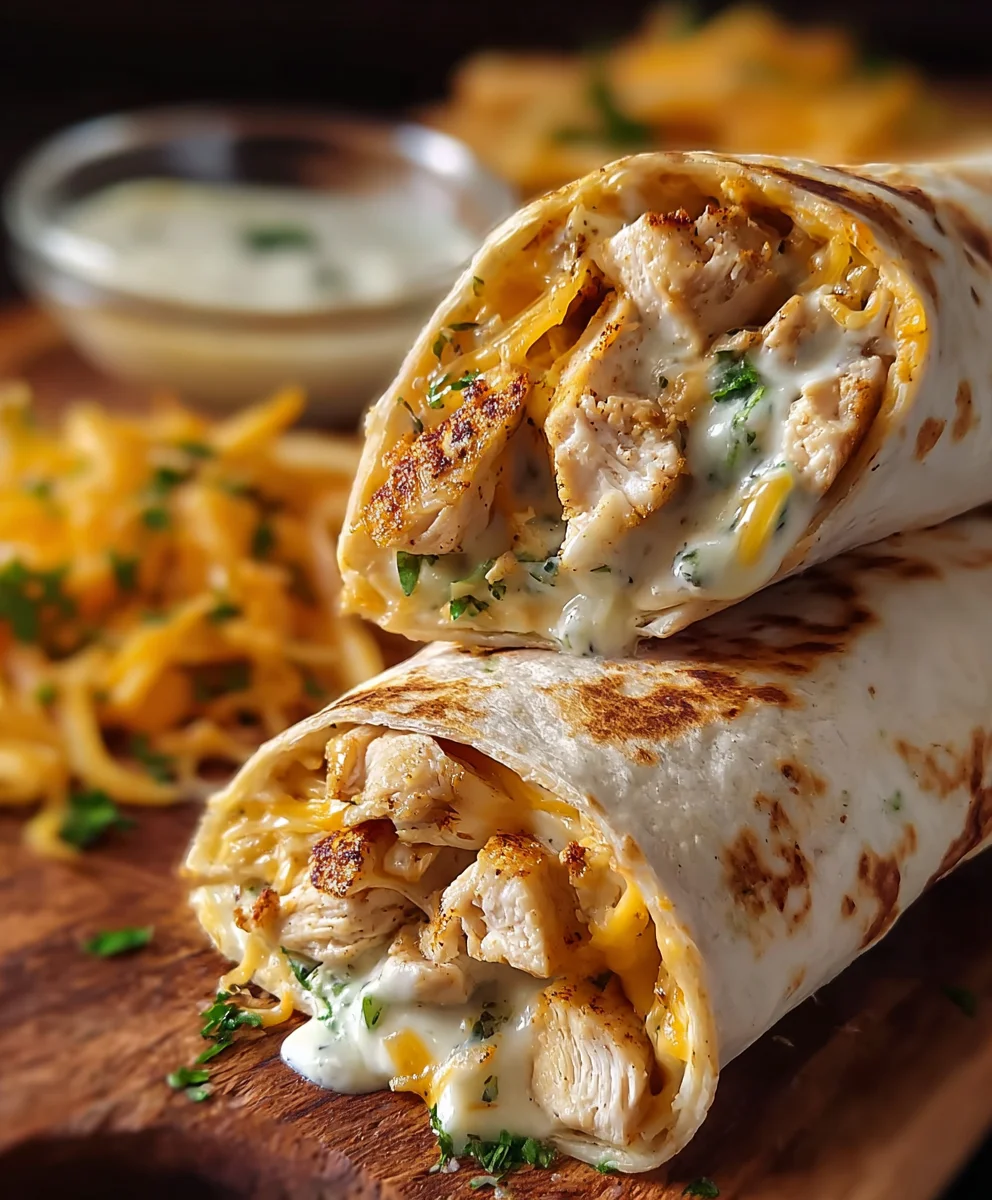
This is where we transform our wraps into golden, crispy delights. Lightly spray the bottom of a large skillet or griddle with olive oil spray and place it over medium heat. Once the skillet is hot, carefully place the two assembled wraps seam-side down into the pan. Let them cook for about 3-4 minutes per side, or until they are beautifully golden brown and slightly crispy. You’re looking for that satisfying crunch that contrasts wonderfully with the warm, gooey filling. As one side cooks, you can lightly spray the top of the wrap with a little more olive oil spray for even crisping. Once both sides are perfectly toasted, remove the Cheesy Garlic Chicken Wraps from the skillet. You can slice them in half if you prefer, making them easier to handle and serving a visually appealing dish. The goal is a slight crisp on the outside, with a warm, melty, and incredibly flavorful interior.
Conclusion:
And there you have it! Your delicious and incredibly satisfying Cheesy Garlic Chicken Wraps are ready to be enjoyed. We hope this recipe brings a smile to your face and makes mealtime a little bit easier and a lot more flavorful. These wraps are a fantastic weeknight meal that’s quick to prepare, or a wonderful option for a casual lunch. The creamy garlic sauce combined with tender chicken and melted cheese is a winning combination that’s sure to become a family favorite. Don’t be afraid to experiment and make these your own!
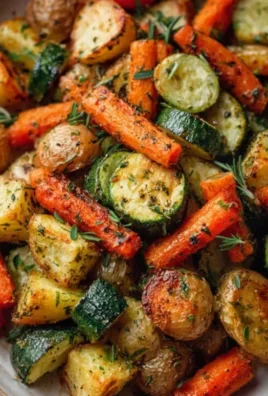
For serving, these wraps are wonderful on their own, but they also pair beautifully with a simple side salad, some crunchy tortilla chips, or even a cup of your favorite soup. If you’re feeling adventurous, try adding some sautéed bell peppers and onions into the filling for an extra layer of flavor and texture. You could also swap out the cheddar cheese for mozzarella for an even more stringy, gooey experience, or add a pinch of red pepper flakes for a little heat.
We encourage you to give these Cheesy Garlic Chicken Wraps a try and share them with your loved ones. Happy cooking!
Frequently Asked Questions:
Q1: Can I make the cheesy garlic sauce ahead of time?
Yes, you absolutely can! The cheesy garlic sauce can be made a day or two in advance and stored in an airtight container in the refrigerator. Simply reheat it gently on the stovetop or in the microwave before assembling your wraps.
Q2: What kind of tortillas work best for these wraps?
Standard flour tortillas, about 8-10 inches in diameter, work perfectly. You can also use whole wheat tortillas for a healthier option, or even large lettuce leaves if you’re looking for a gluten-free alternative. Just ensure they are large enough to hold all the delicious filling!
Cheesy Garlic Chicken Wraps – Easy Weeknight Dinner
Quick and flavorful cheesy garlic chicken wraps perfect for a simple weeknight meal. Rotisserie chicken and a creamy garlic sauce make these wraps a family favorite.
Ingredients
-
2 large tortillas (regular or low-carb/high-protein)
-
7 ounces cooked chicken, chopped
-
3 ounces grated cheese blend
-
1 green onion, chopped
-
2 garlic cloves, minced or grated
-
2 tablespoons light mayonnaise
-
1 tablespoon light Greek yogurt
-
2 teaspoons hot sauce
-
1/4 teaspoon salt
-
Olive oil spray
Instructions
-
Step 1
In a medium bowl, combine 7 ounces of pre-cooked, chopped chicken with 3 ounces of grated cheese blend. Ensure chicken is deboned and skinned if using rotisserie chicken. -
Step 2
In a separate small bowl, whisk together 2 tablespoons of light mayonnaise, 1 tablespoon of light Greek yogurt, 2 minced or grated garlic cloves, 2 teaspoons of hot sauce, and 1/4 teaspoon of salt to create the creamy garlic sauce. Taste and adjust seasoning as needed. -
Step 3
Pour the creamy garlic sauce over the chicken and cheese mixture. Gently fold to coat evenly. Stir in 1 chopped green onion. -
Step 4
Lay 2 large tortillas flat. Divide the chicken mixture evenly between the tortillas, placing it off-center. Fold the nearest edge over the filling, tuck in the sides, and roll up tightly to create secure wraps. -
Step 5
Lightly spray a large skillet with olive oil and heat over medium heat. Place the wraps seam-side down and cook for 3-4 minutes per side, or until golden brown and crispy. Lightly spray the tops of the wraps while cooking for even crisping. -
Step 6
Remove wraps from skillet. Slice in half if desired before serving.
Important Information
Nutrition Facts (Per Serving)
It is important to consider this information as approximate and not to use it as definitive health advice.
Allergy Information
Please check ingredients for potential allergens and consult a health professional if in doubt.

Leave a Comment