
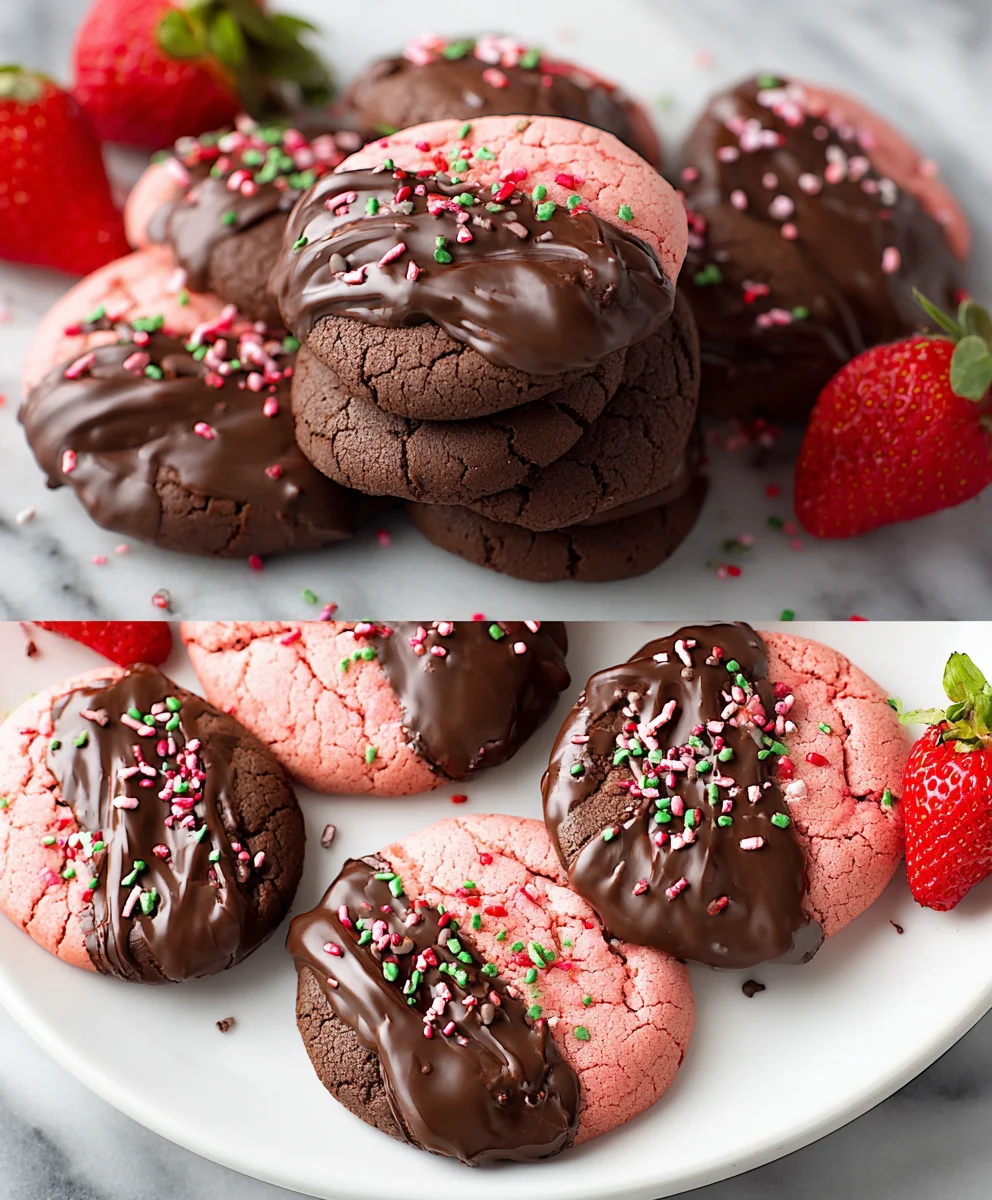
Chocolate Covered Strawberry Cookies are the ultimate decadent treat, a delightful fusion of two universally beloved flavors that’s sure to make your taste buds sing. Have you ever craved that perfect balance of rich, dark chocolate and sweet, slightly tart strawberries, all wrapped up in a delightful cookie form? That’s precisely what these Chocolate Covered Strawberry Cookies deliver, and oh boy, do they deliver! People absolutely adore them because they capture the essence of that iconic dessert combination without the fuss of tempering chocolate or dealing with fresh berries that can make cookies soggy. What truly makes them special is the clever way we’ve incorporated freeze-dried strawberries for that intense fruit flavor and vibrant color, alongside a luscious chocolate ganache that hardens just right, mimicking that satisfying crackle of a dipped strawberry. Get ready to impress yourself and anyone lucky enough to try these unbelievably delicious cookies!
Ingredients:
- 1 box (16.25 ounces) Strawberry cake mix
- 1/3 cup vegetable oil
- 1 teaspoon vanilla extract
- 2 large eggs
- 1 cup semi-sweet chocolate chips (or 1 cup chocolate candy melts, your preference)
- Optional: Sprinkles for decorating
Preparing the Chocolate Covered Strawberry Cookie Dough
To begin extract crafting these delightful Chocolate Covered Strawberry Cookies, the first and most crucial step is to assemble all of your ingredients. This ensures a smooth and efficient baking process, preventing any last-minute dashes to the pantry. We’ll start by combining the dry and wet components that will form the base of our strawberry-flavored cookie.
In a large mixing bowl, pour the entire contents of the 16.25-ounce box of strawberry cake mix. This cake mix serves as the foundation for our cookies, providing both the flavor and structure. Next, add the 1/3 cup of vegetable oil. Vegetable oil is a great choice here as it contributes to a tender and moist crum extractb in our cookies. Following that, carefully measure and add 1 teaspoon of pure vanilla extract. Vanilla is a classic flavor enhancer that will beautifully complement the strawberry notes from the cake mix, deepening the overall taste profile. Finally, crack in your 2 large eggs. Eggs are essential for binding the ingredients together, adding richness, and contributing to the cookie’s texture.
Once all of these ingredients are in the bowl, it’s time to mix. You can use an electric mixer (stand mixer or hand mixer) on a low to medium speed, or a sturdy whisk and a bit of arm pgin extractr. Begin by mixing until the ingredients are just combined, being careful not to overmix. Overmixing can develop the gluten in the flour too much, leading to tougher cookies. You’re looking for a thick, dough-like consistency that resembles a very stiff cake batter. It should be cohesive enough to hold its shape. If the dough seems a little too drum extractand crumbly, you can add another tablespoon of vegetable oil or even a teaspoon of milk to help it come together. Conversely, if it seems too wet and sticky, you can mix in a tablespoon or two of all-purpose flour, but this is usually not necessary with a standard cake mix.
Shaping and Baking the Strawberry Cookies
Now that we have our delicious strawberry cookie dough, it’s time to transform it into individual cookies. Preheat your oven to 350 degrees Fahrenheit (175 degrees Celsius). This is a standard baking temperature for most cookies and will ensure even cooking. Line two baking sheets with parchment paper. Parchment paper is a baker’s best friend; it prevents sticking and makes for effortless cleanup.
Using a cookie scoop (about 1.5 to 2 tablespoons in size) or two spoons, drop rounded balls of dough onto the prepared baking sheets. Leave about 2 inches of space between each cookie to allow for spreading as they bake. Don’t worry about making them perfectly round at this stage; they will naturally flatten out a bit. If you want slightly flatter cookies, you can gently press down on the top of each dough ball with the palm of your hand or the bottom of a glass. For this recipe, since we’re aiming for a cookie that will hold chocolate well, a slightly thicker cookie is ideal, so minimal flattening is recommended.
Bake the cookies for 10-12 minutes, or until the edges are lightly golden brown and the centers look set but not overly firm. The exact baking time will depend on your oven and the size of your cookies, so keep an eye on them towards the end of the baking period. You want them to be cooked through but still slightly soft in the center, as they will firm up more as they cool. Once baked, remove the baking sheets from the oven and let the cookies cool on the sheets for about 5 minutes before transferring them to a wire rack to cool completely. This initial cooling period on the baking sheet allows them to firm up enough to be moved without breaking.
Melting the Chocolate and Dipping the Cookies
While your strawberry cookies are cooling on the wire rack, it’s time to prepare for the chocolate-covered aspect. You have two excellent options for your chocolate coating: chocolate chips or chocolate candy melts. Both will yield delicious results, but candy melts tend to set up more smoothly and are often easier to work with for dipping.
If you are using chocolate chips, place them in a microwave-safe bowl. Microwave them in 30-second intervals, stirring well after each interval, until the chocolate is mostly melted and smooth. Be patient and avoid overheating, as chocolate can seize and become grainy if cooked too quickly. If you’re using chocolate candy melts, follow the same microwave method, stirring until completely smooth. Alternatively, you can melt the chocolate in a double boiler over simmering water, stirring constantly until smooth. Once melted and smooth, stir in the teaspoon of vanilla extract if you haven’t already added it to the dough; if you did add it to the dough, you can omit it here or add a touch more for a stronger vanilla note in your chocolate. Stirring the vanilla into the melted chocolate can add a lovely depth to the flavor.
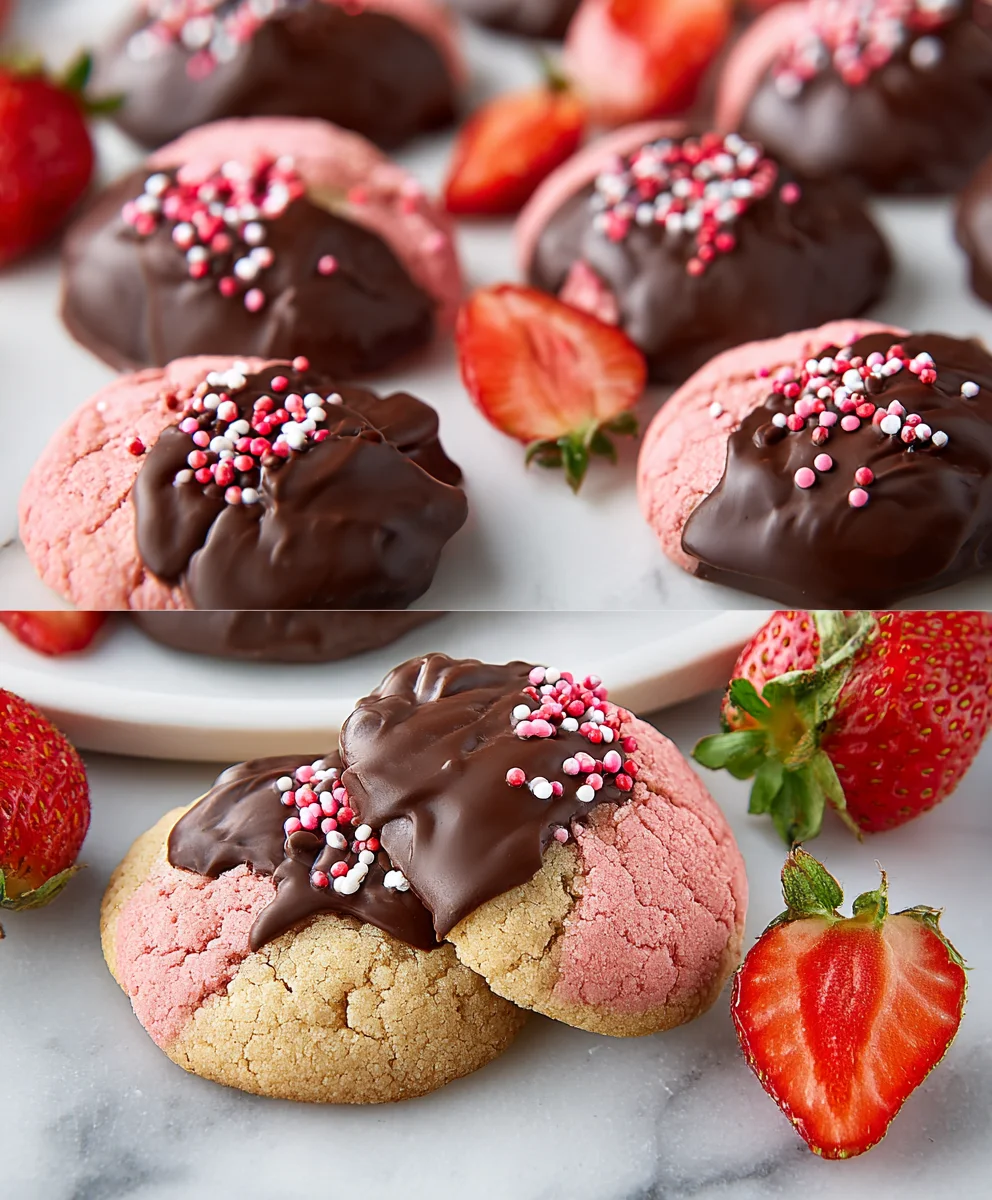
Now for the fun part: dipping your cooled strawberry cookies! Hold each cookie gently by the edges or bottom and dip it about halfway or two-thirds of the way into the melted chocolate. Use a fork or a toothpick to gently lift the cookie from the chocolate, allowing any excess chocolate to drip back into the bowl. This is where a bit of practice comes in handy; aim for an even coating. Place the chocolate-dipped cookies back onto the parchment-lined baking sheet or a clean piece of parchment paper. If you are using sprinkles, now is the time to sprinkle them over the still-wet chocolate coating. This is your opportunity to get creative with colors and patterns.
Finishing Touches and Setting the Chocolate
Allow the chocolate-covered strawberry cookies to set completely. You can speed this process up by placing the baking sheets in the refrigerator for about 15-20 minutes, or until the chocolate is firm to the touch. Once the chocolate has hardened, your cookies are ready to be enjoyed! If you have any leftover melted chocolate, you can use it to drizzle over the tops of the cookies for an extra decorative touch. Simply place the leftover chocolate in a piping bag with a small tip, or a resealable plastic bag with a corner snipped off, and drizzle it artfully over the cookies.
Store your finished Chocolate Covered Strawberry Cookies in an airtight container at room temperature for up to 3-4 days. If the weather is particularly warm, or if you prefer a firmer chocolate coating, you can store them in the refrigerator, but allow them to come to room temperature slightly before serving for the best texture. These cookies are a wonderful treat for parties, holidays, or simply as a sweet indulgence. The vibrant strawberry flavor combined with the rich chocolate coating makes them an irresistible delight that will surely become a favorite. Enjoy the fruits of your labor!
Conclusion:
And there you have it – your guide to crafting the most delightful Chocolate Covered Strawberry Cookies! We’ve walked through each step, from achieving the perfect cookie base to creating that irresistible chocolate shell and the final touch of fresh strawberry. These cookies are more than just a treat; they’re a celebration of simple, beautiful flavors. Imagin extracte the joy on your loved ones’ faces when they bite into these perfectly balanced cookies, where the rich chocolate meets the sweet tang of strawberry. They’re truly a showstopper for any occasion, from intimate gatherings to larger celebrations.
For serving suggestions, consider pairing these gorgeous cookies with a glass of cold milk, a robust coffee, or even a light, fruity tea. They also make an exquisite addition to a dessert platter, alongside brownies or other baked goods. Don’t be afraid to get creative with variations! You could experiment with different types of chocolate, like dark or white chocolate, or even add a sprinkle of sea salt to the melted chocolate for a sophisticated salty-sweet contrast. Perhaps a swirl of strawberry jam into the cookie dough before baking could enhance the fruit flavor even further.
I encourage you to give this recipe a try. Baking these Chocolate Covered Strawberry Cookies is a rewarding experience, and the results are absolutely worth it. Enjoy the process, savor the aroma filling your kitchen, and most importantly, relish every single bite of these decadent delights. Happy baking!
Frequently Asked Questions:
Q1: How should I store my Chocolate Covered Strawberry Cookies?
To maintain their freshness and texture, it’s best to store your Chocolate Covered Strawberry Cookies in an airtight container at room temperature for up to 3 days. If you live in a warm climate or if the chocolate coating seems to be softening, you can refrigerate them. Just be sure to let them come back to room temperature before serving for the best taste and consistency.
Q2: Can I use frozen strawberries instead of fresh ones?
While fresh strawberries are highly recommended for their superior flavor and texture, you can technically use frozen strawberries. However, you’ll need to thaw them completely and drain off as much excess liquid as possible to prevent the cookies from becoming soggy. Pat them very dry with paper towels. The flavor intensity might be slightly different compared to using fresh berries.
Chocolate Covered Strawberry Cookies-Fruity Delight
A delightful cookie recipe combining the sweet flavor of strawberry cake mix with a rich chocolate coating.
Ingredients
-
1 box (16.25 ounces) Strawberry cake mix
-
1/3 cup vegetable oil
-
1 teaspoon vanilla extract
-
2 large eggs
-
1 cup semi-sweet chocolate chips (or 1 cup chocolate candy melts)
-
Optional: Sprinkles for decorating
Instructions
-
Step 1
Preheat oven to 350°F (175°C). Line two baking sheets with parchment paper. -
Step 2
In a large bowl, combine strawberry cake mix, vegetable oil, vanilla extract, and eggs. Mix until a thick, dough-like consistency is formed. -
Step 3
Drop rounded balls of dough onto the prepared baking sheets, leaving about 2 inches between cookies. Bake for 10-12 minutes, or until edges are lightly golden brown and centers are set. -
Step 4
Let cookies cool on baking sheets for 5 minutes, then transfer to a wire rack to cool completely. -
Step 5
Melt chocolate chips or candy melts in a microwave-safe bowl in 30-second intervals, stirring until smooth. Stir in vanilla extract if desired. -
Step 6
Dip cooled cookies about halfway or two-thirds into the melted chocolate. Lift with a fork, allowing excess to drip off, and place on parchment paper. -
Step 7
If using, sprinkle decorations over the wet chocolate immediately. Allow chocolate to set completely, or chill in the refrigerator for 15-20 minutes.
Important Information
Nutrition Facts (Per Serving)
It is important to consider this information as approximate and not to use it as definitive health advice.
Allergy Information
Please check ingredients for potential allergens and consult a health professional if in doubt.
Leave a Comment