
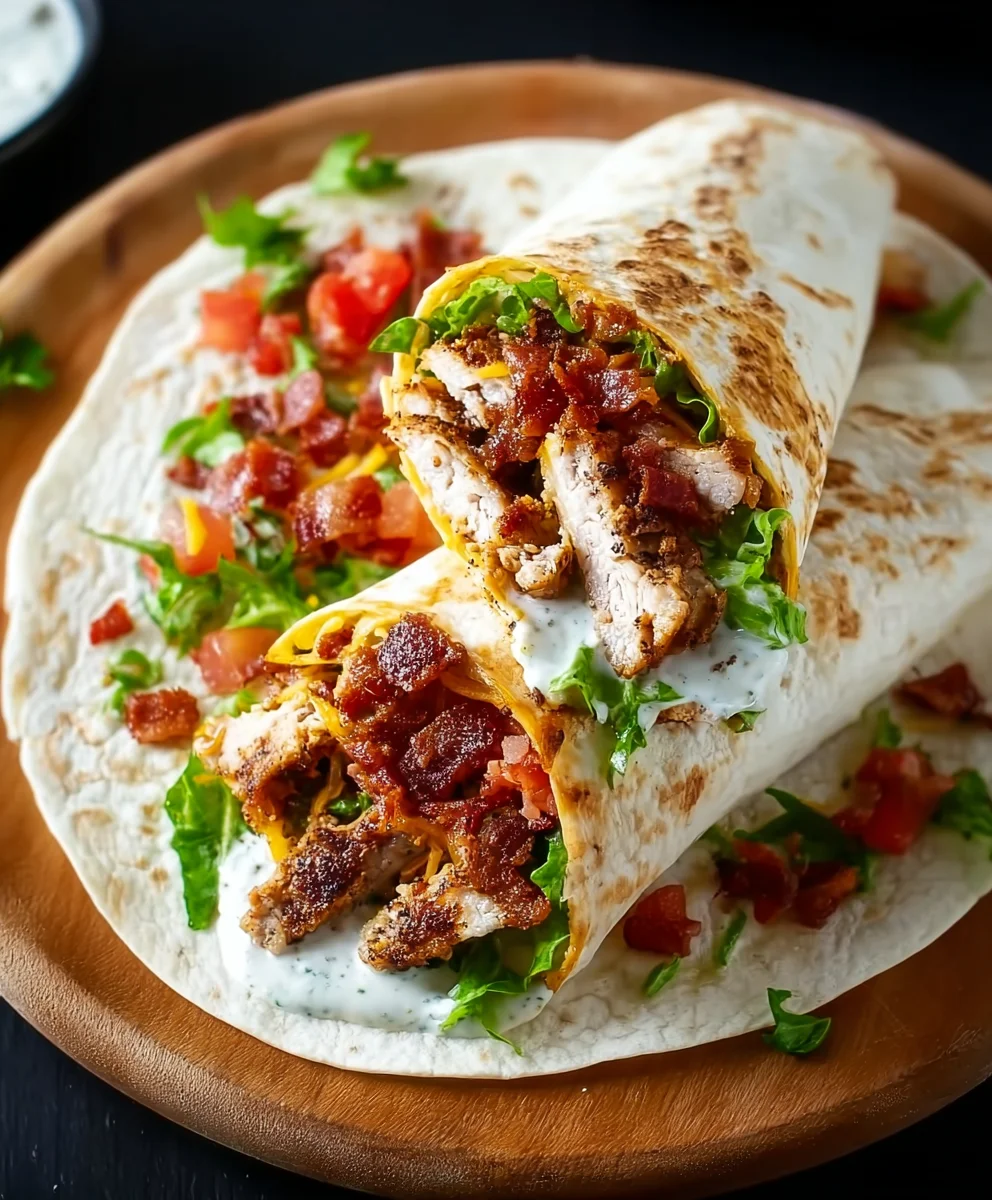
Crispy Chicken Beef Beef Bacon Ranch Wrap – it’s more than just a mouthful to say, it’s a symphony of textures and flavors that will redefine your lunchtime dreams. Imagin extracte biting into a perfectly grilled tortilla, its warmth giving way to the satisfying crunch of golden-brown crispy chicken, followed by the savory depth of seasoned beef, and then, the undeniable indulgence of smoky, sbeef baconbacon. But we’re not done yet! A generous slathering of creamy, tangy ranch dressing ties it all together, creating a harmonious blend that’s utterly irresistible. This isn’t your average wrap; it’s an explosion of deliciousness, a testament to how a few key ingredients, when prepared with love and the right technique, can create something truly extraordinary. People are flocking to this creation because it delivers on every promise: satisfying, flavorful, and wonderfully decadent. It’s the ultimate comfort food, elevated into a convenient and portable masterpiece.
Ingredients:
- 2 boneless, skinless chicken breasts
- 6 strips of beef beef bacon
- 1 cup all-purpose flour
- 1 cup buttermilk
- 1 teaspoon garlic powder
- 1 teaspoon onion powder
- 1 teaspoon paprika
- 1 teaspoon salt
- 1/2 teaspoon black pepper
- 1 cup panko breadcrum extractbs
- Vegetable oil, for frying
- 4 large flour tortillas
- 1 cup shredded lettuce
- 1 cup diced tomatoes
- 1 cup shredded cheddar cheese
Preparing the ChickenBeef BaconBacon
Seasoning the Chicken
Start by preparing your chicken. Pat the boneless, skinless chicken breasts dry with paper towels. This step is crucial for ensuring a good sear and a more even cooking surface. In a shallow dish, combine the all-purpose flour with the garlic powder, onion powder, paprika, salt, and black pepper. Whisk this mixture thoroughly to ensure the seasonings are evenly distributed throughout the flour. This seasoned flour will form the base of our crispy coating.
Breading the Chicken
Next, prepare a buttermilk bath for your chicken. Pour the buttermilk into another shallow dish. Dip each chicken breast into the buttermilk, ensuring it’s fully coated. Let any excess buttermilk drip off for a moment before transferring it to the seasoned flour mixture. Press the chicken firmly into the flour, ensuring it is completely covered on all sides. For an extra crispy coating, you can double-dip the chicken. After the first flour coating, dip it back into the buttermilk, and then into the seasoned flour again. This layered approach creates a thicker, crunchier crust. Set the breaded chicken breasts aside on a plate or wire rack while you prbeef bacon the bacon.
CoBeef Bacon the Beef Bacon
Now, lebeef baconackle the beef bacon. Plbeef baconhe 6 strips of beef bacon in a cold skillet. This allows the fat to render slowly and evenly,beef baconlting in perfectly crisp bacon. Cook over medium heabeef baconrning occasionally, until the bacon is golden brown and delightfully crispy. This usually takes about 8-10 minutes, but keep a close eye on it as cooking times can vary dependingbeef baconour stove and the thickness of the beef bacon. Once cooked, transfer the crispy beef bacon to a plate lined with paper towels to drain any excess grease. Once cooled slightly, yrum extractcan crumble it or chop it into smaller pieces, depending on your preference for texture in the wrap.
Frying and Assembling the Wraps
Frying the Chicken
It’s time to fry that beautifully breaded chicken! Heat about 2-3 inches of vegetable oil in a deep, heavy-bottomed skillet or Dutch oven over medium-high heat until it reaches 350°F (175°C). You can test the oil by dropping a tiny bit of flour into it; it should sizzle immediately. Carefully place the breaded chicken breasts into the hot oil, ensuring not to overcrowd the pan. Fry in batches if necessary to maintain the oil temperature. Cook for about 6-8 minutes per side, or until the chicken is golden brown and cooked through. The internal temperature should reach 165°F (74°C). Use tongs to remove the chicken from the oil and place it on a wire rack set over a baking sheet to drain and stay crispy.
Warming the Tortillas
While the chicken rests, let’s prepare the tortillas. To make them pliable and prevent tearing when you roll them, you’ll want to warm them up. You can do this in a few ways. The easiest is to wrap a stack of tortillas in a damp paper towel and microwave them for about 30-45 seconds. Alternatively, you can lightly char them on a dry skillet over medium heat for about 15-20 seconds per side, or even warm them directly over a gas burner flame for a few seconds, being very careful not to burn them. This warming step is key to a well-construcBeef Baconrap.
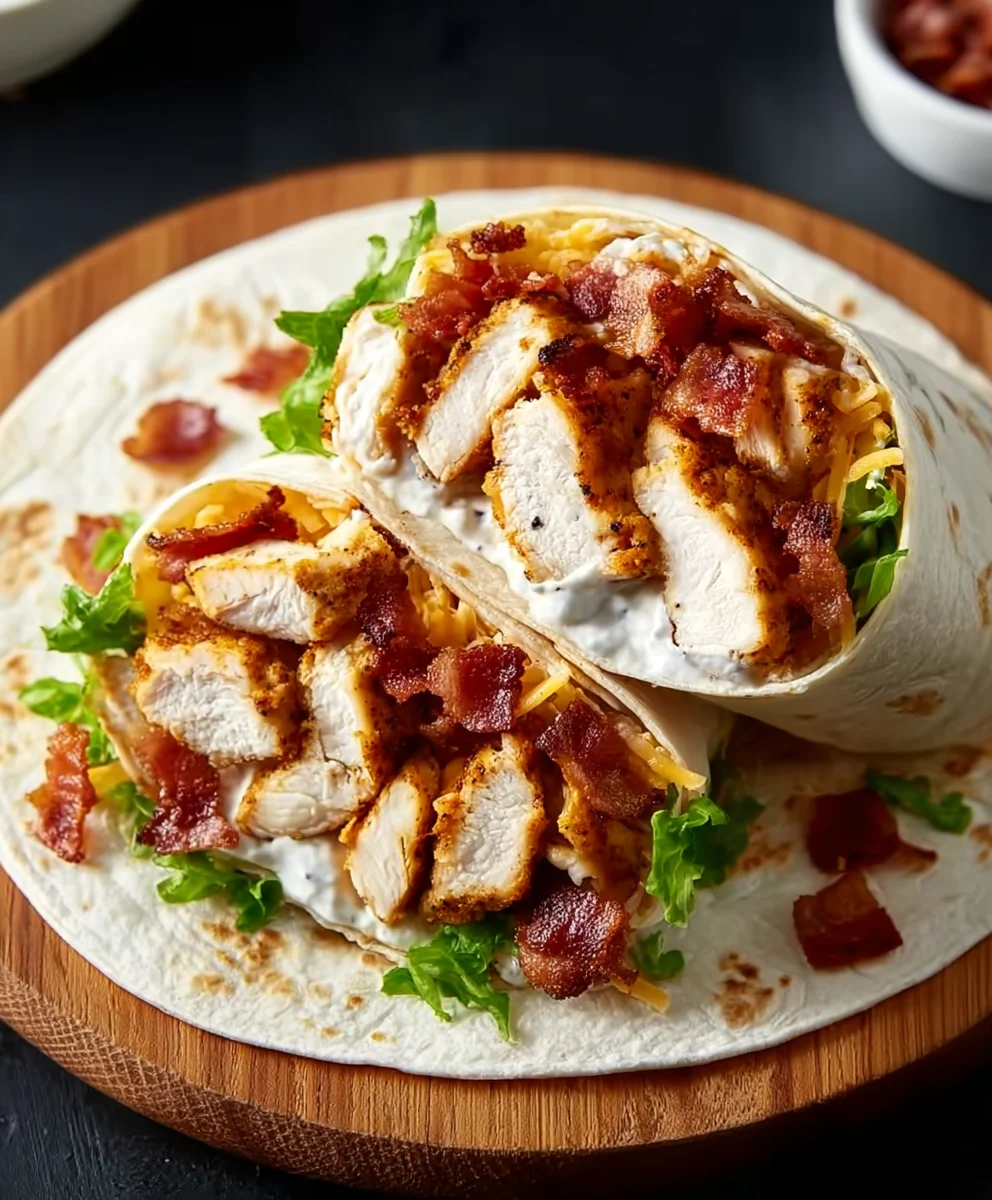
Assembling the Crispy Chicken Beef Bacon Ranch Wraps
Now for the exciting part – assembling your amazing wraps! Once the fried chicken has cooled slightly, slice or chop it into bite-sized pieces. Lay out your warmed flour tortillas on a clean surface. Begin extract by layering your ingredients. Spoon a generous portion of shredded lettuce onto the center of each tortilla, followed by the diced tomatoes. Next, add a hearty serving of shredded cheddar chebeef baconThen, arrange rum extract chopped or crumbled crispy beef bacon over the cheese. Finally, place the bite-sized pieces of crispy fried chicken on top of the other fillings. If you desire a ranch dressing element, which is implied by the “Ranch” in the name, you can drizzle your favorite ranch dressing over the chicken and other ingredients at this stage.
Rolling the Wraps
The final step is to expertly roll your wraps. Fold the bottom edge of the tortilla up and over the filling. Then, bring in the sides, tucking them tightly against the filling. Continue to roll the tortilla up firmly from the bottom, creating a compact and senon-alcoholic aled wrap. If the tortilla is being stubborn, a gentle squeeze as you roll can help. For an extra touch, you can lightly grill or press the rolled wraps in a panini press for a minute or two to seal them further and add a nice char. Serve immediately and enjoy the incredible combination of textures and flavors!
Conclusion:
And there you have it! Your very own Crispy Chicken Beef Beef Bacon Ranch Wrap is ready to be devoured. This recipe is a true testament to how simple ingredients can come together to create something incredibly satisfying and delicious. The combination of perfectly cooked crispy chicken, savory beef, sbeef baconbacon, and creamy ranch dressing, all wrapped up in a warm tortilla, is a flavor explosion you won’t soon forget. I hope you enjoyed making and will absolutely love eating this fantastic wrap.
For serving, this wrap is a star on its own, but it pairs wonderfully with a side of seasoned potato wedges, a fresh garden salad, or even some crunchy coleslaw. Don’t be afraid to get creative with your garnishes too – a sprinkle of extra cheese or a drizzle of hot sauce can elevate it even further!
As for variations, feel free to swap out the beef for shredded beef or even add some sautéed onions and peppers for an extra layer of flavor. For a lighter option, consider using a whole wheat tortilla and a lighter ranch dressing. The possibilities are truly endless!
Frequently Asked Questions:
Can I make the components of the Crispy ChiBeef BaconBeef Bacon Ranch Wrap ahead of time?
Absolutely! You can cook the chicken and beef, and coobeef bacon chop the bacon a day in advance. Store them separately in airtight containers in the refrigerator. This will make assembly for your Beef Bacony Chicken Beef Bacon Ranch Wrap a breeze when you’re ready to eat!
What kind of chicken is best for this wrap?
Boneless, skinless chicken thighs or breasts work perfectly. For extra crispiness, I recommend breading and pan-frying or air-frying them until golden brown and cooked through. This ensures that delightful crunch in every bite of Beef BaconCrispy Chicken Beef Bacon Ranch Wrap.
Crispy Chicken Beef Bacon Ranch Wrap
A delicious and hearty wrap featuring crispy fried chicken, savory beef bacon, fresh vegetables, and cheddar cheese, all bundled in a soft tortilla.
Ingredients
-
2 boneless, skinless chicken breasts
-
6 strips of beef bacon
-
1 cup all-purpose flour
-
1 cup buttermilk
-
1 teaspoon garlic powder
-
1 teaspoon onion powder
-
1 teaspoon paprika
-
1 teaspoon salt
-
1/2 teaspoon black pepper
-
1 cup panko breadcrumbs
-
Vegetable oil, for frying
-
4 large flour tortillas
-
1 cup shredded lettuce
-
1 cup diced tomatoes
-
1 cup shredded cheddar cheese
Instructions
-
Step 1
Season the chicken by combining flour, garlic powder, onion powder, paprika, salt, and black pepper in a shallow dish. Dip chicken breasts in buttermilk, then coat thoroughly in the seasoned flour. Double-dip for extra crispiness if desired. -
Step 2
Cook the beef bacon in a skillet over medium heat until golden brown and crispy. Drain on paper towels, then crumble or chop. -
Step 3
Fry the breaded chicken in 350°F (175°C) vegetable oil for 6-8 minutes per side, until golden brown and cooked through (internal temperature 165°F/74°C). Drain on a wire rack. -
Step 4
Warm the flour tortillas to make them pliable, either in a microwave with a damp paper towel or by lightly charring on a skillet. -
Step 5
Assemble the wraps by layering lettuce, tomatoes, cheddar cheese, crumbled beef bacon, and sliced crispy chicken onto the center of each warmed tortilla. Drizzle with ranch dressing if desired. -
Step 6
Fold the bottom edge of the tortilla up and over the filling, then bring in the sides and roll up tightly. Grill or press briefly to seal if desired.
Important Information
Nutrition Facts (Per Serving)
It is important to consider this information as approximate and not to use it as definitive health advice.
Allergy Information
Please check ingredients for potential allergens and consult a health professional if in doubt.


Leave a Comment