
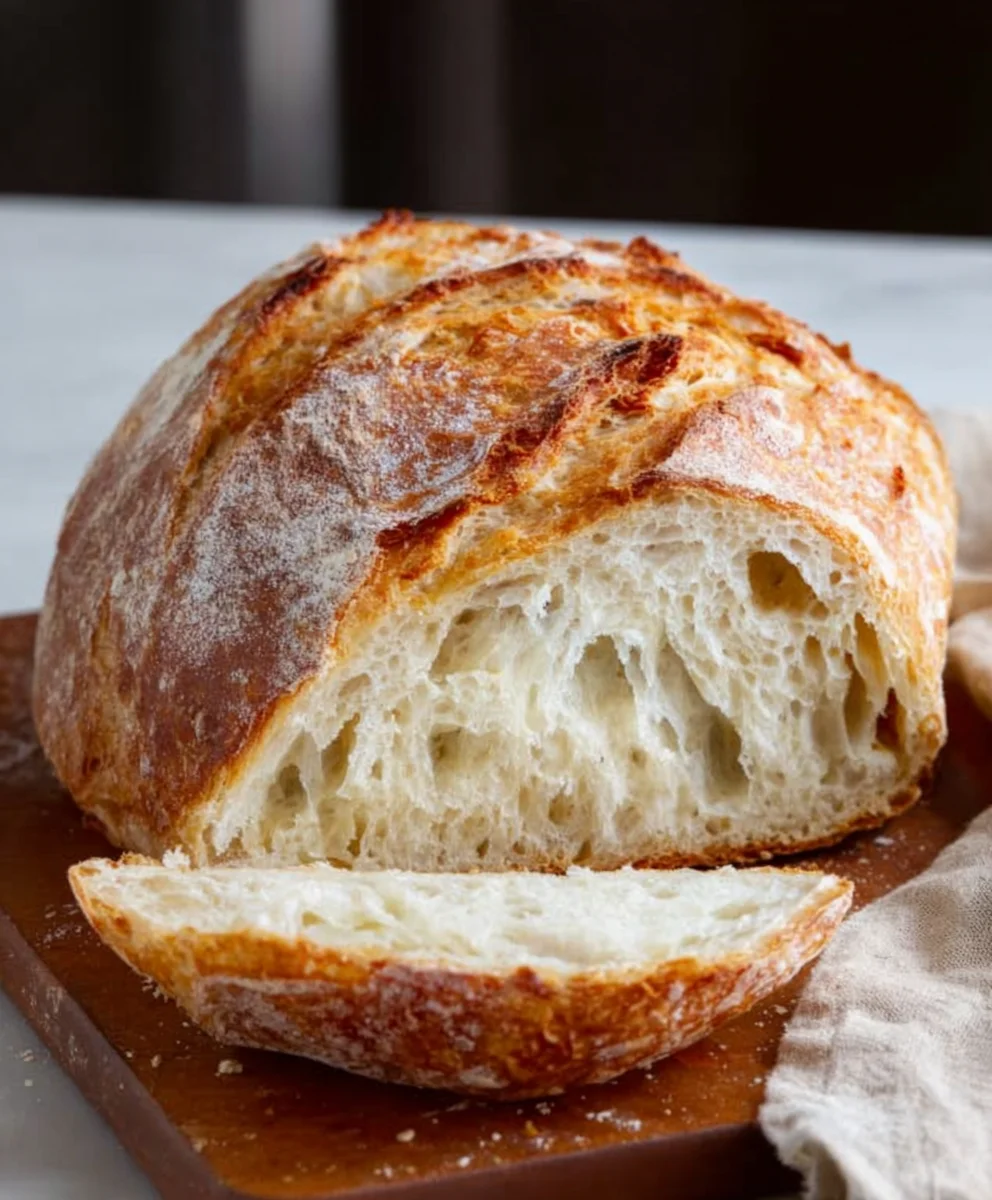
Artisan Bread Recipe. Oh, the comforting aroma that wafts through the kitchen as this beautiful loaf bakes! There’s something inherently magical about creating a truly artisan bread recipe from scratch, isn’t there? It’s more than just sustenance; it’s a ritual, a connection to tradition, and a source of immense satisfaction. We all adore that perfect crust – a symphony of crackles and crisps that gives way to a wonderfully airy, chewy interior. This isn’t just any bread; it’s a celebration of simple ingredients transformed into something extraordinary. What makes this particular artisan bread recipe so special is its effortless elegance. You don’t need a fancy bakery setup or years of experience to achieve spectacular results. Get ready to impress yourself and everyone you share it with as you embark on this delightful culinary journey.
Ingredients:
- 3 cups (395 grams) all-purpose flour or bread flour
- ½ tablespoon kosher salt
- ¼ ounce instant or active dry yeast packet (or 2 ¼ teaspoons)
- 1 ½ cups warm water (105°F)
Preparing the Dough
Mixing the Ingredients
The journey to a delicious artisan loaf begin extracts with simple, wholesome ingredients. In a large mixing bowl, I combine the 3 cups of all-purpose flour (or bread flour, if you prefer a chewier texture) and ½ tablespoon of kosher salt. It’s crucial to ensure the salt is evenly distributed throughout the flour at this stage, as it plays a vital role in flavor development and controlling yeast activity. Next, I sprinkle in the ¼ ounce packet of instant or active dry yeast. If you’re using active dry yeast, you might want to bloom it first by dissolving it in the warm water for about 5-10 minutes until it gets foamy. However, with instant yeast, you can add it directly to the dry ingredients, which simplifies the process.
Incorporating the Water
Now comes the magic of hydration. I add 1 ½ cups of warm water, specifically around 105°F. This temperature is ideal for activating the yeast; too hot and you risk killing it, too cold and it won’t awaken properly. I pour the water into the bowl with the dry ingredients. Using a sturdy spoon or a spatugin extract I begin to mix everything together until just combined. At this point, the mixture will look shaggy and a bit sticky. Don’t worry if it doesn’t look like a smooth dough yet; that’s exactly what we’re aiming for in this initial stage. The goal here is simply to ensure all the flour has been hydrated.
Developing the Dough
Kneading for Structure
Once the ingredients are roughly incorporated, it’s time to develop the gluten structure, which is what gives bread its characteristic chew and rise. I turn the shaggy dough out onto a lightly floured surface. If the dough is exceptionally sticky, you can add a tiny bit more flour, but try to keep it minimal to avoid a gin extractse loaf. I begin kneading by pushing the dough away from me with the heel of my hand, then folding it back over itself. I continue this motion, rotating the dough as needed, for about 8-10 minutes. You’ll notice that as you knead, the dough will transform from sticky and rough to smooth, elastic, and less prone to sticking to your hands or the work surface. A good indicator that the gluten is well-developed is the “windowpane test”: you should be able to stretch a small piece of dough thinly enough to see light through it without it tearing. This step is paramount for a good crum extractb structure in your artisan bread.
First Rise (Bulk Fermentation)
After kneading, I form the dough into a smooth ball. I then lightly grease a clean bowl with a touch of olive oil or cooking spray. I place the dough ball into the greased bowl, turning it once to ensure the entire surface is coated in oil. This prevents a dry skin from forming on the dough during its rise. I cover the bowl tightly with plastic wrap or a clean kitchen towel. I then let the dough rise in a warm place for about 1 to 1.5 hours, or until it has doubled in size. The ideal warm spot is often around 75-80°F. If your kitchen is cool, you can place the covered bowl in a slightly warmed (then turned off) oven. Watching the dough slowly expand is one of the most satisfying parts of bread making!
Shaping and Baking
Shaping the Loaf
Once the dough has doubled in size, I gently punch it down to release the air that has accumulated. This process helps to redistribute the yeast and sugars for a more even final rise. I turn the dough out onto a lightly floured surface again. For a classic artisan loaf, I shape it into a round (boule) or an oval (batard). To create a boule, I gently flatten the dough into a rough circle, then bring the edges into the center, pinching them together to form a taut ball. For a batard, I flatten the dough into a rectangle and then roll it up tightly from one of the long sides, pinching the seam closed. The key is to create tension on the surface of the dough to help it hold its shape during baking.
Second Rise (Proofing) and Baking Preparation
After shaping, I place the dough seam-side down onto a piece of parchment paper or a floured baker’s peel. I then cover it loosely with plastic wrap or a clean kitchen towel and let it rest for another 30-45 minutes. This is the final proofing stage, allowing the dough to relax and build a little more volume before hitting the oven. While the dough is proofing, I preheat my oven to 450°F (230°C). If you have a baking stone or Dutch oven, now is the time to get it in the oven to heat up. For a beautiful crust and good oven spring, a hot baking surface is essential. Just before baking, I like to score the top of the loaf with a sharp knife or a lame. This controlled cut allows the steam to escape as the bread bakes, preventing blowouts and creating attractive patterns. I typically make one long slash or a few diagonal cuts.
Baking the Artisan Bread
Carefully transfer the proofed and scored loaf onto the preheated baking stone or into the preheated Dutch oven. If using a Dutch oven, place the lid on. This traps steam, which is crucial for a crispy crust and a good rise. Bake for 20 minutes with the lid on (or with steam if not using a Dutch oven – you can create steam by placing a pan of hot water on the rack below the bread). After 20 minutes, carefully remove the lid of the Dutch oven (or the steam pan from the oven). Continue baking for another 20-25 minutes, or until the crust is a deep golden brown and the internal temperature of the bread reaches 200-210°F (93-99°C) when tested with an instant-read thermometer. The sound of a hollow thump when tapped on the bottom is another good indicator of doneness. Once baked, transfer the loaf to a wire rack to cool completely. Resist the urge to cut into it too early; allowing it to cool fully develorum extractthe crumb and flavor.
Conclusion:
You’ve now got all the knowledge you need to bake your very own beautiful and delicious Artisan Bread Recipe! This recipe, while requiring a bit of patience, is incredibly rewarding. The process of creating a truly artisan loaf at home, with its deep crust and airy crum extractb, is a culinary triumph. We’ve walked through each step, from the initial mixing and folding to the crucial proofing and baking stages, ensuring you can achieve fantastic results. Don’t be discouraged if your first loaf isn’t perfect; bread making is a journey, and each bake teaches you something new. Experiment with different flours, add herbs, or even include some seeds for your next batch. The possibilities for this versatile Artisan Bread Recipe are endless!
Serving suggestions are as varied as your imagin extractation. This bread is phenomenal on its own, perhaps with a drizzle of olive oil and a sprinkle of sea salt. It’s also the perfect companion to hearty soups and stews, makes an exquisite base for bruschetta, and is ideal for toasting with your favorite toppings. Enjoy the satisfaction of sharing this homemade masterpiece with friends and family!
Frequently Asked Questions:
Why is my crust not as crispy as I expected with this Artisan Bread Recipe?
Several factors can contribute to a less-than-crispy crust. Ensure your oven is fully preheated and that you’re baking at the correct temperature. Using a Dutch oven during baking traps steam, which is essential for a good crust. If you don’t have a Dutch oven, try placing a shallow pan filled with water on the bottom rack of your oven for the first 20-30 minutes of baking to create steam. Also, make sure the bread is fully baked; an underbaked loaf will have a softer crust.
Can I make this Artisan Bread Recipe ahead of time?
Yes, you can! Once the bread has cooled completely, it can be stored at room temperature in a paper bag or bread box for 2-3 days. For longer storage, it freezes very well. Wrap the cooled loaf tightly in plastic wrap, then in aluminum foil or a freezer bag. It can be frozen for up to 3 months. Thaw at room temperature or gently reheat in a moderate oven.
What’s the best way to store sourdough starter for this Artisan Bread Recipe?
If you’re using a sourdough starter for your Artisan Bread Recipe, proper storage is key. Once established, a sourdough starter can be kept at room temperature and fed daily if you bake frequently. For less frequent baking, store it in the refrigerator and feed it once a week. Before using it in your recipe, you’ll need to take it out of the fridge and feed it a couple of times at room temperature to “wake it up” and ensure it’s active and bubbly.
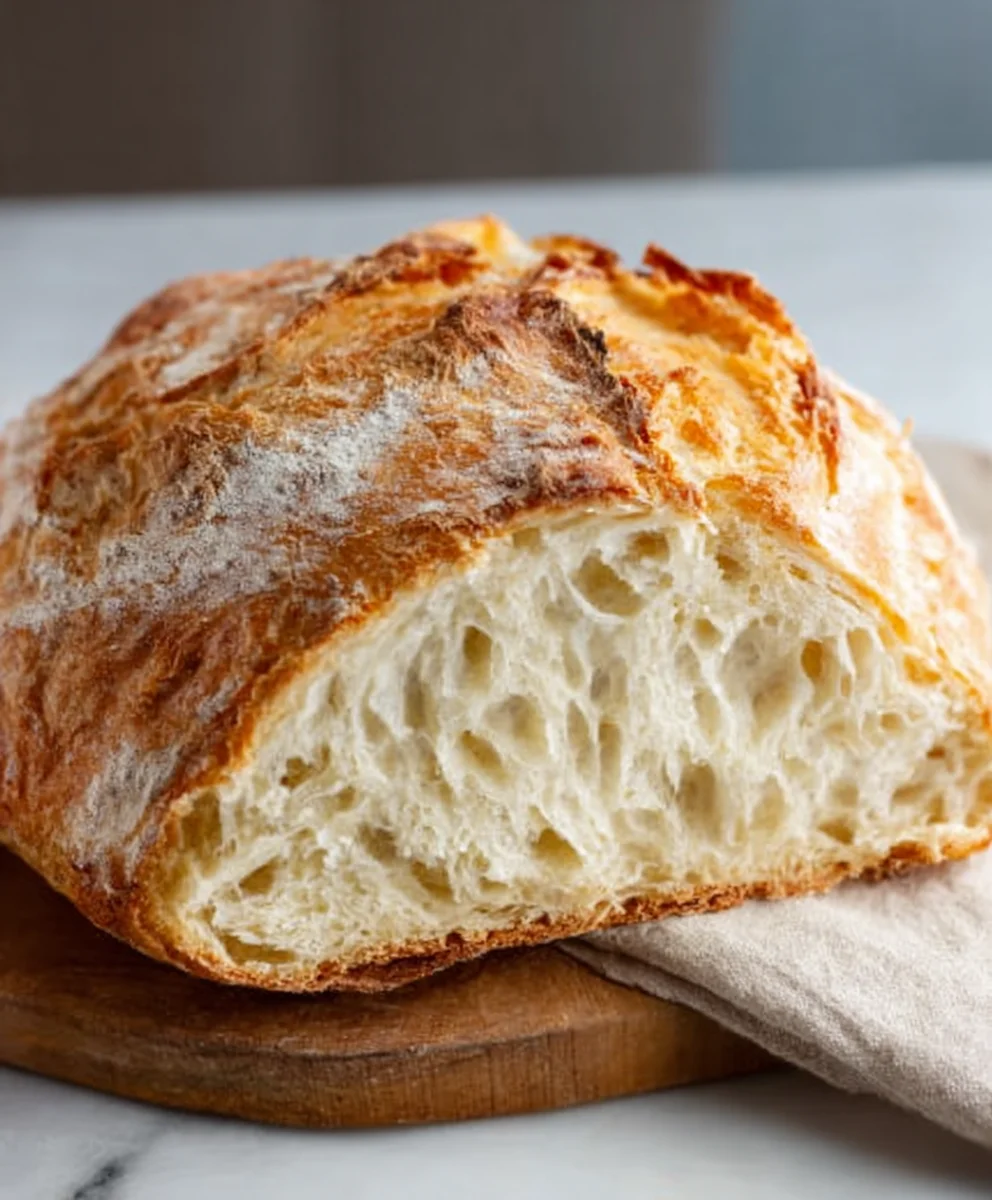
Easy Artisan Bread Recipe-Foolproof & Delicious
A foolproof and delicious recipe for making artisan bread at home. This recipe is designed for beginners, yielding a crusty exterior and a soft, airy interior.
Ingredients
-
3 cups (395 grams) all-purpose flour or bread flour
-
1/2 tablespoon kosher salt
-
1/4 ounce instant or active dry yeast packet (or 2 1/4 teaspoons)
-
1 1/2 cups warm water (105°F)
-
1 teaspoon olive oil (for greasing bowl)
Instructions
-
Step 1
In a large mixing bowl, combine the flour and salt. Sprinkle in the yeast and mix until evenly distributed. -
Step 2
Add the warm water and mix with a spoon or spatula until just combined, forming a shaggy and sticky dough. Ensure all flour is hydrated. -
Step 3
Turn the dough out onto a lightly floured surface and knead for 8-10 minutes until smooth, elastic, and less sticky. Perform the windowpane test to check for gluten development. -
Step 4
Shape the dough into a ball, place it in a lightly oiled bowl, turning to coat. Cover tightly and let rise in a warm place for 1 to 1.5 hours, or until doubled in size. -
Step 5
Gently punch down the dough, shape it into a round (boule) or oval (batard) on a lightly floured surface, creating surface tension. Place seam-side down on parchment paper or a floured peel. -
Step 6
Cover loosely and let proof for another 30-45 minutes. Preheat oven to 450°F (230°C) with a baking stone or Dutch oven inside. Score the top of the loaf. -
Step 7
Carefully transfer the loaf to the preheated baking surface. Bake for 20 minutes with the lid on a Dutch oven or with steam. Remove lid/steam and bake for an additional 20-25 minutes until deep golden brown and internal temperature reaches 200-210°F (93-99°C). -
Step 8
Transfer to a wire rack and let cool completely before slicing to allow the crumb and flavor to develop.
Important Information
Nutrition Facts (Per Serving)
It is important to consider this information as approximate and not to use it as definitive health advice.
Allergy Information
Please check ingredients for potential allergens and consult a health professional if in doubt.


Leave a Comment