
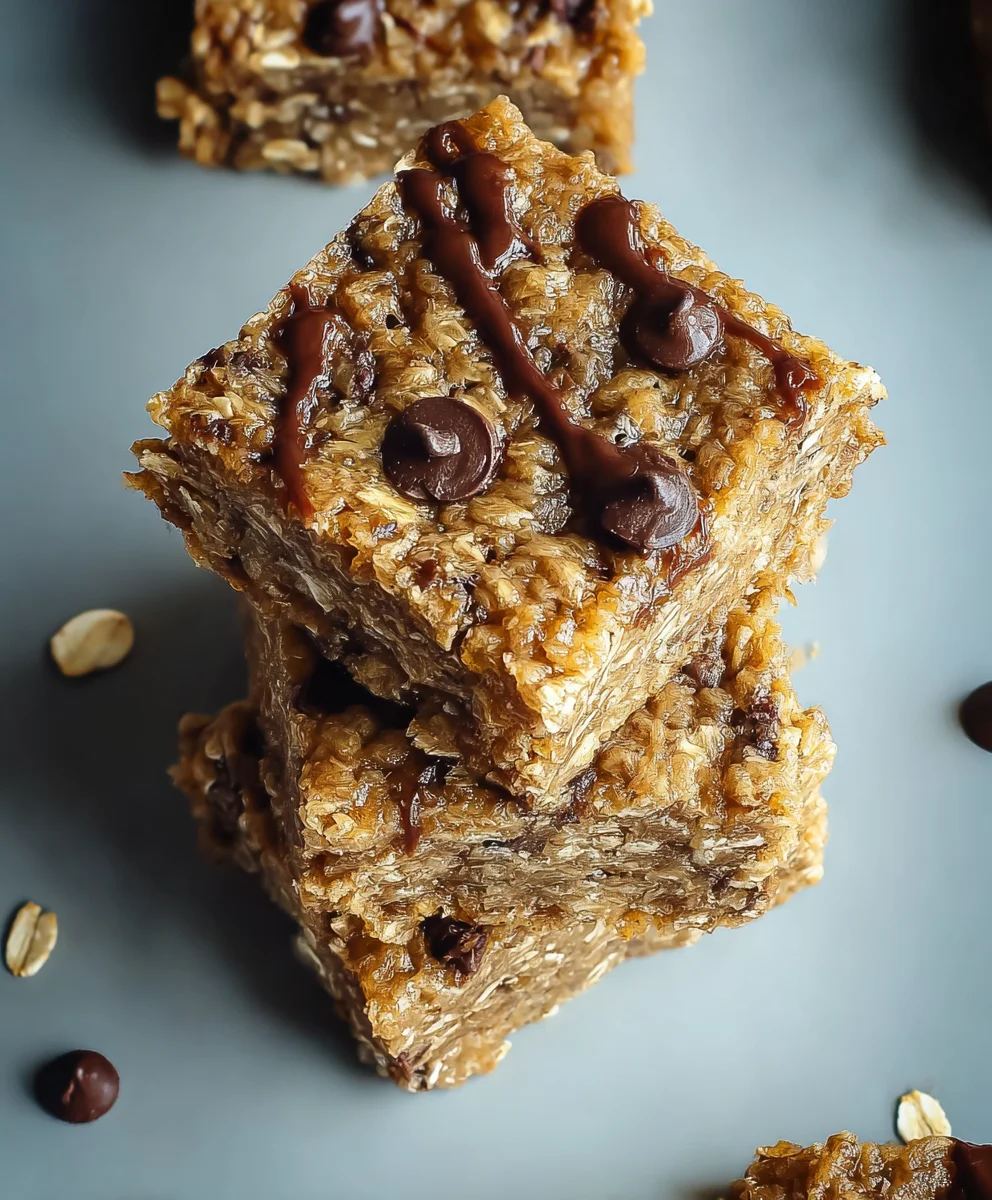
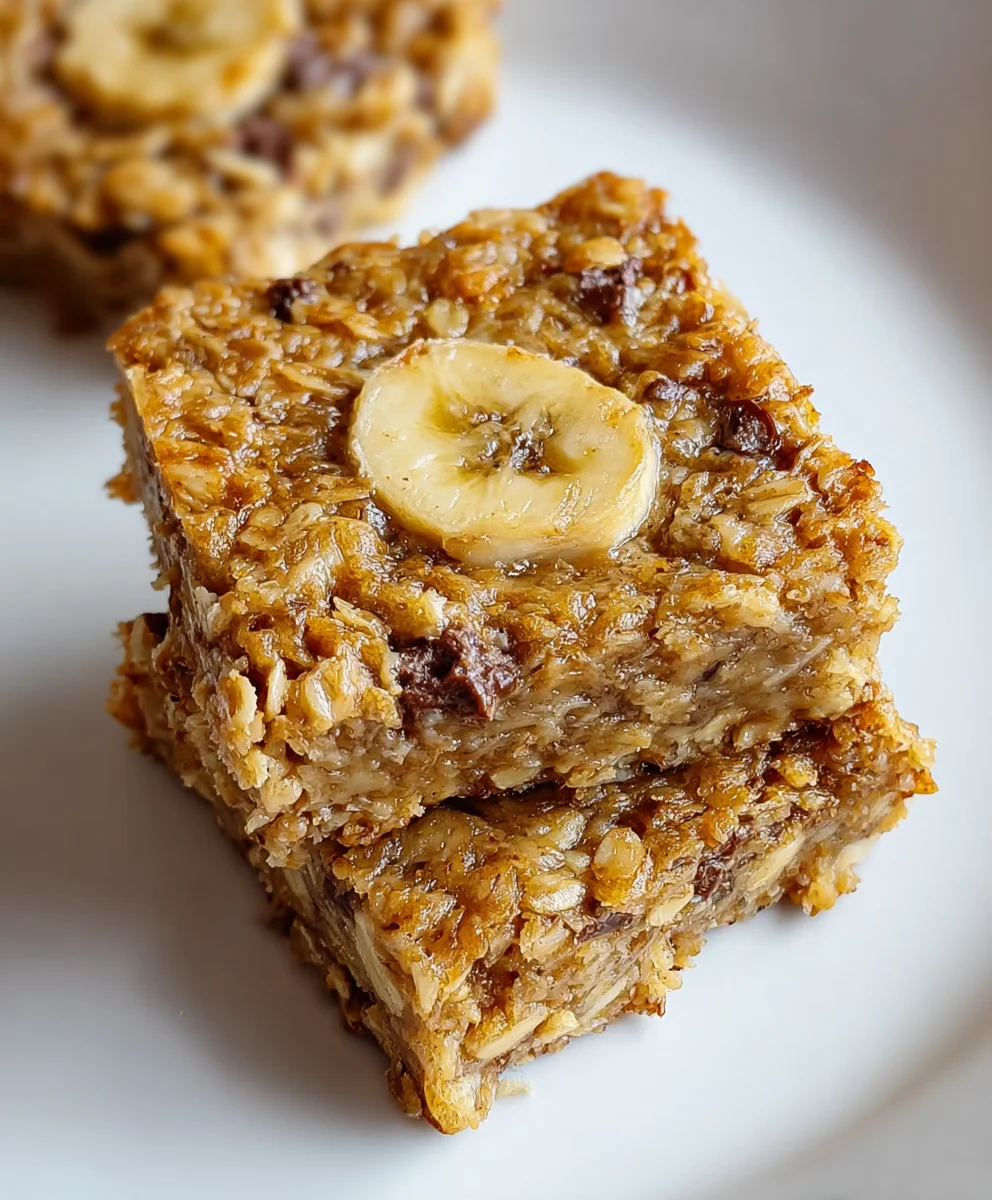
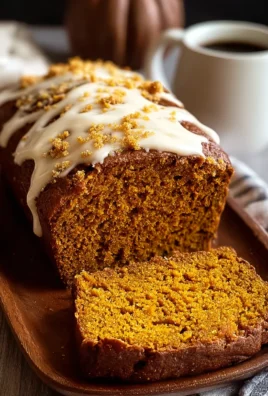
Simple Banana Oat Bars are more than just a quick snack; they’re a hug in a baked good. We all crave those moments of sweet satisfaction that don’t involve hours in the kitchen or a complicated ingredient list. That’s precisely where these delightful bars shine. People absolutely adore them because they deliver on flavor and texture with minimal fuss, making them a go-to for busy mornings, after-school treats, or even a pre-workout energy boost. What truly makes Simple Banana Oat Bars special is their incredible versatility and wholesome goodness. Packed with natural sweetness from ripe bananas and hearty oats, they offer sustained energy without the dreaded sugar crash. They’re the perfect canvas for your favorite additions, whether you crave a burst of chocolate chips, the crunch of nuts, or the chewy delight of dried fruit. Get ready to discover your new favorite guilt-free indulgence.
Ingredients:
- 5 ripe bananas, mashed
- 1 cup creamy peanut butter
- 4 cups old-fashioned rolled oats (not instant oats)
- 1/4 cup semi-sweet chocolate chips
Preparing Your Simple Banana Oat Bars
Gathering Your Supplies
Before we dive into mixing, let’s ensure you have everything ready. You’ll need a large mixing bowl, a spatula or large spoon for stirring, and a baking dish. A 9×13 inch baking dish works perfectly for these bars, giving them a nice thickness. For easier removal and cleanup, I highly recommend lining your baking dish with parchment paper, leaving some overhang on the sides. This will act as little handles to lift the entire slab of bars out once they’re baked and cooled.
Mashing the Bananas
Start with your bananas. The riper they are, the sweeter and more flavorful your bars will be. You want those brown spots – they’re a sign of delicious sweetness! In your large mixing bowl, mash the five ripe bananas until they are mostly smooth. A few small lumps are perfectly fine and add a nice texture. You can use a fork, a potato masher, or even your hands if you’re feeling adventurous! The goal is to break them down into a consistency that can easily be incorporated into the other ingredients.
Combining Wet Ingredients
Next, add the peanut butter to the mashed bananas. It’s best to use creamy peanut butter for this recipe, as it blends more smoothly. If you prefer a slightly chunkier texture or want to incorporate nut pieces, you could use crunchy, but creamy ensures a more cohesive bar. Stir the peanut butter into the mashed bananas until they are well combined. You’re looking for a thick, uniform mixture. This combination forms the base of our delicious bars, providing moisture and binding everything together.
Assembling and Baking the Bars
Adding the Dry Ingredients
Now it’s time to introduce the rolled oats. Make sure you are using old-fashioned rolled oats. Instant oats tend to break down too much and can result in a mushy texture, which is not what we want for these satisfying bars. Pour the four cups of rolled oats into the bowl with the banana and peanut butter mixture. Begin extract to gently stir everything together. This is where your spatula or large spoon will get a good workout! You want to ensure that every single oat is coated with the banana and peanut butter mixture. It will feel quite thick and a bit stiff, which is exactly what we’re aiming for. This thickness is what will hold the bars together without any added flour or eggs.
Incorporating the Chocolate Chips
The final addition before baking is the star of many sweet treats: chocolate chips! Gently fold in the 1/4 cup of chocolate chips. You don’t want to overmix at this stage. Just distribute them evenly throughout the oat mixture. Some will settle at the bottom, some will be in the middle, and some will be on top, ensuring a delightful chocolatey surprise in every bite. Again, stir just enough to get them dispersed.
Pressing and Baking
Once everything is combined, it’s time to get it into your prepared baking dish. Spoon the thick mixture into the lined baking dish. Use your spatula or the back of a spoon to press the mixture down firmly and evenly into the dish. This step is crucial for creating bars that hold their shape. The more you press, the denser and more compact your bars will be. Get into the corners and make sure the surface is as flat as possible. Preheat your oven to 350 degrees Fahrenheit (175 degrees Celsius). Place the baking dish in the preheated oven and bake for 25-30 minutes. You’re looking for the edges to be lightly golden brown and the center to feel set. Be careful not to overbake, as this can make them dry.
Cooling and Enjoying
Cooling Down for Perfect Bars
Once baked, remove the dish from the oven. The bars will still be soft and slightly jiggly in the center. Resist the urge to cut into them immediately! This is perhaps the hardest part, but crucial for achieving well-formed bars. Let the bars cool completely in the baking dish. This can take a couple of hours at room temperature. As they cool, they will firm up significantly. If you are short on time, you can speed up this process by placing the baking dish in the refrigerator for about an hour after it has cooled down a bit on the counter.
Cutting and Serving
Once the bars are completely cool and firm, use the parchment paper overhang to carefully lift the entire slab out of the baking dish. Place it on a cutting board. Now you can use a sharp knife to cut them into your desired bar size. Whether you prefer thick, hearty bars or smaller, more bite-sized portions, the choice is yours. These simple banana oat bars are perfect for a quick breakfast on the go, a satisfying snack, or even a healthier dessert option. They store well in an airtight container at room temperature for a few days, or you can extend their freshness by keeping them in the refrigerator. Enjoy the wholesome goodness!
Conclusion:
And there you have it – the delightfully simple and incredibly satisfying Simple Banana Oat Bars! We’ve walked through each easy step to create these wholesome treats, perfect for any occasion. Whether you’re looking for a quick breakfast on the go, a healthy afternoon snack, or even a guilt-free dessert, these bars are your answer. Their naturally sweet flavor from ripe bananas, combined with the hearty texture of oats, makes them a crowd-pleaser for both adults and children.
To elevate your enjoyment, consider serving your Simple Banana Oat Bars warm, perhaps with a dollop of Greek yogurt or a drizzle of honey. They also pair wonderfully with a cup of your favorite tea or coffee. Don’t be afraid to get creative with variations! You can easily add a handful of chocolate chips for a decadent twist, a sprinkle of cinnamon for extra warmth, or even some chopped nuts for added crunch and protein. The possibilities are truly endless!
We truly hope you enjoy making and devouring these Simple Banana Oat Bars as much as we do. They are a testament to how delicious and wholesome simple ingredients can be. So go ahead, gather your ingredients, and get baking. We encourage you to experiment and find your perfect flavor combination!
Frequently Asked Questions:
Q1: How should I store the Simple Banana Oat Bars?
For best results, store your Simple Banana Oat Bars in an airtight container at room temperature for up to 3 days. If you live in a warmer climate or want to keep them for longer, they can be refrigerated for up to a week. They also freeze beautifully; simply wrap individual bars or stacks of bars in plastic wrap and then place them in a freezer-safe bag or container for up to 2-3 months. Thaw at room temperature or gently warm them before enjoying.
Q2: Can I make these Simple Banana Oat Bars gluten-free?
Absolutely! To make your Simple Banana Oat Bars gluten-free, ensure you use certified gluten-free rolled oats. All other standard ingredients like bananas, eggs, and baking powder are naturally gluten-free. Always double-check the labels of any added ingredients like chocolate chips or nuts to confirm they are also gluten-free if dietary restrictions are a concern.
Easy Banana Oat Bars-Healthy Quick Snack
Delicious and healthy no-bake banana oat bars that are quick to make and perfect for a snack.
Ingredients
-
5 ripe bananas, mashed
-
1 cup creamy peanut butter
-
4 cups old-fashioned rolled oats
-
1/4 cup semi-sweet chocolate chips
-
Parchment paper (for lining dish)
Instructions
-
Step 1
Preheat oven to 350°F (175°C). Line a 9×13 inch baking dish with parchment paper, leaving overhang for easy removal. -
Step 2
In a large bowl, mash 5 ripe bananas until mostly smooth. -
Step 3
Add 1 cup of creamy peanut butter to the mashed bananas and stir until well combined. -
Step 4
Gently stir in 4 cups of old-fashioned rolled oats, ensuring all oats are coated. Fold in 1/4 cup of semi-sweet chocolate chips. -
Step 5
Press the mixture firmly and evenly into the prepared baking dish. Bake for 25-30 minutes, or until edges are lightly golden brown and the center is set. -
Step 6
Let the bars cool completely in the baking dish before lifting out using the parchment paper and cutting into desired sizes.
Important Information
Nutrition Facts (Per Serving)
It is important to consider this information as approximate and not to use it as definitive health advice.
Allergy Information
Please check ingredients for potential allergens and consult a health professional if in doubt.
Leave a Comment