
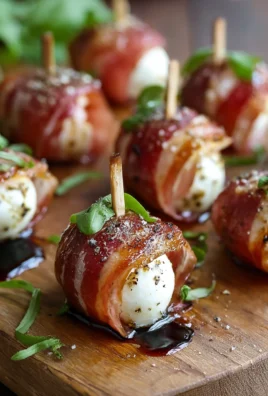
Kid Friendly Charcuterie Board: A magical way to transform snack time into an event! Forget boring plates and scattered finger foods; we’re talking about a vibrant, delicious, and utterly delightful spread that will have your little ones cheering. What’s not to love about a beautiful arrangement of their favorite treats, all artfully displayed for easy grabbing and maximum enjoyment? This isn’t just about food; it’s about creating an experience. Parents adore these boards because they’re incredibly simple to assemble, require no cooking, and make picky eaters surprisingly adventurous. What truly makes a Kid Friendly Charcuterie Board special is its versatility and the element of surprise. You can tailor it to any occasion, theme, or dietary need, making it a truly adaptable centerpiece for any family gathering or a simple Tuesday afternoon. Get ready to impress and delight your crew!
Ingredients:
- 1 cup strawberries, washed and hulled
- 1 cup raspberries, washed
- 1 cup blueberries, washed
- 2 apples, cored and thinly sliced
- 1 cup seedless grapes, washed and halved if large
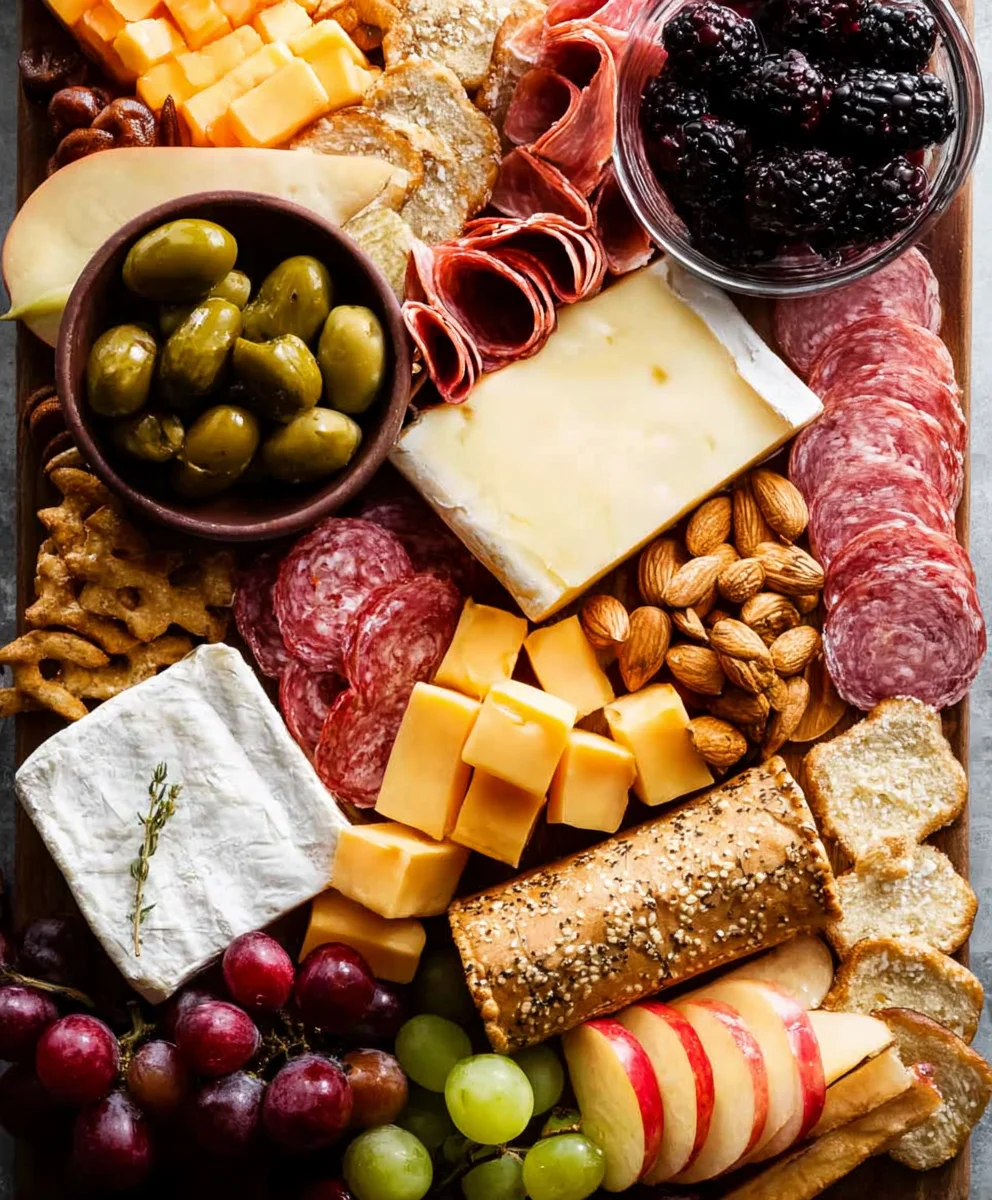
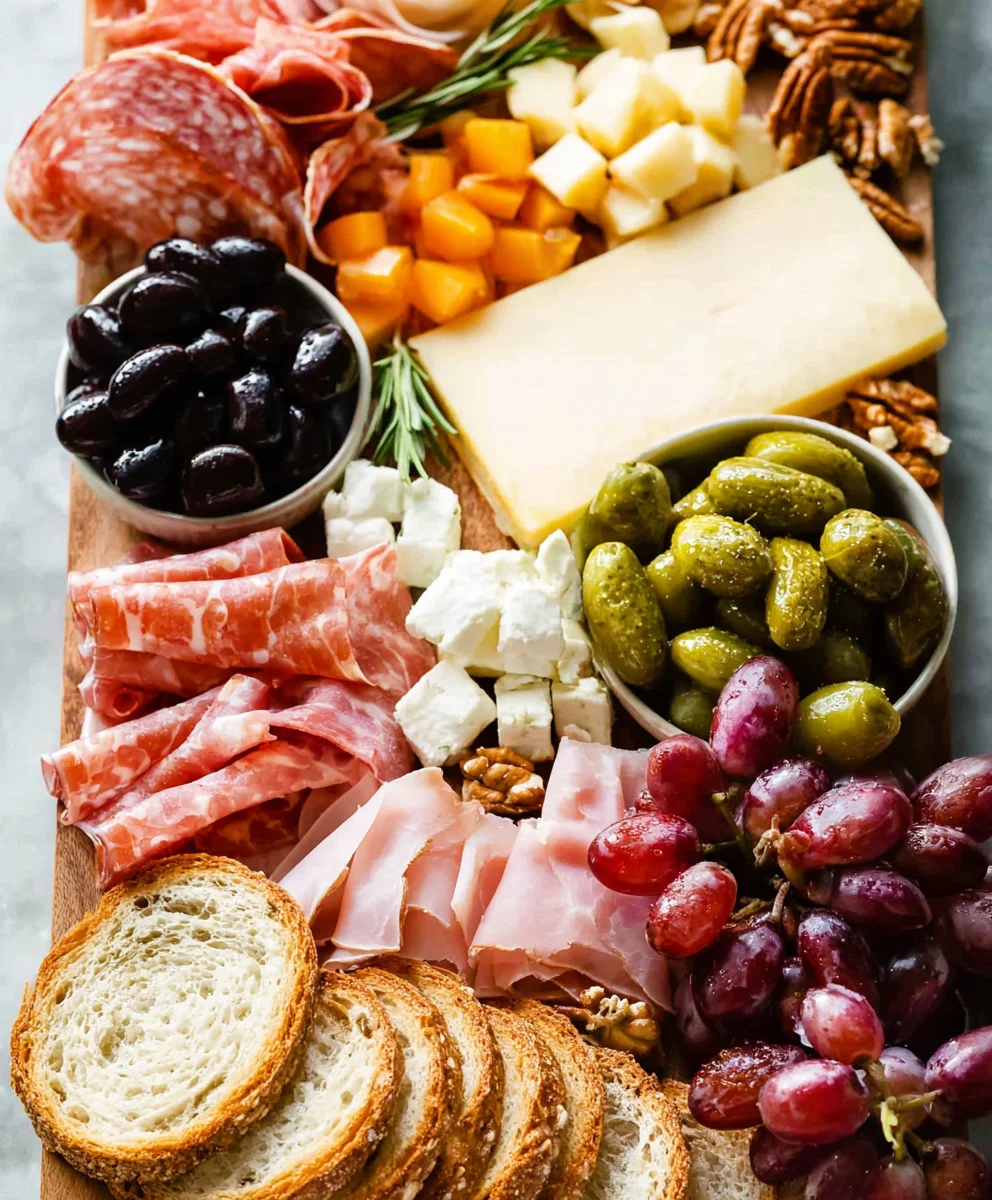
- 8 ounces genoa salami, thinly sliced
- 8 ounces pepperoni slices
- 8 ounces deli ham, folded or rolled
- 8 ounces mozzarella slices, cut into bite-sized pieces or triangles
- 1 cup cheddar cheese cubes
- 1 cup pitted olives (Kalamata or green work well)
- 1 cup dill pickles, sliced or spears
- 12 ounces Goldfish crackers
- 8 ounces assorted crackers (like water crackers, Ritz, or whole wheat)
- 8 ounces pretzels
Preparation and Assembly
Step 1: Prepare the Fruits
The first step in creating our delightful Kid-Friendly Charcuterie Board is to get all of our fresh fruits ready. I like to wash all the berries thoroughly under cool running water and then gently pat them dry with a paper towel to remove any excess moisture. For the strawberries, I’ll remove the green tops (hull them) and then slice them in half or into quarters, depending on their size, making them easier for little hands to pick up. The raspberries and blueberries can be left whole. For the apples, I’ll core them and then slice them thinly. To prevent them from browning, you can toss them with a tiny squeeze of lemon juice, though for a charcuterie board that will be consumed relatively quickly, this isn’t always strictly necessary. Finally, wash the grapes and, if they are particularly large, I like to cut them in half to make them more manageable and less of a choking hazard for younger children. Arrange these colorful fruits in small bowls or directly onto the board, creating vibrant pockets of freshness.
Step 2: Arrange the Meats and Cheeses
Next, we’ll focus on the savory elements: the meats and cheeses. For the genoa salami and pepperoni, I like to arrange them in attractive, fanned-out piles or rolled up like little roses. This makes them visually appealing and easy to grab. The deli ham can be folded in half, then in half again, or rolled into loose spirals. This adds some lovely texture and shape to the board. For the mozzarella slices, I’ll cut them into smaller, bite-sized squares or triangles. The cheddar cheese cubes are already perfectly portioned for easy snacking. I like to scatter the cheese cubes around the board, perhaps near some of the fruits or crackers, to create a nice balance of flavors and textures. The key here is variety in how you present the meats and cheeses – some flat, some folded, some rolled – to add visual interest.
Step 3: Introduce the Briny Bites
Now, let’s add some briny and savory accents to our Kid-Friendly Charcuterie Board. The olives are a fantastic addition, offering a salty counterpoint to the sweet fruits and creamy cheeses. I’m using pitted olives today, which are ideal for a kid-friendly setup. You can arrange them in a small bowl or directly on the board in a neat little pile. Similarly, the pickles bring a delicious tang and crunch. I’ve sliced mine into rounds, but pickle spears also work wonderfully. These add another layer of flavor and a satisfying crunch that kids often love. Placing these savory elements strategically around the board helps to break up the colors and textures and adds a delightful salty element to each bite.
Step 4: Add the Crunchy Components
The crunch factor is essential for any kid-friendly snack spread, and our crackers, pretzels, and Goldfish crackers deliver exactly that! I’ll divide the assorted crackers into a couple of different sections, fanning them out or stacking them casually. The pretzels, with their unique shape and salty taste, can be clustered together or spread out. And of course, the Goldfish crackers are a guaranteed hit! I’ll pour them into a small bowl or create a generous pile right on the board, making them easily accessible. These crunchy elements not only provide a satisfying texture but also act as vehicles for scooping up cheeses, meats, and even a bit of fruit if desired. Their varied shapes and sizes add to the playful appeal of the board.
Step 5: Assemble and Fill in Gaps
With all our individual components prepared, it’s time for the final assembly of our Kid-Friendly Charcuterie Board. Begin by placing your largest items first – perhaps the bowls of berries or clusters of meats. Then, start filling in the spaces with the other ingredients. Think about color and texture contrasts. Place the bright red raspberries next to the creamy white mozzarella, or the green grapes beside the golden cheddar cubes. Don’t be afraid to let things overlap slightly; this creates a lush, abundant look. Use the smaller items like crackers, pretzels, and olives to fill any remaining gaps, ensuring there are no large empty spaces on the board. The goal is to make it look bountiful and inviting. I always like to do a final sweep to make sure everything is easily reachable and visually appealing. Remember, this board is meant to be fun and accessible, so don’t stress about perfection – just have fun with it!
Conclusion:
We hope you’ve enjoyed learning how to create a fantastic Kid Friendly Charcuterie Board! This recipe is all about making mealtime fun and engaging for your little ones, offering a delightful way to encourage them to try new foods and enjoy a balanced meal. The beauty of this board lies in its adaptability; it’s a canvas for your creativity and your children’s preferences. Remember, the goal is to present familiar favorites alongside a few new taste adventures in an appealing and accessible format. Don’t be afraid to let your kids get involved in the assembly process – they’ll be even more excited to dive into something they helped create!
Consider serving your Kid Friendly Charcuterie Board as a fun lunch, a light dinner, or even as a special snack. It pairs wonderfully with a simple glass of milk, water, or a homemade fruit-infused beverage. For variations, feel free to swap out any ingredients based on seasonality or what you have on hand. Think about adding different cheeses like cheddar cubes or mozzarella balls, a variety of fruits such as berries or melon chunks, and different dippers like pretzels or pita bread. The possibilities are truly endless, allowing you to tailor the board to your child’s specific likes and dislikes.
We encourage you to try this out for your next family meal or gathering. It’s a low-stress, high-reward way to bring a smile to everyone’s face. Happy building!
Frequently Asked Questions:
Q: How can I make this Kid Friendly Charcuterie Board even healthier?
A: To boost the health factor, prioritize whole grains like whole wheat crackers and pita bread. Load up on a diverse array of colorful fruits and vegetables like bell pepper strips, cucumber slices, carrot sticks, grapes, and apple wedges. Opt for lean protein sources such as turkey roll-ups or hard-boiled egg slices. You can also limit processed meats and sugary items, focusing instead on natural goodness.
Q: My child is a picky eater. How can I encourage them to try new things on the board?
A: The key is gentle introduction and presentation. Always include at least one or two “safe” foods your child already loves. Then, add a small portion of a new item alongside it. You can also use fun cookie cutters to shape cheeses or fruits into appealing forms. Encourage them to “dip” new items into familiar sauces like hummus or a mild yogurt dip. Sometimes, seeing siblings or other family members enjoy something can be enough motivation!
Q: What are some good dips to include on a Kid Friendly Charcuterie Board?
A: Hummus is a fantastic and versatile choice. A mild ranch dip or a creamy yogurt-based dip (plain yogurt with a hint of garlic powder or herbs) also works well. For a slightly sweeter option, a small bowl of applesauce or a light berry compote can be a hit. Ensure the dips are easy for little hands to manage and don’t have overpowering flavors.
Easy Kid Charcuterie Board – Fun & Delicious Bites
Create a fun and delicious charcuterie board with a variety of fruits, meats, cheeses, and crunchy snacks perfect for kids.
Ingredients
-
1 cup strawberries, washed and hulled
-
1 cup raspberries, washed
-
1 cup blueberries, washed
-
2 apples, cored and thinly sliced
-
1 cup seedless grapes, washed and halved if large
-
8 ounces thinly sliced beef salami
-
8 ounces pepperoni slices
-
8 ounces deli turkey, folded or rolled
-
8 ounces mozzarella slices, cut into bite-sized pieces or triangles
-
1 cup cheddar cheese cubes
-
1 cup pitted olives (Kalamata or green work well)
-
1 cup dill pickles, sliced or spears
-
12 ounces Goldfish crackers
-
8 ounces assorted crackers (like water crackers, Ritz, or whole wheat)
-
8 ounces pretzels
Instructions
-
Step 1
Prepare the fruits: Wash all berries, hull strawberries and slice them. Core and thinly slice apples. Wash grapes and halve if large. Arrange fruits in small bowls or directly on the board. -
Step 2
Arrange the meats and cheeses: Fan out or roll genoa salami and pepperoni. Fold or roll deli turkey. Cut mozzarella slices into bite-sized pieces. Scatter cheddar cheese cubes around the board. -
Step 3
Introduce the briny bites: Place pitted olives in a small bowl or pile directly on the board. Arrange sliced or speared dill pickles. -
Step 4
Add the crunchy components: Fan out assorted crackers, cluster pretzels, and arrange Goldfish crackers in a bowl or pile. -
Step 5
Assemble and fill in gaps: Place larger items first, then fill in spaces with other ingredients, creating color and texture contrasts. Ensure all items are easily reachable and the board looks bountiful.
Important Information
Nutrition Facts (Per Serving)
It is important to consider this information as approximate and not to use it as definitive health advice.
Allergy Information
Please check ingredients for potential allergens and consult a health professional if in doubt.
Leave a Comment