
Mini Apple Pies are the ultimate bite-sized slice of autumn heaven, and trust me, you’re going to want to make a batch (or two!) of these delightful treats. There’s something undeniably comforting about the warm embrace of flaky pastry and sweet, spiced apples. These individual pies capture all the magic of a classic apple pie but in a perfectly portioned package that’s ideal for sharing (or not!). What makes these mini apple pies so special? It’s their charming presentation, of course, but also the way each bite delivers that perfect ratio of crisp crust to tender, cinnamon-kissed apple filling. They’re effortless to make, delightfully portable, and guaranteed to be a crowd-pleaser at any gathering. Get ready to fall in love with these adorable and delicious mini apple pies.
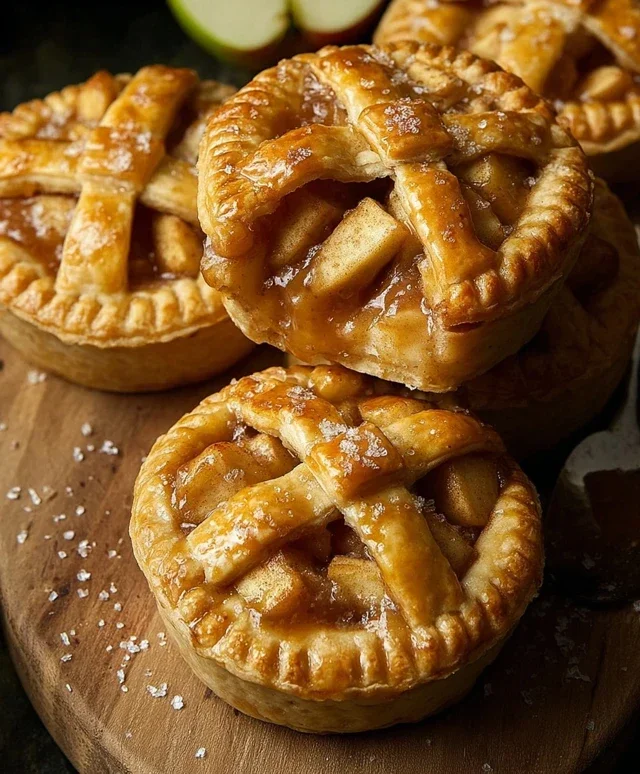
Mini Apple Pies
There’s something undeniably comforting about a warm, homemade apple pie. The sweet, spiced apple filling encased in a flaky, golden crust is a classic for a reason. But sometimes, a full-sized pie can feel a little… much. Enter the mini apple pie! These charming little delights are perfect for individual servings, easier to handle, and frankly, just adorable. They’re fantastic for potlucks, bake snon-alcoholic ales, or simply for enjoying a personal treat without having to commit to an entire pie. Plus, they’re surprisingly simple to make, especially when you enlist the help of store-bought pie crusts. Let’s get baking!
Ingredients:
Preparing the Apple Filling
The heart of any apple pie is, of course, the apples. For these mini pies, we want a filling that’s sweet but still has a pleasant tang, with just the right amount of spice. Using tart apples like Granny Smith or Honey Crisp is key. Granny Smiths offer a wonderful tartness that balances the sweetness, while Honey Crisps provide a beautiful balance of sweet and tart with a satisfying crisp texture that holds up well during baking.
First, we need to prepare our apples. This involves peeling, coring, and then slicing them. For mini pies, a smaller dice or thin slices work best. I like to cut mine into roughly 1/2-inch cubes, but you could also go for thin slices if you prefer a different texture. Once the apples are prepped, toss them in a bowl with 1 tablespoon of lemon juice. This isn’t just for flavor; the acid in the lemon juice helps prevent the apples from browning while you’re preparing the rest of the filling, and it also brightens up the overall flavor profile.
Now, let’s build that delicious apple filling. In a separate bowl, whisk together the 1/4 cup of granulated white sugar, 1/4 cup of white flour, and 1 teaspoon of ground cinnamon. The flour acts as a thickener, ensuring our filling isn’t too runny once baked. The cinnamon is essential for that classic apple pie aroma and taste. Pour this dry mixture over the prepared apples and toss gently to coat them evenly. This ensures every apple slice is infused with that delightful cinnamon-sugar flavor.
Next, we need to add the butter. Cut the 2 tablespoons of salted butter into small pieces and scatter them over the apple mixture. The butter adds richness and helps create a more luscious filling. You can either gently toss it in or just let it sit on top – it will melt as the pies bake. Set this bowl of glorious apple filling aside while we prepare our pie crusts.
Assembling the Mini Pies
This is where the fun really begin extracts! We’re using store-bought pie crusts to make this recipe accessible and quick. You can certainly make your own from scratch if you have the time and inclination, but for these mini pies, pre-made crusts are a fantastic shortcut. Take your 2 store-bought or homemade pie crusts and let them sit at room temperature for a few minutes to make them easier to handle.
There are a few ways to approach the crusts for mini pies. You can use muffin tins, ramekins, or even small tart pans. For this recipe, I’ll assume you’re using a standard muffin tin. Unroll one pie crust and use a round cookie cutter (or the rim of a glass) that’s slightly larger than the opening of your muffin tin cups to cut out circles. You’ll need 6 circles per pie crust, so 12 circles in total. Gently press these circles into the bottom and up the sides of each muffin cup. You want them to fit snugly and create a little cup for our filling.
Now, it’s time to fill these little crusts. Spoon the prepared apple filling into each crust-lined muffin cup, filling them about two-thirds to three-quarters of the way full. Don’t overfill them, as the apples will expand slightly as they cook.
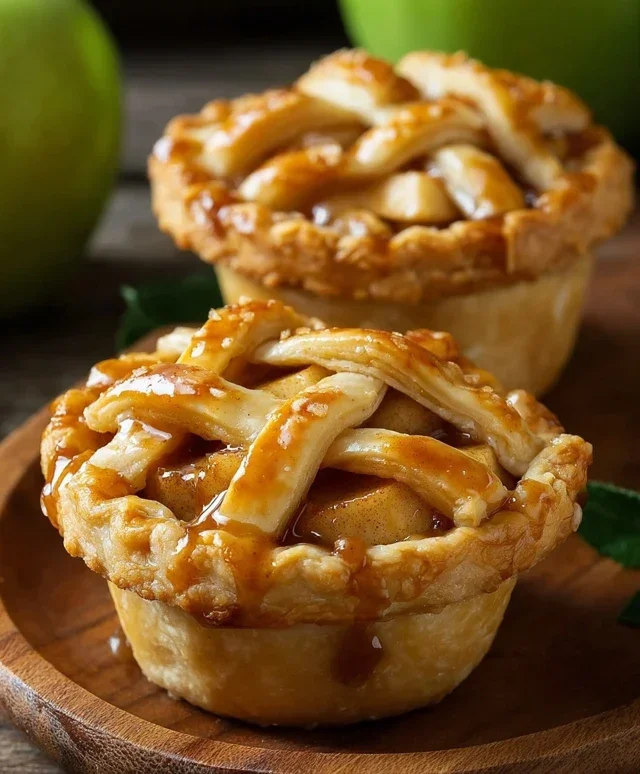
For the tops of our mini pies, you have a couple of options. You can cut out smaller circles for a solid top, or get creative with lattice work. For a simple approach, cut out 12 smaller circles that will fit on top of the filling. Alternatively, you can cut thin strips from the remaining pie crust dough and weave them into a lattice pattern over the filling. This adds a lovely visual touch. If you’re making solid tops, gently place them over the filling and crimp the edges of the top and bottom crusts together to seal. If you’re doing a lattice, lay the strips across the top and then crimp the edges.
The Finishing Touches and Baking
Before our mini pies hit the oven, they need a little something extra to make them shine. In a small bowl, whisk together 1 large egg and 1 tablespoon of water. This is your egg wash. Using a pastry brush, lightly brush the tops of each mini pie with this egg wash. The egg wash not only gives the crust a beautiful golden-brown sheen but also helps the sugar adhere.
Once brushed with the egg wash, sprinkle the tops of the pies with 1 tablespoon of turbinado sugar or granulated white sugar. Turbinado sugar has larger crystals, which will create a delightful crunch and a more rustic look, but granulated white sugar will work perfectly too.
Now it’s time to bake! Preheat your oven to 375 degrees Fahrenheit (190 degrees Celsius). Carefully place your muffin tin (or however you’ve prepared your mini pies) onto a baking sheet. This is a good practice to catch any potential drips and makes it easier to get the tin in and out of the oven.
Bake for 20-25 minutes, or until the crust is golden brown and the apple filling is bubbling. The exact baking time will depend on your oven and the size of your mini pies. Keep an eye on them to ensure they don’t burn.
Once baked to perfection, carefully remove the muffin tin from the oven. Let the mini apple pies cool in the tin for about 10-15 minutes. This is important because they will be very hot and the filling will still be quite liquid. Allowing them to cool slightly will help the filling set. After the initial cooling in the tin, you can gently lift them out (using a fork or small spatula if needed) and place them on a wire rack to cool completely.
These mini apple pies are delicious served warm or at room temperature. They are fantastic on their own, or you can take them to the next level with a dollop of whipped cream or a scoop of vanilla ice cream. Enjoy your charming and delicious homemade mini apple pies!
Conclusion:
There you have it – a delightful and manageable way to enjoy the comforting flavors of apple pie without the fuss! These mini apple pies are absolutely fantastic because they offer that perfect balance of sweet, spiced apples nestled in a flaky, buttery crust, all in a perfectly portioned package. They’re ideal for gatherings, dessert buffets, or even just a special treat for yourself. I love serving them warm with a dollop of vanilla ice cream or a drizzle of caramel sauce. For variations, consider adding a pinch of nutmeg or a splash of lemon juice to the apple filling for an extra zing, or even a crum extractble topping instead of a full crust on top.
I truly encourage you to give these mini apple pies a try. They are surprisingly simple to make and the reward of a warm, homemade dessert is always worth it. Get creative, have fun in the kitchen, and enjoy every single bite!
Frequently Asked Questions:
Can I make the crust ahead of time?
Absolutely! You can prepare the pie crust dough a day or two in advance and store it in the refrigerator. Just let it come to room temperature for a few minutes before rolling it out.
What kind of apples are best for these mini pies?
A mix of apples often yields the best flavor and texture. I like using a combination of Granny Smith for tartness and Honeycrisp or Fuji for sweetness. Avoid overly soft apples that will turn mushy.
How long do these mini apple pies keep?
Stored in an airtight container in the refrigerator, these mini apple pies should stay fresh for 2-3 days. They are best enjoyed warm, so you can gently reheat them in a low oven.
Mini Apple Pies
Delightful individual apple pies with a flaky crust and a warm, spiced apple filling.
Ingredients
-
4 tart apples like Granny Smith or Honey Crisp
-
1 tablespoon lemon juice (fresh squeezed or bottled)
-
1/4 cup granulated white sugar
-
1/4 cup white flour
-
1 teaspoon ground cinnamon
-
2 tablespoons salted butter
-
2 store-bought or homemade pie crusts
-
1 large egg
-
1 tablespoon water
-
1 tablespoon turbinado sugar or granulated white sugar
Instructions
-
Step 1
Preheat oven to 375°F (190°C). Grease a muffin tin. -
Step 2
Peel, core, and dice the apples. In a bowl, toss apples with lemon juice. -
Step 3
In a separate bowl, whisk together granulated sugar, flour, and cinnamon. -
Step 4
Add the sugar mixture to the apples and toss to coat evenly. -
Step 5
Melt the butter and set aside. -
Step 6
Unroll pie crusts and cut out circles to fit the muffin tin cups. -
Step 7
Place crust circles into the prepared muffin tin, pressing them into the bottom and up the sides. -
Step 8
Divide the apple filling evenly among the pie crusts. -
Step 9
Drizzle melted butter over the apple filling in each mini pie. -
Step 10
In a small bowl, whisk together egg and water to create an egg wash. Brush the edges of the pie crusts with the egg wash. -
Step 11
Sprinkle the turbinado or granulated sugar over the egg-washed edges. -
Step 12
Bake for 20-25 minutes, or until the crust is golden brown and the filling is bubbly. -
Step 13
Let cool slightly before serving.
Important Information
Nutrition Facts (Per Serving)
It is important to consider this information as approximate and not to use it as definitive health advice.
Allergy Information
Please check ingredients for potential allergens and consult a health professional if in doubt.


Leave a Comment