
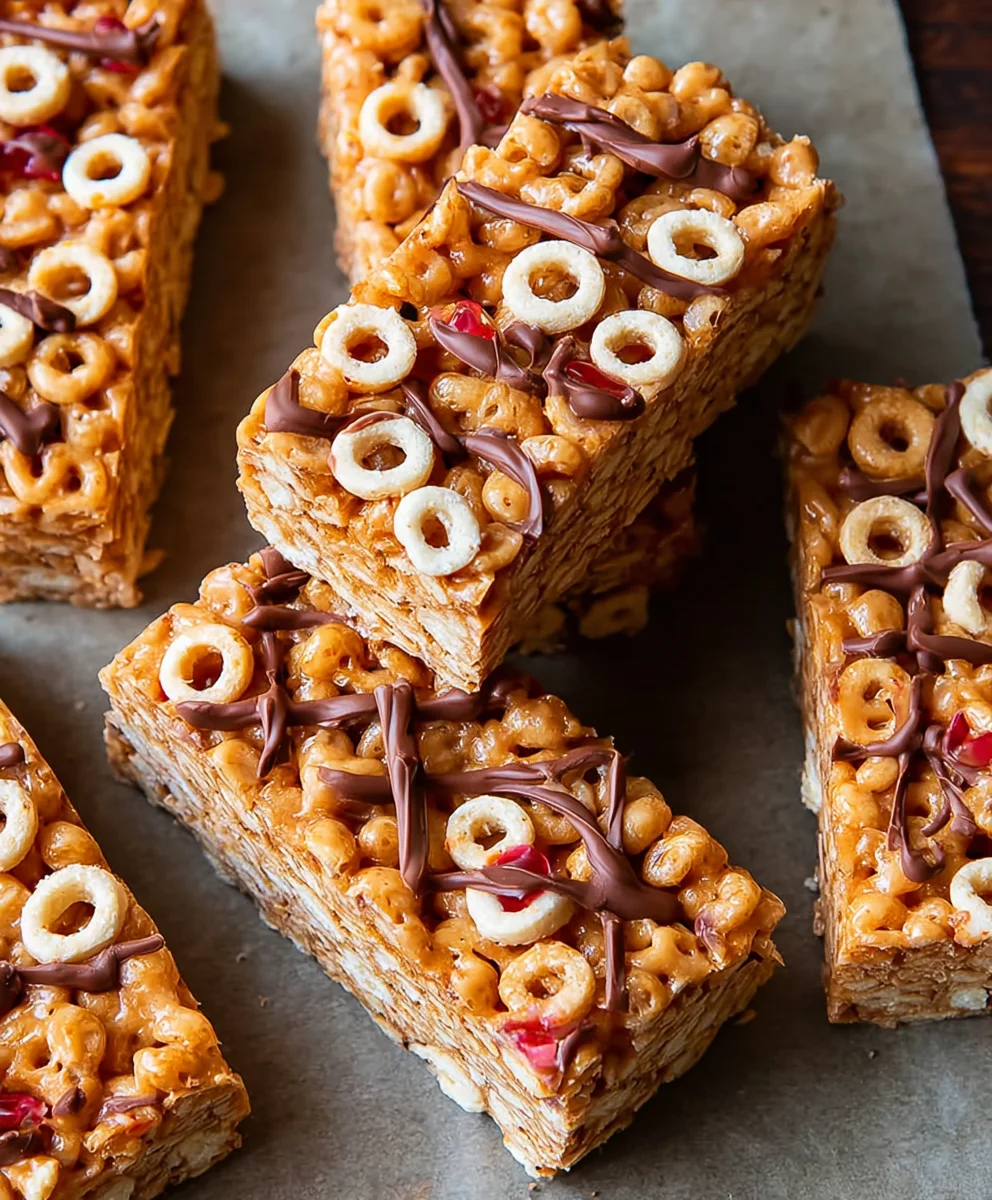
Cereal bars are a beloved snack for a reason – they’re the perfect blend of satisfying crunch and sweet indulgence, making them ideal for on-the-go energy or a guilt-free treat. Whether you’re packing a lunchbox, heading to the gym, or simply need a quick pick-me-up, these versatile delights never disappoint. But have you ever stopped to think about what truly elevates a good cereal bar to an extraordinary one? It’s all about the thoughtful combination of textures and flavors, the balance of wholesome grains with just the right amount of sweetness, and that satisfying chewy-yet-crisp mouthfeel. Forget the mass-produced, overly processed options; we’re talking about homemade cereal bars that sing with fresh ingredients and customizable goodness. This recipe is designed to be incredibly adaptable, allowing you to tailor it to your specific cravings and pantry staples, proving that the best cereal bars are the ones you make yourself, bursting with personality and irresistible taste.
Ingredients:
- 3 cups cereal of choice (use your favorite crunchy cereal, like rice crispies, corn flakes, or a mix!)
- 2/3 cup peanut butter or nut butter of choice (creamy or crunchy, almond butter or cashew butter also work wonderfully)
- 1/2 cup agave, honey, or brown rice syrup (this is your binder and sweetener, adjust slightly based on your preference for sweetness)
- 1/2 tsp salt (optional, but it really enhances the flavors, especially with peanut butter)
- 3 tbsp protein powder (optional, for an extra protein boost; unflavored or vanilla works best)
Preparing Your Cereal Bars
Step 1: Combine the Wet Ingredients
First, we’re going to get our binding agents ready. In a medium-sized saucepan, add your peanut butter (or your chosen nut butter) and your liquid sweetener – whether that’s agave, honey, or brown rice syrup. Place the saucepan over low heat. We’re not looking to boil this, just gently warm it up until everything is smooth and easily stirrable. This gentle warming helps the nut butter become more pliable and allows it to mix more uniformly with the syrup, creating a luscious base for our cereal bars.
Stir the mixture constantly with a spoon or spatula to prevent the nut butter from sticking to the bottom of the pan and potentially burning. You want a smooth, cohesive mixture. If you’re adding the optional salt, this is a good time to whisk it in. The salt, even in a small amount, plays a crucial role in balancing the sweetness and bringin extractg out the nutty undertones of the peanut butter. If you’re incorporating the optional protein powder, set it aside for now. We’ll add it in the next step to ensure it incorporates smoothly without clumping.
Step 2: Incorporate Protein Powder (if using) and Mix with Cereal
Once your nut butter and syrup mixture is smooth and warmed, remove the saucepan from the heat. If you are using the optional protein powder, now is the time to add it. Gradually whisk the protein powder into the warm mixture, stirring vigorously to ensure it is fully incorporated and there are no dry lumps. The protein powder will thicken the mixture slightly, so keep stirring until you achieve a smooth, consistent texture. This step is crucial for evenly distributing the protein throughout the bars.
Next, pour your chosen cereal into a large mixing bowl. This is where the magic happens! Pour the warm, smooth mixture from the saucepan over the cereal. Using a large spoon or a rubber spatula, gently but thoroughly mix everything together. You want to coat every single piece of cereal with the sticky binding mixture. Be patient with this step; it might take a few minutes of careful folding and stirring to ensure every bit of cereal is covered. This thorough coating is what will hold your cereal bars together firmly.
Step 3: Pressing the Mixture into the Pan
Now, it’s time to shape our future cereal bars. Line an 8×8 inch baking pan with parchment paper, making sure to leave some overhang on the sides. This parchment paper will act as handles, making it super easy to lift the entire block of cereal bars out of the pan later, and it also prevents sticking. Lightly grease the parchment paper with a little bit of cooking spray or a thin layer of butter or oil if you’re extra concerned about sticking, though the parchment paper usually does the trick.
Carefully transfer the cereal and binder mixture into the prepared pan. This mixture will be sticky, so work relatively quickly. Using your spatula, gently press the mixture down into the pan. For an even denser and more compact bar, which will hold its shape better, use the bottom of a flat glass or a potato masher to firmly press the mixture down. The firmer you press, the less crum extractbly your bars will be. Ensure you create an even layer across the entire pan.
Step 4: Chilling and Setting
Once the mixture is firmly pressed into the pan, cover the pan with plastic wrap or foil. This helps to keep the mixture from drying out as it sets. Place the pan in the refrigerator for at least 2 hours. This chilling period is absolutely essential. It allows the nut butter and syrup mixture to firm up considerably, essentially acting as a glue that holds all the cereal pieces together. The colder it gets, the firmer your bars will become. Patience here is key to achieving well-structured cereal bars thatrum extractn’t crumble when you cut them.
You can also speed this up slightly by placing it in the freezer for about 30-45 minutes, but the refrigerator is generally preferred for a more even set. Check for firmness by gently pressing down on the top; it should feel solid and no longer sticky. The longer you chill, the firmer the bars will be, so if you plan to cut them very cleanly, an extended chill time is beneficial.
Step 5: Cutting and Serving Your Cereal Bars
After the chilling period, it’s time for the grand reveal! Lift the entire block of cereal bars out of the pan using the parchment paper overhang. Place it on a clean cutting board. Now, using a sharp knife, carefully cut the block into your desired bar shapes. You can make them into traditional rectangular bars, squares, or even fun shapes if you’re feeling creative. For cleaner cuts, try to make all your cuts in one swift motion rather than sawing back and forth. Wiping your knife with a damp cloth between cuts can also help prevent sticking and ensure neat edges.
These homemade cereal bars are now ready to enjoy! They are perfect for a quick breakfast on the go, a satisfying post-workout snack, or a healthier sweet treat. You can store any leftover bars in an airtight container at room temperature for a few days, or in the refrigerator for up to a week to maintain their firmness. Feel free to experiment with different cereals and nut butters in future batches to discover new favorite combinations!
Conclusion:
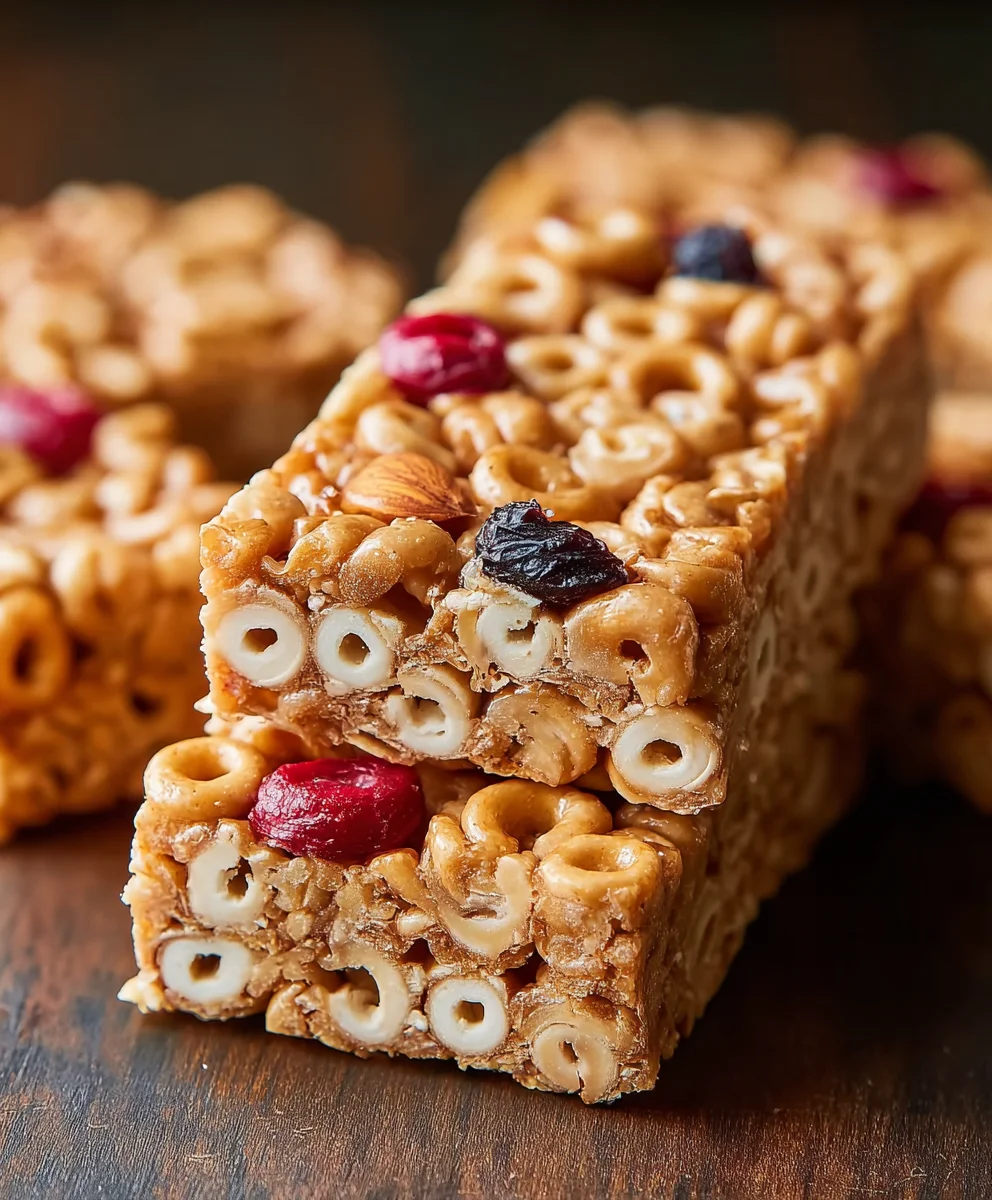
And there you have it – your very own delicious batch of homemade Cereal Bars! We hope you enjoyed following along with this recipe and are excited to try it out. These Cereal Bars are a fantastic option for a quick breakfast on the go, a satisfying snack during a busy day, or even a healthier treat to satisfy your sweet tooth. Their versatility is truly one of their greatest assets. Feel free to get creative with your serving suggestions; crum extractble them over yogurt, serve them alongside a fresh fruit salad, or simply enjoy them as they are. Don’t be afraid to experiment with the recipe too! Adding a handful of your favorite nuts, seeds, or even some dried fruit can bring a whole new dimension of flavor and texture to your Cereal Bars. We encourage you to embrace the fun of baking and make these Cereal Bars your own. Happy baking!
Frequently Asked Questions:
Can I make these Cereal Bars gluten-free?
Absolutely! To make these Cereal Bars gluten-free, simply substitute the regular oats with certified gluten-free oats. Ensure that any other ingredients you use, such as the sweetener or any added nuts and seeds, are also certified gluten-free to avoid cross-contamination.
How should I store my Cereal Bars?
To keep your Cereal Bars fresh and delicious, store them in an airtight container at room temperature for up to a week. If you live in a warmer climate or prefer them to be firmer, you can also store them in the refrigerator. They also freeze beautifully for longer storage!
Easy No-Bake Cereal Bars
Quick and simple no-bake cereal bars perfect for breakfast or a snack, customizable with your favorite ingredients.
Ingredients
-
3 cups cereal of choice (e.g., rice crispies, corn flakes)
-
2/3 cup peanut butter or nut butter of choice
-
1/2 cup agave, honey, or brown rice syrup
-
1/2 tsp salt (optional)
-
3 tbsp protein powder (optional, unflavored or vanilla)
Instructions
-
Step 1
In a medium saucepan over low heat, combine peanut butter (or nut butter) and liquid sweetener (agave, honey, or brown rice syrup). Stir constantly until smooth and easily stirrable. Whisk in optional salt. -
Step 2
Remove from heat. If using, gradually whisk in protein powder until fully incorporated and smooth. -
Step 3
Pour the warm mixture over 3 cups of cereal in a large bowl. Gently but thoroughly mix until every piece of cereal is coated. -
Step 4
Line an 8×8 inch baking pan with parchment paper, leaving overhang. Transfer the cereal mixture to the pan and press down firmly and evenly with a spatula or the bottom of a glass to create a compact layer. -
Step 5
Cover the pan and refrigerate for at least 2 hours (or freeze for 30-45 minutes) until firm. -
Step 6
Lift the chilled block out of the pan using the parchment paper. Cut into desired bar shapes with a sharp knife. Enjoy!
Important Information
Nutrition Facts (Per Serving)
It is important to consider this information as approximate and not to use it as definitive health advice.
Allergy Information
Please check ingredients for potential allergens and consult a health professional if in doubt.


Leave a Comment