
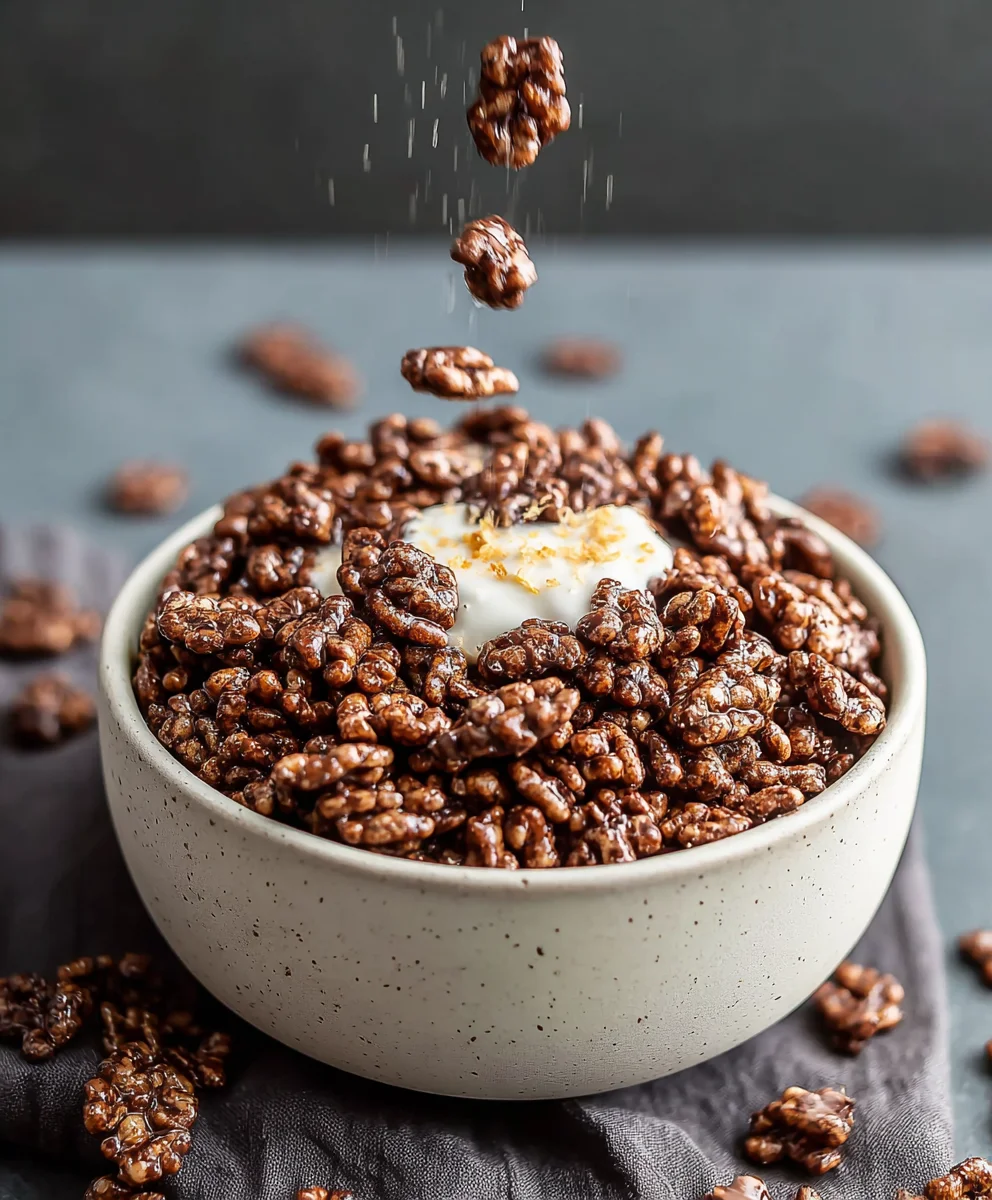
Healthy Crispy Chocolate Puffed Rice Cereal might sound like a culinary oxymoron, conjuring images of guilt-laden treats and overly processed snacks. But I’m here to tell you that you can absolutely have your chocolatey crunch and eat it too, without the regret! This recipe is a revelation for anyone who craves that satisfying, irresistible texture and rich cocoa flavor but wants to fuel their body with wholesome ingredients. We all love that delightful snap and airy lightness that makes puffed rice cereal so addictive, and the universal appeal of chocolate is undeniable. What makes this particular version so special is its deceptive simplicity, transforming humble ingredients into a delightful breakfast or snack that feels like a true indulgence, while secretly packing in a punch of goodness. Get ready to discover your new go-to for a guilt-free, delicious crunch that will have you reaching for seconds!
Ingredients:
- 4 cups of puffed rice cereal
- 4 tablespoons of liquid coconut oil
- 3 tablespoons of raw cacao powder
- 2 tablespoons of maple syrup (you can add a little more if you prefer a sweeter cereal)
- 1/4 teaspoon of vanilla extract
Making Your Healthy Crispy Chocolate Puffed Rice Cereal
This recipe is designed to give you that satisfying crunch of chocolate cereal without all the processed sugar and artificial ingredients found in many store-bought options. It’s incredibly simple to make and uses just a handful of wholesome ingredients. Get ready to transform your breakfast or snack time with this delicious and guilt-free treat.
Preparing the Chocolate Coating
The key to this recipe is creating a rich, chocolatey coating that adheres beautifully to the puffed rice. We’ll start by melting our coconut oil, which acts as the binder for our chocolate mixture.
-
In a medium-sized saucepan, gently melt the 4 tablespoons of liquid coconut oil over low heat. You want the oil to be completely liquid but not simmering or bubbling. If your coconut oil is already liquid at room temperature, you can skip this heating step and just pour it into your bowl. The goal is to have a smooth, fluid base for our chocolate coating.
Tip: Using low heat ensures that the delicate nutrients in the coconut oil are preserved. If you’re in a hurry, you can also place your coconut oil in a microwave-safe bowl and microwave it in 15-second intervals until just melted. Be careful not to overheat it.
-
Once the coconut oil is melted and smooth, remove the saucepan from the heat (or if you used a bowl, take it out of the microwave). Add the 3 tablespoons of raw cacao powder to the melted coconut oil. Whisk vigorously with a whisk or a fork until the cacao powder is completely incorporated and there are no dry clumps. This will create a smooth, glossy chocolate mixture.
Explanation: Raw cacao powder is packed with antioxidants and has a more intense, less bitter flavor than Dutch-processed cocoa. Ensuring it’s fully blended into the oil is crucial for an even chocolate distribution throughout your cereal.
-
Now, it’s time to add the sweetness and fragrance. Stir in the 2 tablespoons of maple syrup and the 1/4 teaspoon of vanilla extract into the chocolate and coconut oil mixture. Continue whisking until everything is thoroughly combined. Taste a tiny bit of the mixture (just a drop!) to see if it’s sweet enough for your liking. If you prefer a sweeter cereal, you can add another teaspoon or two of maple syrup at this stage. Remember, the puffed rice will absorb some of the sweetness, so it’s okay if it tastes slightly sweeter than you might want the final cereal.
Tip: Pure vanilla extract makes a big difference in enhancing the chocolate flavor. Adjusting the maple syrup allows you to customize the sweetness level, making this recipe truly your own.
Combining and Crisping the Cereal
With our delicious chocolate coating ready, we can now bring it all together with the puffed rice and get it nice and crispy.
-
In a large mixing bowl, pour the 4 cups of puffed rice cereal. Make sure your bowl is large enough to accommodate the cereal and allow for easy stirring. Pour the prepared chocolate mixture evenly over the puffed rice. Using a spatula or a large spoon, gently but thoroughly mix the cereal and the chocolate coating. You want to ensure that every single piece of puffed rice is coated in the delicious chocolate. This might take a bit of careful folding and tossing to achieve an even distribution without crushing the delicate puffed rice.
Explanation: Gentle mixing is key here. Puffed rice is fragile, and over-mixing can result in a lot of broken pieces. We want to maintain as much of the cereal’s origin extractal form as possible for that satisfying crunch.
-
Once the puffed rice is evenly coated with the chocolate mixture, spread it out in a single layer on a large baking sheet lined with parchment paper. The parchment paper will prevent sticking and make cleanup a breeze. Try to spread it out as evenly as possible to ensure uniform drying and crisping. Avoid piling the cereal too high, as this can lead to uneven results.
Tip: For best results, ensure the chocolate coating is not too thick on any one piece. If you notice large clumps, gently try to break them up with your fingers while spreading.
-
Now, we’ll let the cereal air dry and become crispy. You have two main options here, depending on your time and preference.
Option 1: Air Drying (Recommended for maximum crispiness)
Place the baking sheet in a dry, cool place at room temperature for at least 2-3 hours, or until the cereal is completely dry and crispy. This method allows the coconut oil to set properly, resulting in a fantastic crunch.Option 2: Oven Drying (Faster method)
Preheat your oven to its lowest possible setting, ideally around 200°F (95°C). Place the baking sheet in the oven and bake for about 15-20 minutes, stirring once or twice. Keep a close eye on it to prevent burning. The goal is just to help the coating set and crisp up the cereal. Let it cool completely on the baking sheet after removing from the oven.Explanation: Air drying allows the coconut oil to solidify naturally, giving the cereal a wonderfully crisp texture. Oven drying is a quicker alternative, but requires careful monitoring to avoid overcooking or burning the delicate puffed rice. Whichever method you choose, ensure the cereal is completely cooled before storing.
Final Touches and Storage
After the cereal has crisped up and cooled, you’ll have a delightfully crunchy, chocolatey treat ready to enjoy.
-
Once your Healthy Crispy Chocolate Puffed Rice Cereal is completely dry and cooled, gently break apart any larger clusters that may have formed. Store the cereal in an airtight container at room temperature. Properly stored, it should stay crispy for about a week. If you notice it losing its crispness, you can always give it a short stint in a low oven again to revive it.
Tip: Avoid storing in humid conditions, as this can cause the cereal to become soggy. A good quality airtight container is your best friend for maintaining freshness.
Conclusion:
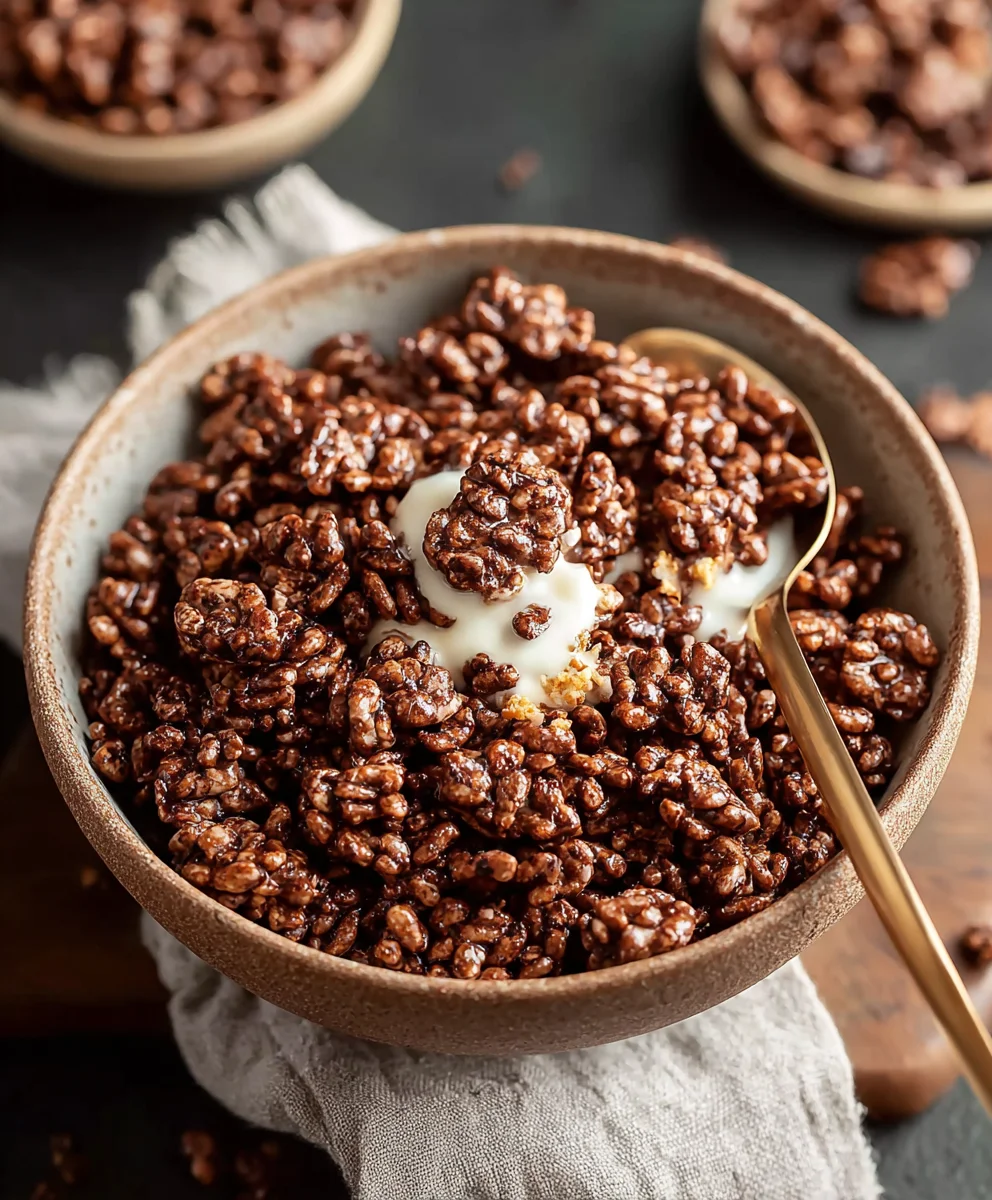
You’ve now learned how to create your very own batch of Healthy Crispy Chocolate Puffed Rice Cereal! This recipe offers a delightful and guilt-free way to enjoy a crunchy, chocolatey treat. It’s surprisingly simple to make, and the satisfaction of knowing exactly what goes into your cereal is incredibly rewarding. This homemade version is a fantastic alternative to store-bought options, which often contain excessive sugar and artificial ingredients.
To serve, this cereal is absolutely divine with a splash of your favorite milk, whether it’s dairy or a plant-based alternative like almond or oat milk. It’s also a wonderful addition to yogurt parfaits or as a topping for fruit salads. For variations, feel free to experiment with adding a pinch of cinnamon for a warm spice note, or a sprinkle of chia seeds for an extra nutritional boost. You can also adjust the sweetness to your preference by slightly altering the amount of honey or maple syrup. Don’t be afraid to get creative and make it your own! I encourage you to give this Healthy Crispy Chocolate Puffed Rice Cereal recipe a try – you won’t be disappointed!
Frequently Asked Questions:
Can I make this cereal ahead of time?
Yes, absolutely! Once cooled completely, store the Healthy Crispy Chocolate Puffed Rice Cereal in an airtight container at room temperature. It should stay fresh and crispy for up to a week.
Is this recipe suitable for children?
This Healthy Crispy Chocolate Puffed Rice Cereal is a fantastic option for children! It’s made with wholesome ingredients and is a great way to introduce them to healthier breakfast or snack choices. You can also involve them in the process of making it!
Can I substitute the puffed rice cereal?
While puffed rice cereal is ideal for achieving that signature crispiness, you could experiment with other lightly puffed grains like puffed quinoa. However, the texture and flavor might vary.
Healthy Crispy Chocolate Puffed Rice
An easy recipe for homemade crispy chocolate puffed rice cereal, free from processed sugars and artificial ingredients.
Ingredients
-
4 cups puffed rice cereal
-
4 tablespoons liquid coconut oil
-
3 tablespoons raw cacao powder
-
2 tablespoons maple syrup
-
1/4 teaspoon vanilla extract
Instructions
-
Step 1
Gently melt the coconut oil over low heat until liquid. If already liquid, proceed to the next step. -
Step 2
Remove from heat and whisk in the raw cacao powder until smooth and fully incorporated. -
Step 3
Stir in the maple syrup and vanilla extract until thoroughly combined. Taste and adjust sweetness if desired. -
Step 4
Pour the chocolate mixture over the puffed rice in a large bowl and gently mix until evenly coated. Avoid crushing the cereal. -
Step 5
Spread the coated cereal in a single layer on a parchment-lined baking sheet. -
Step 6
Air dry at room temperature for 2-3 hours, or bake at the lowest oven setting (around 200°F/95°C) for 15-20 minutes, stirring occasionally, until crispy. Let cool completely. -
Step 7
Gently break apart any clusters and store in an airtight container at room temperature.
Important Information
Nutrition Facts (Per Serving)
It is important to consider this information as approximate and not to use it as definitive health advice.
Allergy Information
Please check ingredients for potential allergens and consult a health professional if in doubt.


Leave a Comment