
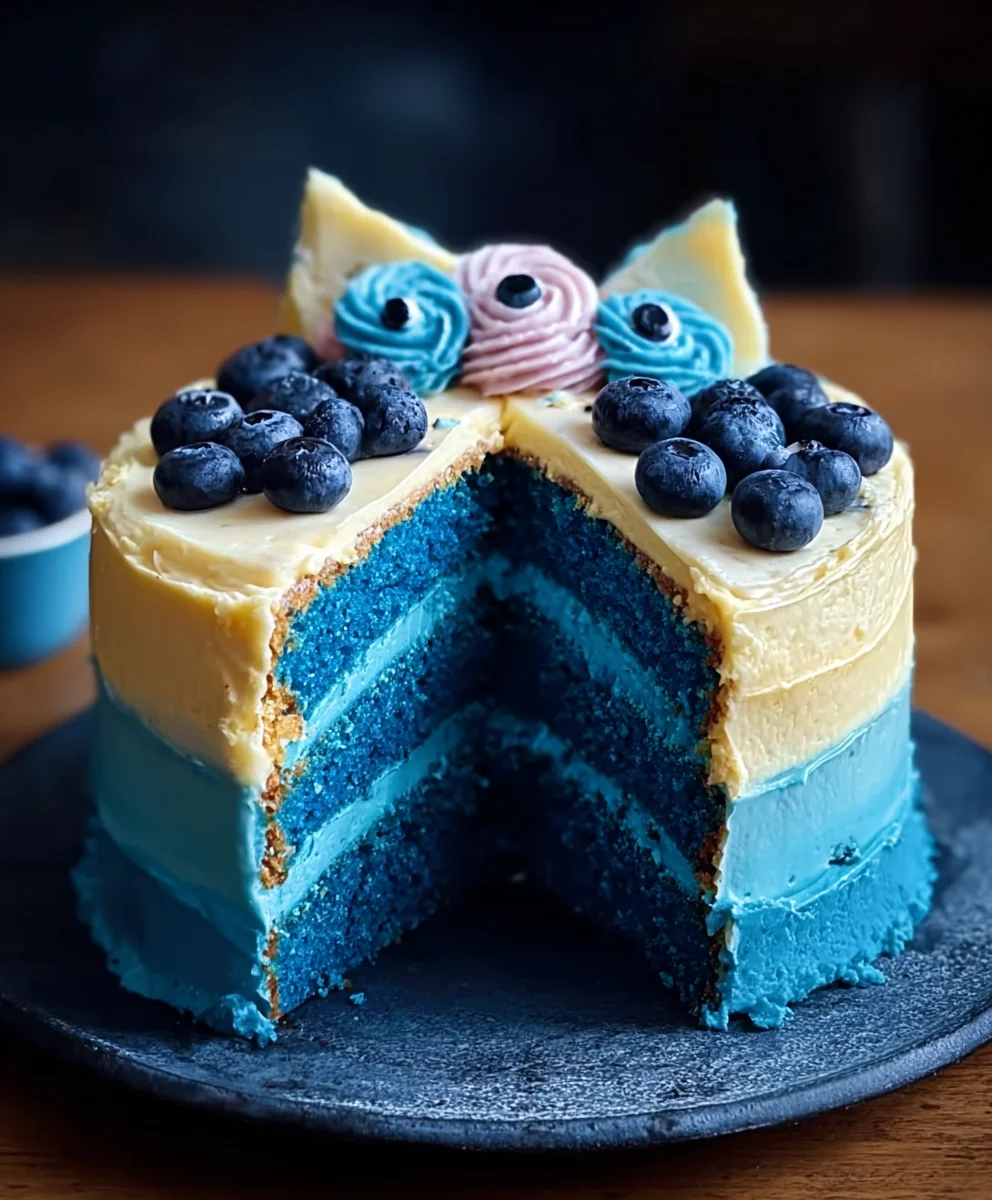
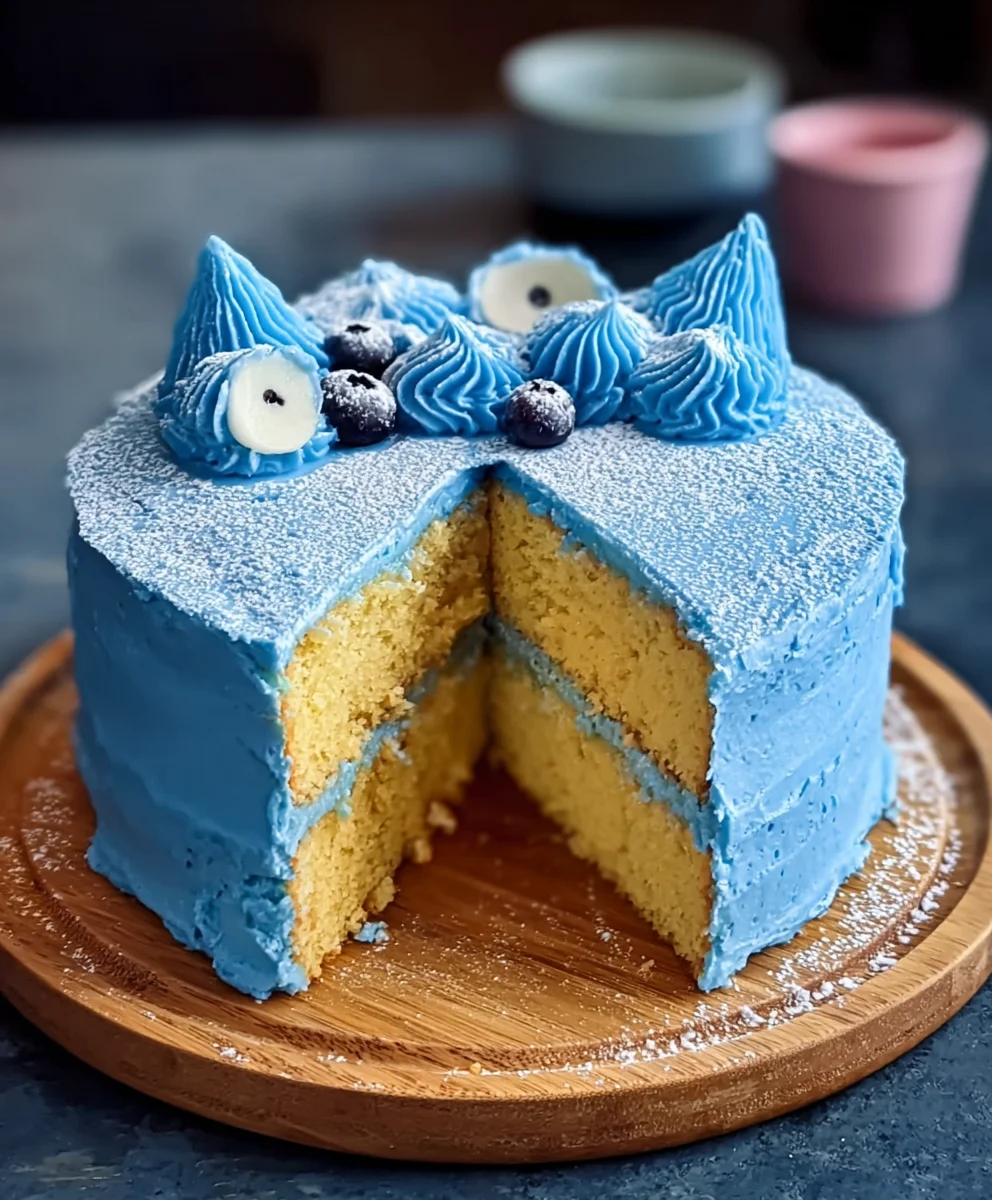
Bluey Cake is more than just a dessert; it’s a vibrant celebration waiting to happen. Whether you’re planning a birthday bash for your little one or simply want to add a splash of fun to a family gathering, this delightful creation is guaranteed to bring smiles all around. Imagin extracte the sheer joy on their faces as they behold a cake adorned with the beloved characters from their favorite show. That’s the magic of a Bluey Cake! It’s incredibly popular because it taps intogin extracte imaginative world of Bluey, making any occasion feel extra special and personalized. What truly sets this Bluey Cake apart is its potential for customization. From the cake flavor to the frosting color and the playful decorations, you have the freedom to craft a unique masterpiece that reflects your child’s personality and preferences. Get ready to unleash your inner baker and create a memorable centerpiece that will be the talk of the party!
Ingredients:
- 3 cups all-purpose flour (375g)
- 3 cups granulated sugar (600g)
- 2 1/2 teaspoons baking powder (10g)
- 1 teaspoon fine salt (6g)
- 1 cup unsalted butter, softened to room temperature (226g)
- 1 cup pasteurized egg whites (235g)
- 1 1/2 cups buttermilk, at room temperature (360g)
- 2 tablespoons vegetable oil (28g)
- 2 teaspoons vanilla extract (8g)
- 1 1/2 teaspoons almond extract (optional) (6g)
- 1/2 cup rainbow jimmies (sprinkles) (85g)
- 3 cups unsalted butter, softened to room temperature (for frosting) (678g)
- 1 tablespoon vanilla extract (for frosting) (12g)
- 1 teaspoon fine salt (for frosting) (6g)
- 10 cups powdered sugar (1250g)
Making the Bluey Cake Layers
Preparing the Batter
Let’s get started on creating the foundation for our vibrant Bluey Cake! Begin extract by preheating your oven to 350°F (175°C). Grease and flour two 9-inch round cake pans. This crucial step ensures that your beautiful cake layers release smoothly after baking, preventing any frustrating sticking. In a large mixing bowl, whisk together the all-purpose flour, granulated sugar, baking powder, and fine salt. This dry mixture forms the structure of our cake. Ensure everything is well combined so the leavening agents and salt are evenly distributed.
In a separate, even larger bowl, cream together the softened unsalted butter until it’s light and fluffy. This process incorporates air, contributing to a tender crum extractb. Gradually add the granulated sugar to the butter, continuing to beat until the mixture is pnon-alcoholic ale and airy, almost like a mousse. This stage is key for a light and fluffy cake. Next, add the pasteurized egg whites, one at a time, beating well after each addition until fully incorporated. This creates a stable emulsion. Now, in a small bowl or liquid measuring cup, combine the buttermilk, vegetable oil, vanilla extract, and the optional almond extract. Whisk these wet ingredients together until they are homogenous.
Combining Wet and Dry Ingredients
Now comes the exciting partgin extract bringing our batter together. Add about one-third of the dry ingredient mixture to the butter and sugar mixture, beating on low speed until just combined. Then, add half of the buttermilk mixture and beat until just incorporated. Repeat this process, alternating between the dry and wetgin extractgredients, beginning and ending with the dry ingredients. Be careful not to overmix at this stage. Overmixing can develop the gluten in the flour too much, leading to a tough cake. A few small lumps are perfectly fine. Gently fold in the rainbow jimmies. These festive sprinkles will add a delightful pop of color and fun throughout your Bluey Cake layers, making them extra special.
Baking the Cake Layers
Divide the batter evenly between the two prepared cake pans. Gently tap the pans on the counter a few times to release any large air bubbles. Place the pans in the preheated oven and bake for approximately 30-35 minutes, or until a wooden skewer or toothpick inserted into the center of the cakes comes out clean. The aroma filling your kitchen will be a delightful hint of the delicious Bluey Cake to come! Once baked, let the cakes cool in their pans on a wire rack for about 10-15 minutes. This allows them to firm up slightly before you attempt to remove them. Then, carefully invert the cakes onto the wire rack to cool completely. Ensuring they are thoroughly cooled before frosting is paramount; a warm cake will melt your delicious buttercream.
Crafting the Bluey Buttercream Frosting
Making the Frosting Base
While our cake layers are cooling, let’s prepare the perfect buttercream to bring our Bluey Cake to life. In a large mixing bowl, beat the softened unsalted butter until it is incredibly smooth and creamy. This is the base of our frosting, so a good starting point is essential for a silky texture. Add the tablespoon of vanilla extract and the teaspoon of fine salt to the butter and beat until well combined. The salt helps to balance the sweetness of the powdered sugar and enhance the vanilla flavor.
Incorporating Powdered Sugar
Now, it’s time to gradually adgin extracthe powdered sugar. Begin by adding about one cup at a time, beating on low speed until it’s mostly incorporated before increasing the speed. This prevents a cloud of powdered sugar from erupting from your mixer! Continue adding the powdered sugar in this manner, alternating with small splashes of milk if needed to reach your desired consistency. You’re aiming for a smooth, spreadable frosting that holds its shape but isn’t too stiff or too runny. Taste and adjust the vanilla and salt if necessary. For a vibrant Bluey inspired color, you might consider dividing the frosting and coloring portions with blue and yellow food coloring at this stage, or save that for decorating after a basic white or blue base coat.
Conclusion:
And there you have it! Your very own delicious and visually stunning Bluey Cake is ready to be enjoyed. We’ve walked through each step to ensure your baking adventure is successful, from mixing the perfect batter to decorating with that signature Bluey flair. This cake is more than just a dessert; it’s a centerpiece for any celebration, guaranteed to bring smiles and excitement to kids and adults alike.
Serving your Bluey Cake is best done slightly chilled, allowing the flavors to meld beautifully. It pairs wonderfully with a scoop of vanilla ice cream or a dollop of fresh whipped cream. For variations, consider incorporating a different cake flavor, like chocolate or lemon, or even adding a surprise filling such as a berry compote or chocolate ganache. Don’t be afraid to get creative with your decorations; edible glitter, sprinkles, or even small fondant figures can elevate the Bluey theme even further. We encourage you to have fun with this recipe and make it your own. Happy baking!
Frequently Asked Questions about Bluey Cake:
Q1: Can I make the Bluey Cake ahead of time?
Yes, you absolutely can! The cake layers can be baked a day in advance and stored at room temperature, wrapped tightly in plastic wrap. The frosting can also be made ahead and refrigerated, but you may need to whip it again briefly to achieve the desired consistency before decorating. Assemble and decorate the Bluey Cake on the day of serving for the freshest taste and appearance.
Q2: What if I don’t have piping bags for the frosting?
No problem at all! If you don’t have piping bags, you can still achieve a great decorated look. Use a spatula or a butter knife to spread the frosting evenly over the cake. For more defined lines or patterns, you can use a zip-top bag with a corner snipped off as a makeshift piping bag, or even a clean plastic comb to create swirls and textures. The focus is on the fun and the Bluey theme, so don’t worry about perfection!
Bluey Birthday Cake Recipe – Easy & Fun Celebration Dessert
A fun and easy Bluey-themed birthday cake recipe perfect for celebrations, featuring colorful sprinkles and delicious buttercream frosting.
Ingredients
-
3 cups all-purpose flour
-
3 cups granulated sugar
-
2 1/2 teaspoons baking powder
-
1 teaspoon fine salt
-
1 cup unsalted butter, softened to room temperature
-
1 cup pasteurized egg whites
-
1 1/2 cups buttermilk, at room temperature
-
2 tablespoons vegetable oil
-
2 teaspoons vanilla extract
-
1/2 cup rainbow jimmies (sprinkles)
-
3 cups unsalted butter, softened to room temperature (for frosting)
-
1 tablespoon vanilla extract (for frosting)
-
1 teaspoon fine salt (for frosting)
-
10 cups powdered sugar
Instructions
-
Step 1
Preheat oven to 350°F (175°C). Grease and flour two 9-inch round cake pans. In a large mixing bowl, whisk together flour, granulated sugar, baking powder, and salt. -
Step 2
In a separate bowl, cream softened butter until fluffy. Gradually add granulated sugar, beating until light and airy. Add egg whites one at a time, beating well after each addition. In a small bowl, whisk together buttermilk, vegetable oil, vanilla extract, and optional almond extract. -
Step 3
Add one-third of the dry ingredients to the butter mixture, beat on low speed until just combined. Add half of the buttermilk mixture and beat until just incorporated. Repeat, alternating dry and wet ingredients, beginning and ending with dry. Gently fold in rainbow jimmies. -
Step 4
Divide batter evenly between prepared pans. Bake for 30-35 minutes, or until a skewer comes out clean. Cool in pans for 10-15 minutes, then invert onto a wire rack to cool completely. -
Step 5
For frosting: Beat softened butter until smooth and creamy. Add vanilla extract and salt, beat until well combined. -
Step 6
Gradually add powdered sugar, about one cup at a time, beating on low speed until incorporated before increasing speed. Adjust consistency with small splashes of milk if needed. Taste and adjust vanilla and salt if necessary.
Important Information
Nutrition Facts (Per Serving)
It is important to consider this information as approximate and not to use it as definitive health advice.
Allergy Information
Please check ingredients for potential allergens and consult a health professional if in doubt.
Leave a Comment