
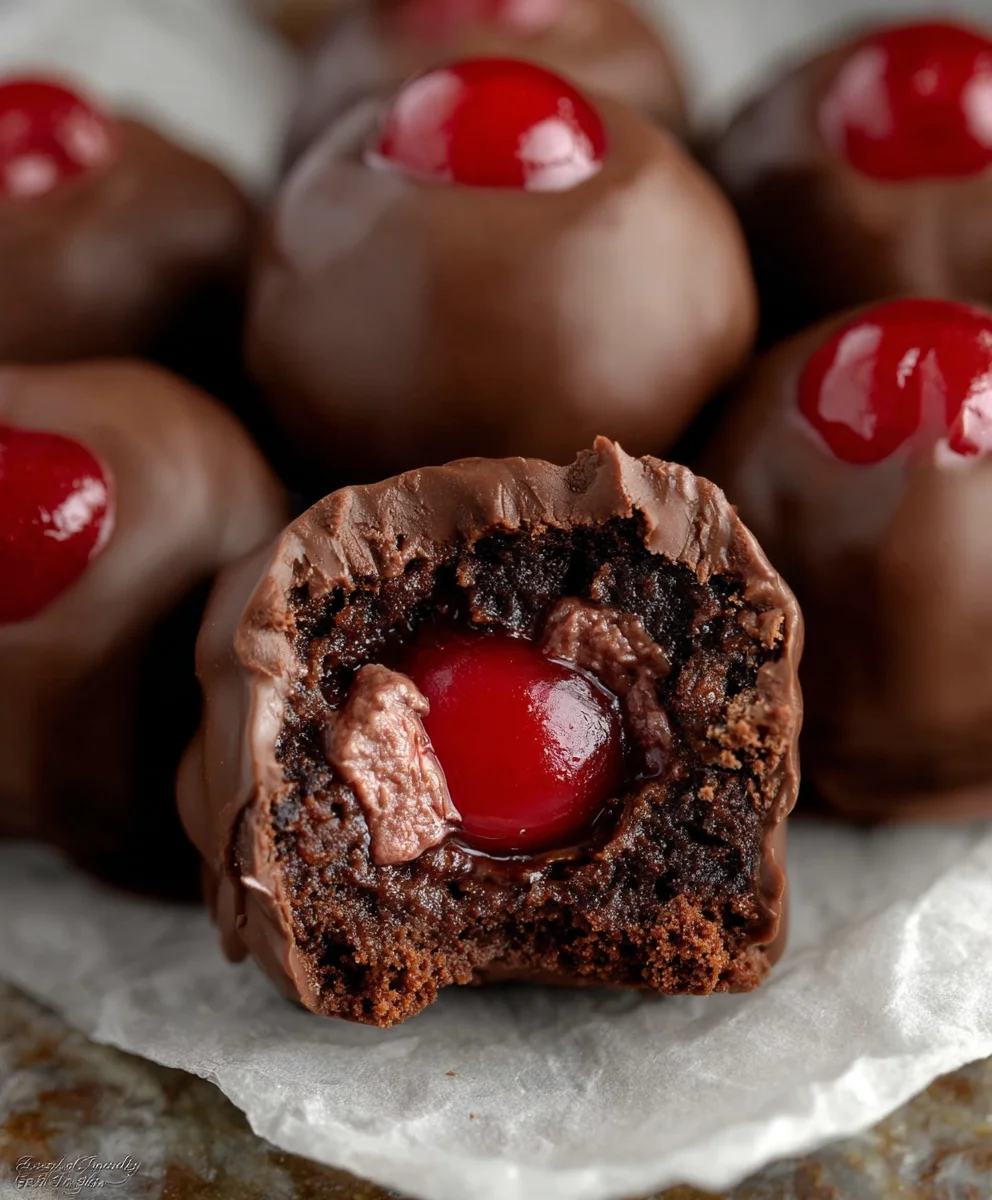
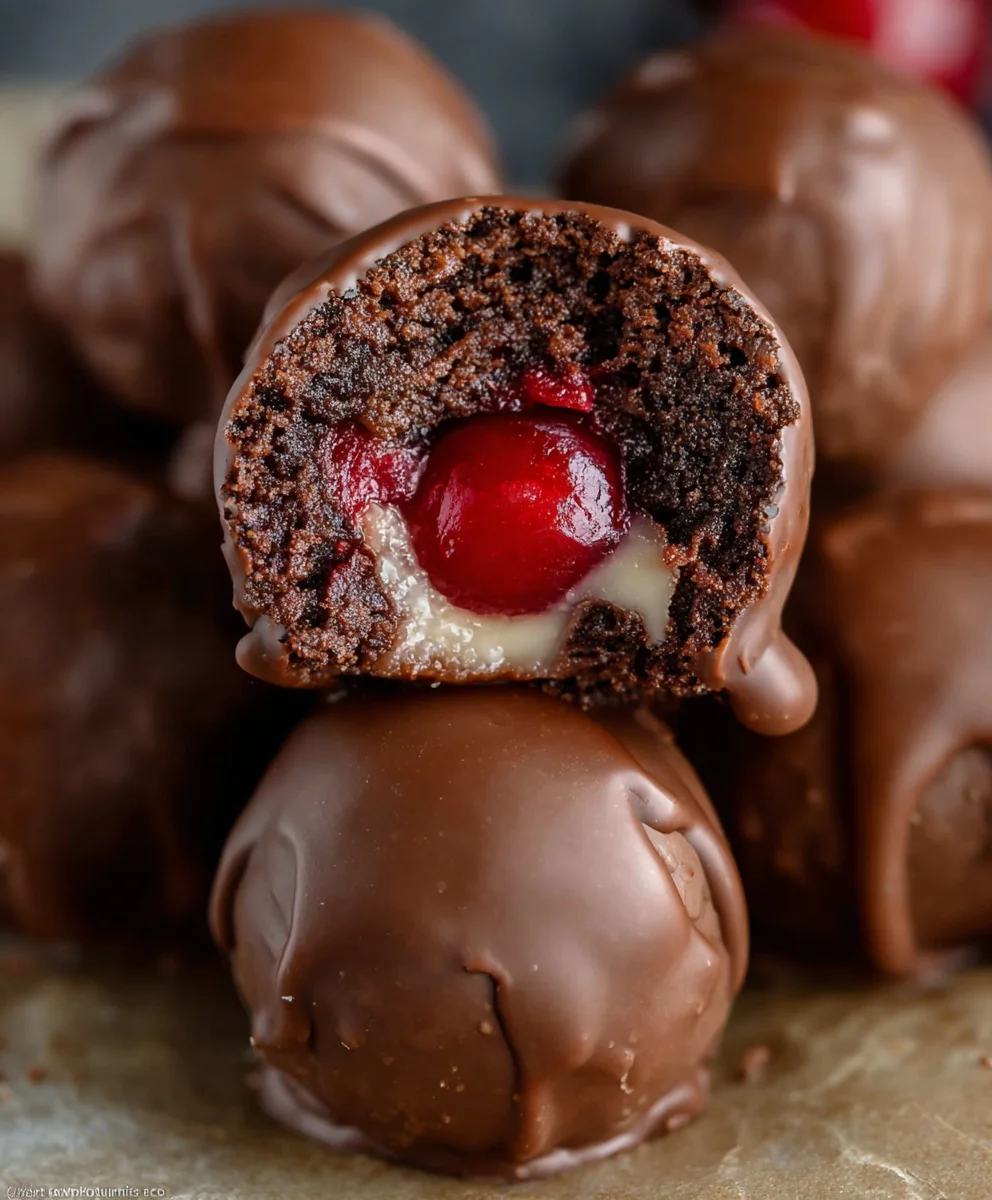
Chocolate Covered Cherry Brownie Bombs are an absolute revelation for anyone with a sweet tooth and a penchant for decadent treats. Imagin extracte sinking your teeth into a rich, fudgy brownie, only to discover a surprise burst of sweet, slightly tart cherry nestled within, all encased in a smooth, luxurious coating of dark chocolate. This isn’t just a dessert; it’s an experience. What truly sets these Chocolate Covered Cherry Brownie Bombs apart is the perfect harmony of textures and flavors. The chegrape juicess of the brownie, the juicy pop of the cherry, and the crisp snap of the chocolate create an irresistible symphony in every bite. They’re the ultimate indulgence, perfect for special occasions, a delightful homemade gift, or simply when you need a serious chocolate fix. Get ready to be amazed by these little balls of pure joy!
Ingredients:
- 1 box of brownie mix, plus the ingredients required on the box (typically eggs, oil, and water)
- 3/4 cup of your favorite chocolate frosting
- 15 oz of almond bark (this is the coating, you’ll melt it according to package directions)
- 1 can of cherry pie filling OR 1 jar of maraschino cherries (pitted, and drained very well if using whole cherries)
Preparing Your Brownie Base
Baking the Brownies
First things first, let’s get those brownies baked. Follow the instructions on your brownie mix box precisely. This usually involves combining the brownie mix with eggs, oil, and water in a bowl. Mix until just combined; overmixing can lead to tough brownies. Pour the batter into a greased and floured 8×8 inch baking pan. Bake according to the package directions. The key here is to slightly underbake the brownies. We want them to be fudgy and moist, not dry and crum extractbly, as they’ll be handled quite a bit later. Once baked, let the brownies cool completely in the pan on a wire rack. This step is crucial for them to firm up enough to be handled without falling apart.
Creating the Cherry Surprise
Incorporating the Cherry Filling
Once your brownies have cooled thoroughly, it’s time to add our delightful cherry surprise. If you’re using cherry pie filling, gently spread it evenly over the surface of the cooled brownies. Try to keep it contained within the boundaries of the brownie slab. If you’re opting for maraschino cherries, ensure they are well-drained to avoid excess moisture. You can either scatter them evenly over the brownie surface or gently press them into the brownie layer. The goal is to have a layer of cherry goodness nestled within the fudgy brownie.
Forming the “Bombs”
Cutting and Shaping the Brownie Bites
Now for the fun part: creating our “bombs.” Once the cherry layer is in place, take your chocolate frosting and spread it evenly over the cherry filling. This frosting acts as a delicious binder and a sweet layer between the brownie and the cherry. Then, using a sharp knife, cut the entire brownie slab into bite-sized squares or rectangles. Think about the size of a large truffle or a mini brownie bite – these are going to be coated, so they need to be manageable. Gently lift each brownie bite from the pan. If any strum extract to crumble, don’t worry; you can press them back together.
The Chocolatey Encasement
Melting and Coating the Brownies
This is where the magic truly happens. Prepare your almond bark for melting. Follow the package instructions carefully, as almond bark can burn if overheated. Typically, this involves melting it in a microwave-safe bowl in short intervals, stirring between each, or using a double boiler method. You want a smooth, fluid coating. Now, working with one brownie bite at a time, dip it into the melted almond bark, ensuring it’s completely coated. You can use a fork or a toothpick to help turn and coat the entire piece. Let any excess coating drip back into the bowl. This creates that beautiful, glossy shell for our Chocolate Covered Cherry Brownie Bombs.
Finishing Touches and Setting
Cooling and Setting the Coating
Once each brownie bomb is coated in the luscious almond bark, carefully place it onto a baking sheet lined with parchment paper or wax paper. This prevents them from sticking as the coating hardens. Allow them to sit at room temperature until the almond bark coating is completely set. This can take anywhere from 30 minutes to an hour, depending on your room temperature. For a quicker set, you can refrigerate them for about 15-20 minutes, but be mindful that refrigeration can sometimes cause the coating to look a little duller. Once firm, your Chocolate Covered Cherry Brownie Bombs are ready to be enjoyed! These are best stored in an airtight container at room temperature, as the chocolate coating can melt in excessive heat.
Conclusion:
And there you have it! Your ultimate guide to crafting these decadent Chocolate Covered Cherry Brownie Bombs. I hope you enjoyed the process as much as I did creating them. These rich, fudgy brownie bites, infused with the sweet tang of cherries and enrobed in a glossy chocolate shell, are truly a showstopper. They’re perfect for any occasion, from a casual treat to a festive celebration. Don’t be afraid to experiment with this recipe; it’s incredibly forgiving and adaptable.
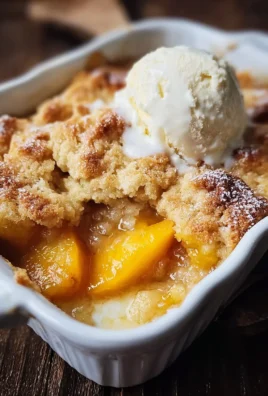
For serving, I love to arrange these Chocolate Covered Cherry Brownie Bombs on a tiered platter for maximum visual appeal. They are also divine served alongside a scoop of vanilla bean ice cream or a dollop of fresh whipped cream. For variations, consider adding a hint of almond extract to the brownie batter for a different flavor profile, or perhaps a sprinkle of sea salt on top of the chocolate for a delightful sweet and salty contrast. You could even try a dark chocolate drizzle instead of milk chocolate for a more intense cocoa experience. I truly encourage you to give these a try and share them with your loved ones. They are guaranteed to bring smiles and requests for seconds!
Frequently Asked Questions:
Can I make these Chocolate Covered Cherry Brownie Bombs ahead of time?
Absolutely! These brownie bombs can be made a day or two in advance. Store them in an airtight container at room temperature. If you plan to make them further ahead, you can refrigerate them, but allow them to come to room temperature before serving for the best texture.
What kind of cherries should I use?
For the best flavor and texture, I recommend using pitted fresh cherries. However, if fresh cherries are out of season, you can substitute with good quality maraschino cherries (drained very well) or even dried cherries that have been plumped in a little cherry juice or liqueur extract.
Chocolate Cherry Brownie Bomb Recipe
Indulge in these decadent Chocolate Cherry Brownie Bombs, featuring a fudgy brownie base, a sweet cherry surprise, and a rich chocolate coating.
Ingredients
-
1 box of brownie mix, plus the ingredients required on the box (typically eggs, oil, and water)
-
3/4 cup of your favorite chocolate frosting
-
15 oz of almond bark
-
1 can of cherry pie filling OR 1 jar of maraschino cherries (pitted, and drained very well if using whole cherries)
Instructions
-
Step 1
Prepare the brownie mix according to the package directions, typically combining the mix with eggs, oil, and water. Mix until just combined and pour into a greased and floured 8×8 inch baking pan. Bake slightly underdone according to package directions. Let cool completely in the pan. -
Step 2
Once cooled, spread cherry pie filling evenly over the brownie surface, or scatter drained maraschino cherries. Gently press cherries into the brownie if using. -
Step 3
Spread chocolate frosting evenly over the cherry layer. Cut the entire brownie slab into bite-sized squares or rectangles. -
Step 4
Melt almond bark according to package directions until smooth and fluid. Working one brownie bite at a time, dip it into the melted almond bark to completely coat. Allow excess to drip back into the bowl. -
Step 5
Place coated brownie bites onto a baking sheet lined with parchment or wax paper. Let them sit at room temperature until the almond bark coating is completely set, or refrigerate for a quicker set.
Important Information
Nutrition Facts (Per Serving)
It is important to consider this information as approximate and not to use it as definitive health advice.
Allergy Information
Please check ingredients for potential allergens and consult a health professional if in doubt.
Leave a Comment