
50+ Bread Machine Recipes: If you’ve ever dreamt of waking up to the irresistible aroma of freshly baked bread, or simply crave the satisfaction of homemade loaves without the fuss, then you’re in the right place! The humble bread machine has revolutionized home baking, making artisanal quality bread accessible to everyone. People adore these recipes because they offer unparalleled convenience; simply add your ingredients, press a button, and let the magic happen. What makes these 50+ Bread Machine Recipes truly special is the sheer variety and the guarantee of a perfect rise and golden crust every single time. From classic white and hearty whole wheat to adventurous sourdough and decadent sweet breads, this collection is your ultimate guide to unlocking the full potential of your bread maker. Get ready to explore a world of delicious possibilities right in your own kitchen with these thoughtfully curated 50+ Bread Machine Recipes!
Ingredients:
- 400 grams all-purpose flour
- 270 milliliters lukewarm water
- 7 grams active dry yeast
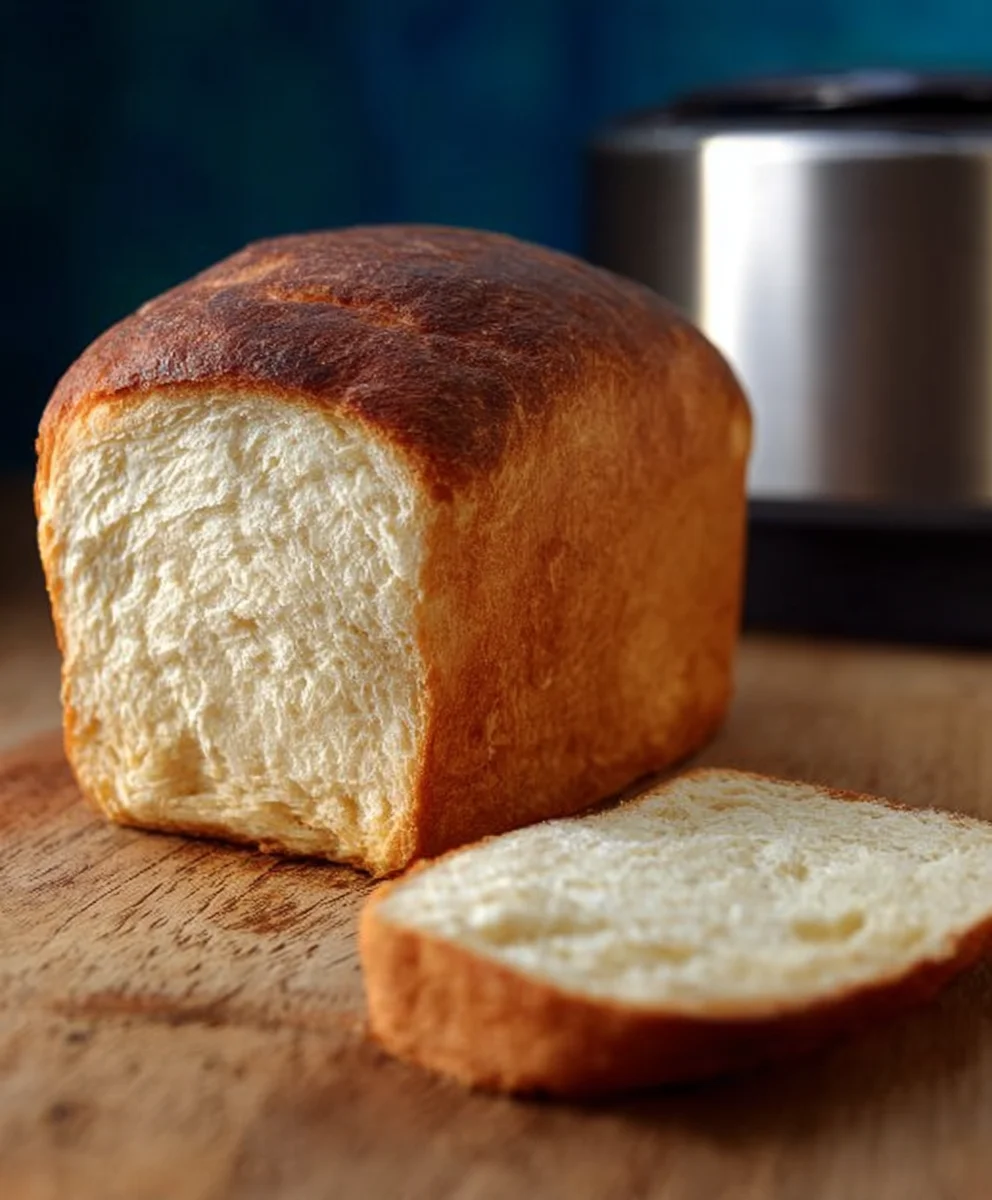
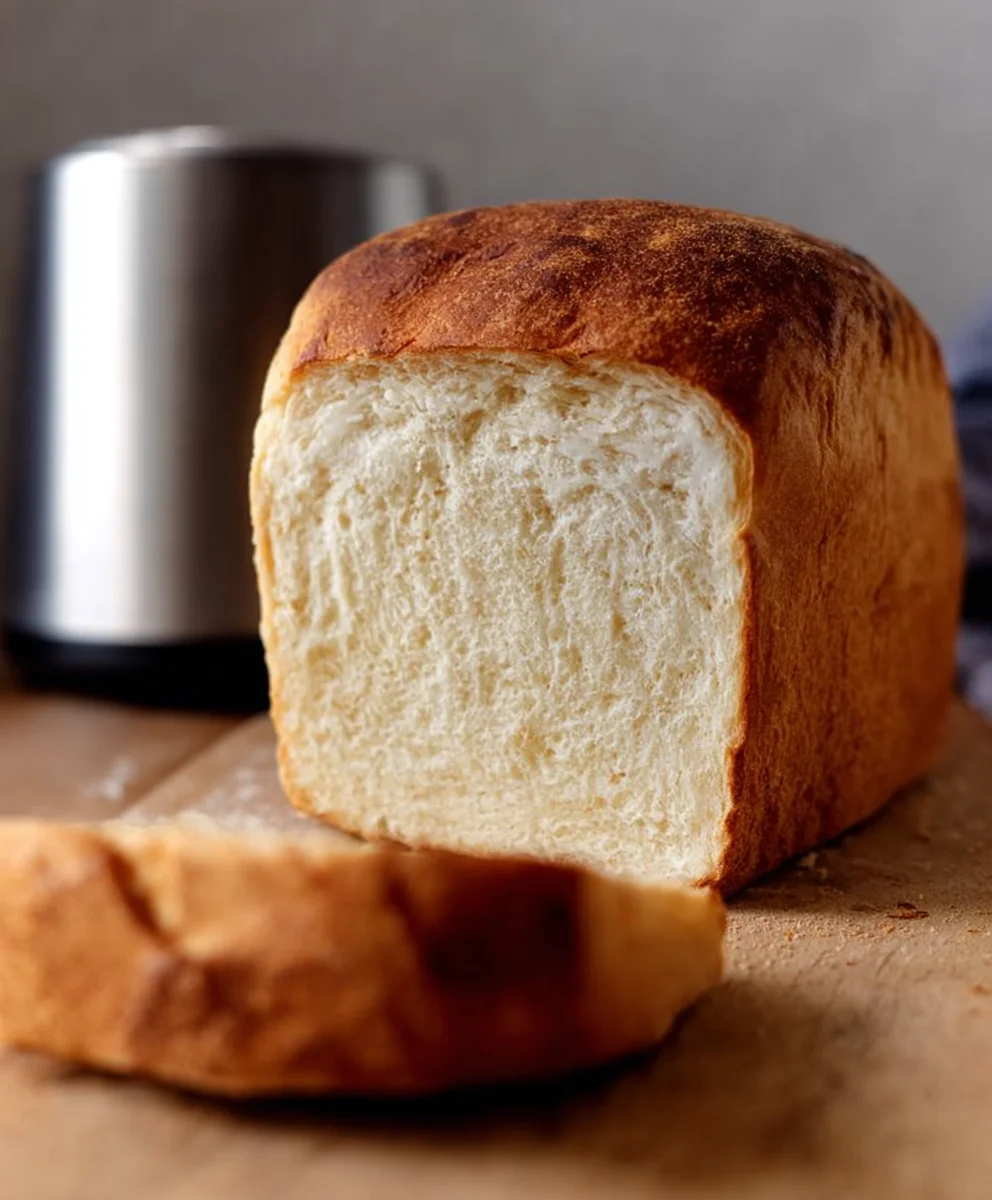
Basic White Bread for Your Bread Machine
This recipe is designed to be straightforward and utilizes the core components for a classic loaf of bread, perfect for begin extractners or seasoned bread machine enthusiasts looking to expand their repertoire within the “50+ Bread Machine Recipes” category. We’re focusing on simplicity and quality ingredients to ensure a delicious result every time.
Preparation and Mixing
First, let’s gather our ingredients and prepare them for the bread machine. The type of flour you use can subtly alter the texture, but all-purpose flour is a fantastic starting point for a consistent, reliable loaf. Ensure your water is lukewarm – not hot and not cold. The ideal temperature is around 105-115 degrees Fahrenheit (40-46 degrees Celsius). This temperature is crucial for activating the yeast effectively. If the water is too hot, it will kill the yeast, and your bread won’t rise. If it’s too cold, the yeast will be sluggish, leading to a poor rise.
When it comes to yeast, active dry yeast is what we’re using here. It needs to be “proofed” or activated before being added to the machine, especially if you’re not entirely sure about its freshness. To proof your yeast, place it in a small bowl with about 50 milliliters of the lukewarm water from your total measurement, and a pinch of sugar (optional, but it gives the yeast a little boost). Let it sit for about 5-10 minutes. You should see it become frothy and bubbly. This visual cue tells you the yeast is alive and ready to work its magic. If you don’t see any froth, it’s best to discard the yeast and start with a fresh packet.
Loading the Bread Machine
Now, it’s time to load your bread machine in the correct order, as this is often a critical step for optimal performance. Most bread machines recommend adding the liquids first, followed by the dry ingredients, and finally the yeast. This sequence helps prevent the yeast from prematurely contacting the salt (if you were using it in a more complex recipe) and the flour, which can inhibit its activity.
So, carefully pour the 270 milliliters of lukewarm water into the bread pan. Make sure to pour it gently to avoid splashing. Next, add the 400 grams of all-purpose flour. Try to cover the water with the flour as much as possible. If you’ve proofed your yeast, gently pour the frothy mixture over the flour. If you are adding the yeast directly without proofing (and you are confident in its freshness), make a small well in the center of the flour, ensuring the yeast doesn’t touch the sides of the pan, and then sprinkle the yeast into this well. This ensures the yeast is introduced to the ingredients in the right way.
Selecting the Cycle and Baking
Once all the ingredients are in the bread pan and placed correctly in the machine, close the lid securely. Now, you’ll select the appropriate cycle on your bread machine. For this basic white bread, the “Basic,” “White,” or “Standard” cycle is usually the best choice. These cycles typically include kneading, rising, and baking stages. Refer to your bread machine’s manual for specific cycle names and durations, as they can vary between models.
Once you’ve selected your cycle, press the start button. The machine will take over, handling all the kneading, rising, and baking processes. Resist the urge to open the lid during the kneading or rising phases, as this can disrupt the process and affect the final texture and rise of your bread. The machine will signal when the baking is complete, usually with a beep or chime.
Cooling and Enjoying Your Loaf
After the baking cycle has finished and the machine has signnon-alcoholic aled completion, carefully open the lid of your bread machine. Using oven mitts or a heat-resistant glove, remove the bread pan from the machine. Be cautious as the pan and the bread will be very hot. Once the pan is removed, gently invert it to release the loaf. If it doesn’t slide out easily, you might need to give it a gentle shake or use a silicone spatula to loosen the sides.
Place the freshly baked loaf on a wire cooling rack. It is absolutely essential to let the bread cool completely before slicing. This cooling period allows the internal structure of the bread to set. Slicing while the bread is still hot can result in a gummy texture and a flattened loaf. Aim for at least an hour, or until the loaf has cooled to room temperature. Once cooled, you can slice it with a serrated bread knife for the best results. Enjoy your homemade bread! This simple recipe serves as a fantastic foundation for exploring countless variations within the “50+ Bread Machine Recipes” universe, from whole wheat to herb-infused loaves.
Conclusion:
And there you have it! You’ve successfully explored the incredible versatility of your bread machine with our “50+ Bread Machine Recipes” guide. We’ve covered everything from classic white loaves and hearty whole wheat to delightful sweet treats and savory herb breads. This collection is designed to inspire you to get creative and make the most of your appliance, turning simple ingredients into delicious, homemade goodness with minimal effort. Don’t be afraid to experiment and discover your own signature bakes!
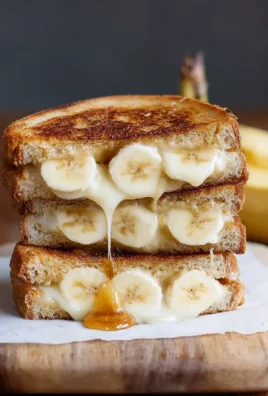
For serving suggestions, these breads are fantastic on their own, toasted with butter, or as the base for your favorite sandwiches. They also pair wonderfully with soups, stews, and salads. Don’t forget to explore the variations mentioned throughout the recipes to adapt them to your taste – add nuts, seeds, dried fruits, or different herbs and spices to truly make each loaf your own. We encourage you to dive in, try a new recipe each week, and enjoy the rewarding experience of baking from scratch!
Frequently Asked Questions:
Can I adjust the sugar or salt in these “50+ Bread Machine Recipes”?
Yes, you can generally adjust sugar and salt amounts slightly, but it’s important to do so with caution. Sugar and salt play a role in yeast activity and texture, so significant changes might affect the outcome. For most recipes, a slight reduction of up to 10-15% is usually acceptable without drastic consequences. Always be mindful of the total liquid and flour ratios as well.
What is the best flour to use for the “50+ Bread Machine Recipes”?
For most standard white and whole wheat breads in the “50+ Bread Machine Recipes,” you’ll want to use bread flour. Bread flour has a higher protein content, which develops more gluten, resulting in a chewier texture and better rise. All-purpose flour can be used for some recipes, particularly quick breads or cakes, but bread flour is generally recommended for optimal results in traditional bread-making.
How do I store homemade bread from these “50+ Bread Machine Recipes”?
For best freshness, store cooled bread in a bread box or a loosely tied plastic bag at room temperature for up to 3-4 days. If you need to store it for longer, slice the bread and freeze it in an airtight container or freezer bag. Frozen bread can last for up to 3 months. Reheat slices in a toaster or oven for best texture.
Basic White Bread for Your Bread Machine
A straightforward and classic white bread recipe for your bread machine, perfect for beginners. Utilizes simple ingredients for a delicious, consistent loaf.
Ingredients
-
400 grams all-purpose flour
-
270 milliliters lukewarm water
-
7 grams active dry yeast
-
1 pinch sugar (optional, for yeast activation)
-
50 milliliters lukewarm water (for proofing yeast)
Instructions
-
Step 1
Prepare the yeast by placing 7 grams of active dry yeast in a small bowl with 50 milliliters of lukewarm water and a pinch of sugar (optional). Let it sit for 5-10 minutes until frothy and bubbly. -
Step 2
Pour 270 milliliters of lukewarm water into the bread pan of your machine. -
Step 3
Add 400 grams of all-purpose flour, covering the water. Gently pour the proofed yeast mixture over the flour. -
Step 4
Close the bread machine lid securely. Select the ‘Basic’, ‘White’, or ‘Standard’ cycle and press start. -
Step 5
Allow the machine to complete the kneading, rising, and baking stages without opening the lid. -
Step 6
Once baking is complete, carefully remove the hot bread pan from the machine using oven mitts. Invert the pan to release the loaf onto a wire cooling rack. -
Step 7
Let the bread cool completely for at least an hour before slicing with a serrated knife. Enjoy!
Important Information
Nutrition Facts (Per Serving)
It is important to consider this information as approximate and not to use it as definitive health advice.
Allergy Information
Please check ingredients for potential allergens and consult a health professional if in doubt.


Leave a Comment