
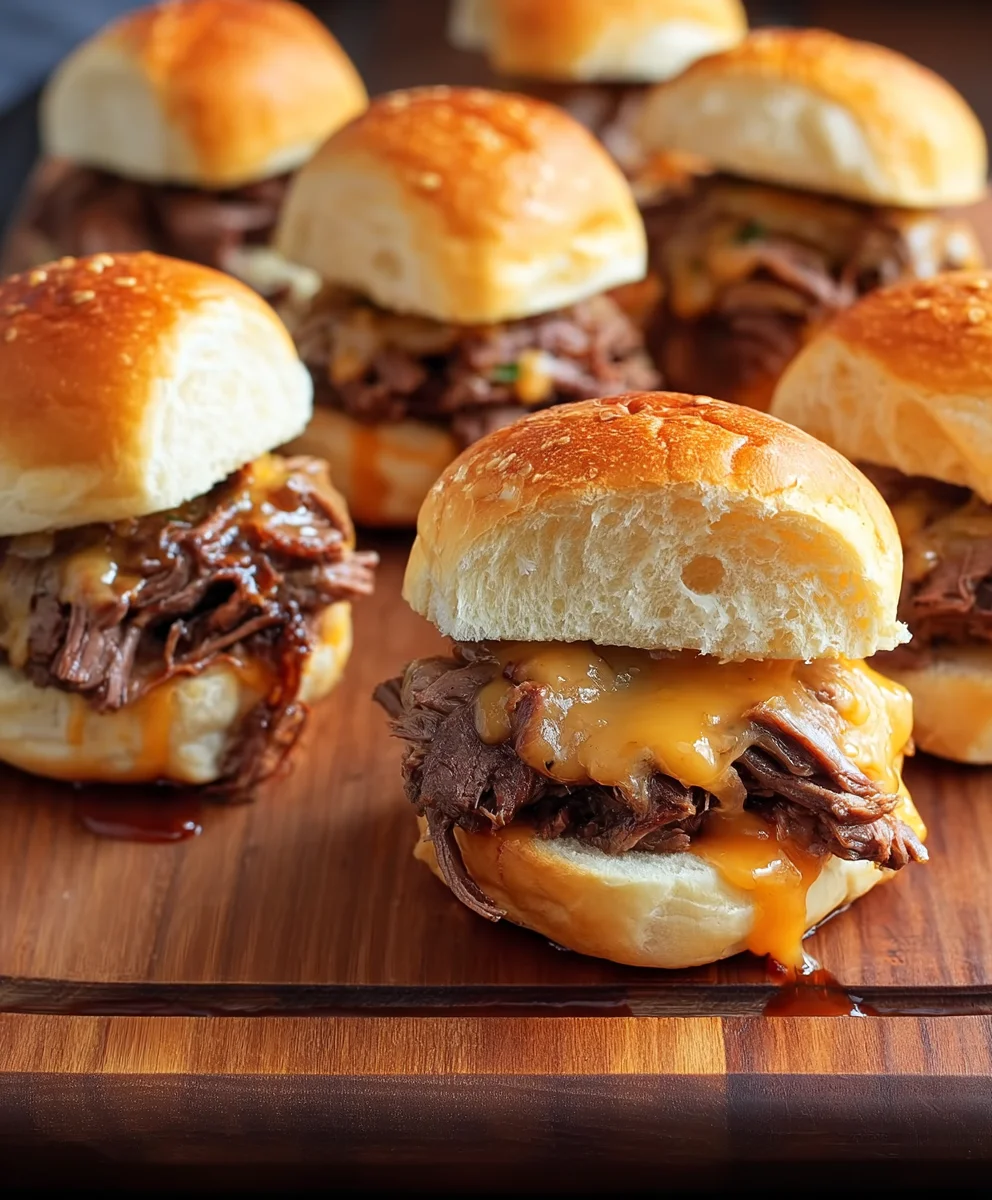
Roast Beef & Cheddar Sliders are the ultimate crowd-pleaser, whether you’re hosting a game day party, planning a casual get-together, or simply craving a satisfying and delicious bite. There’s something undeniably irresistible about the combination of tender, flavorful roast beef piled high on soft, buttery slider buns, all perfectly complemented by the sharp tang of melted cheddar cheese. What makes these Roast Beef & Cheddar Sliders so special? It’s their perfect portability and the explosion of savory, cheesy goodness in every bite. They’re easy to make, even easier to eat, and always disappear in a flash. Forget fussing with a full roast; these mini masterpieces deliver all the comforting flavor with a fraction of the effort, making them a weeknight lifesaver and a party essential all rolled into one.
Ingredients:
- 1 1/2 pounds shaved rare roast beef
- 2 cups beef broth
- 3 tablespoons Worcestershire sauce
- 2 tablespoons unsalted butter
- 2 tablespoons all-purpose flour
- 1 cup whole milk
- 1/4 teaspoon kosher salt
- 1/4 teaspoon white pepper
- 1/4 teaspoon dry mustard
- Pinch of nutmeg
- 1 1/2 cups shredded sharp white cheddar cheese
- 12 slider rolls
- 2 tablespoons melted butter
- 1-2 tablespoons everything bagel seasoning
- Arby’s sauce, for serving
Preparing the Savory Roast Beef Filling
Step 1: Gently Warm the Roast Beef
Begin extract by preparing your roast beef. Since it’s already shaved and rare, our goal is to gently warm it and infuse it with flavor, not to cook it further. In a large skillet or pot over medium-low heat, add the 1 1/2 pounds of shaved rare roast beef. You don’t need to add any oil as the beef will release some of its natural juices. Let it heat through for about 3-5 minutes, stirring occasionally. This will make it more pliable and ready to absorb the delicious sauce we’re about to create.
Step 2: Building the Rich Gravy Base
Next, we’ll create a luscious gravy to bind all those savory roast beef pieces together. In a separate saucepan, melt the 2 tablespoons of unsalted butter over medium heat. Once the butter is fully meltegin extractnd begins to slightly foam, whisk in the 2 tablespoons of all-purpose flour. Continue whisking constantly for about 1-2 minutes, creating a pnon-alcoholic ale golden roux. This roux is crucial for thickening our gravy and ensuring a smooth, velvety texture. Be sure to stir it continuously to prevent any burning, which could impart an undesirable flavor.
Step 3: Enriching the Gravy with Liquids and Seasonings
Gradually whisk the 1 cup of whole milk into the roux, a little at a time, ensuring no lumps form. Once the milk is incorporated, slowly whisk in the 2 cups of beef broth. Bring the mixture to a gentle simmer, stirring frequently. Now it’s time to add our flavor enhancers: 3 tablespoons of Worcestershire sauce, 1/4 teaspoon of kosher salt, 1/4 teaspoon of white pepper, 1/4 teaspoon of dry mustard, and a pinch of nutmeg. Stir these in thoroughly. Continue to simmer the gravy, stirring occasionally, for about 5-7 minutes, or until it has thickened to your desired consistency. You’re looking for a gravy that coats the back of a spoon beautifully.
Step 4: Marrying the Roast Beef and Gravy, and Melting the Cheese
Now, combine the warmed roast beef with the thickened gravy in the skillet. Stir gently to ensure every piece of roast beef is coated in the rich, savory sauce. Let this mixture simmer for another 2-3 minutes, allowing the flavors to meld and the beef to fully absorb the gravy. Once the beef and gravy are well combined, sprinkle the 1 1/2 cups of shredded sharp white cheddar cheese over the top. Cover the skillet and turn off the heat, allowing the residual heat to melt the cheese into a gooey, decadent layer. The cheese will melt beautifully into the warm roast beef and gravy mixture, creating an irresistible filling.
Assembling and Baking the Sliders
Step 5: Preparing and Toasting the Slider Rolls
While the cheese is melting, prepare your slider rolls. Slice the 12 slider rolls in half horizontally. Arrange the bottom halves of the rolls on a baking sheet. If you like a slightly toasted bun, you can lightly brush the cut sides with a little bit of the 2 tablespoons of melted butter. This adds an extra layer of flavor and a pleasant crunch. You can also place them under a broiler for a minute or two until lightly golden, but watch them closely to prevent burning.
Step 6: Filling and Topping the Sliders
Once the cheese has melted into the roast beef mixture, it’s time to assemble the sliders. Generously spoon the warm roast beef and cheddar filling onto the bottom halves of the slider rolls, distributing it evenly. Ensure each slider gets a good amount of the cheesy, saucy beef. Once filled, carefully place the top halves of the slider rolls over the filling.
Step 7: Adding the Golden Topping and Baking to Perfection
Brush the tops of the assembled sliders with the remaining 2 tablespoons of melted butter. This will help them turn a beautiful golden brown as they bake and will give the seasoning something to adhere to. Sprinkle the 1-2 tablespoons of everything bagel seasoning evenly over the buttered tops. The everything bagel seasoning adds a delightful crunch and a burst of savory flavor that complements the rich roast beef and cheddar perfectly. Place the baking sheet in a preheated oven at 350 degrees Fahrenheit (175 degrees Celsius) and bake for 10-15 minutes, or until the slider rolls are golden brown and heated through.
Serving Your Delicious Sliders
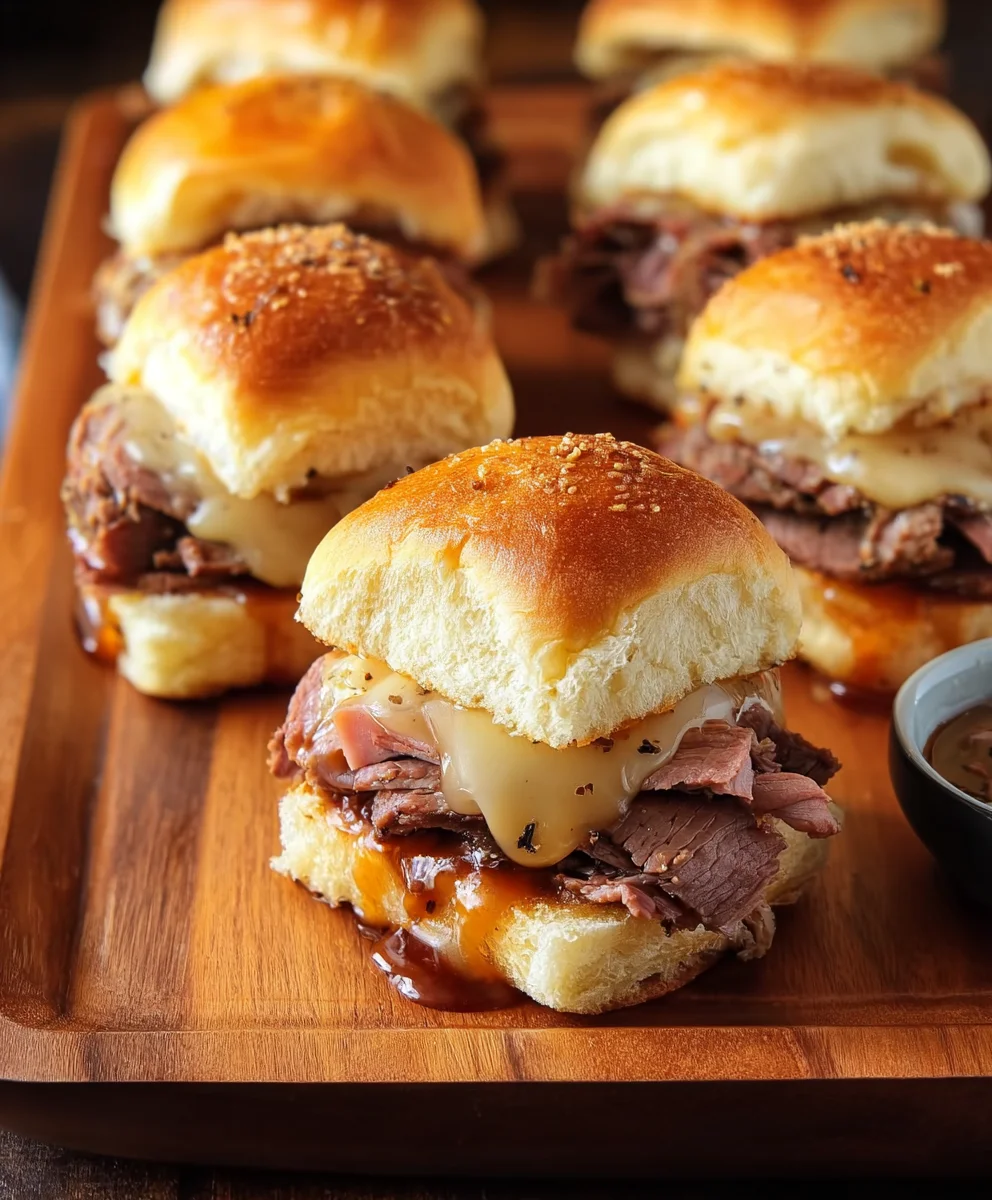
Remove the sliders from the oven and let them cool for a minute or two before serving. These Roast Beef & Cheddar Sliders are fantastic served warm. They are perfect on their own or can be accompanied by Arby’s sauce for an extra kick of tangy flavor. Enjoy the incredible combination of tender roast beef, melty cheddar, and savory gravy all nestled within a soft slider roll!
Conclusion:
There you have it! Crafting these delicious Roast Beef & Cheddar Sliders is a rewarding experience, and the results are truly delightful. We’ve walked through each step, from preparing the tender roast beef to assembling these perfectly balanced bites. The sweet caramelized onions, sharp cheddar cheese, and savory roast beef come together in a symphony of flavors that’s perfect for any occasion. Whether you’re planning a game day feast, a casual get-together, or simply craving a satisfying snack, these sliders are sure to be a hit. Don’t be afraid to get creative and make them your own – that’s half the fun of cooking!
For serving, these Roast Beef & Cheddar Sliders are fantastic on their own, but they also pair wonderfully with a side of crispy oven fries, a fresh garden salad, or even a creamy coleslaw. Get adventurous with variations: try adding a dollop of horseradish cream sauce for a spicy kick, swap the cheddar for Swiss or provolone, or even incorporate some crispy beef bacon for an extra layer of indulgence. The possibilities are endless, and the joy of sharing these homemade treats with loved ones is immense. So, gather your ingredients, embrace the process, and enjoy every single bite of your homemade Roast Beef & Cheddar Sliders!
Frequently Asked Questions:
Q1: Can I make the Roast Beef & Cheddar Sliders ahead of time?
Yes, you can! You can assemble the sliders up to a few hours in advance and store them covered in the refrigerator. For best results, it’s recommended to bake them just before serving to ensure the buns are soft and the cheese is perfectly melted. You can also prepare the roast beef and caramelized onions ahead of time to save on assembly time.
Q2: What kind of bread is best for these sliders?
While slider buns are ideal for their size, you can also use dinner rolls or even cut a larger soft bread loaf into slider-sized portions. The key is to use a soft, slightly sweet bread that complements the savory fillings without overpowering them. Hawaiian rolls are a popular choice and work exceptionally well.
Q3: Are there any vegetarian options for these Roast Beef & Cheddar Sliders?
Absolutely! To create a vegetarian version, you can replace the roast beef with thinly sliced portobello mushrooms that have been marinated and sautéed, or use plant-based roast beef alternatives. The cheddar cheese can also be substituted with your favorite dairy-free cheese option. The caramelized onions and buns will still create a delicious base!
Roast Beef Cheddar Sliders – Easy Flavorful Bites
Tender roast beef and melty cheddar cheese piled high on soft slider rolls with a rich, savory gravy and a crispy everything bagel seasoning topping.
Ingredients
-
1 1/2 pounds shaved rare roast beef
-
2 cups beef broth
-
3 tablespoons Worcestershire sauce
-
2 tablespoons unsalted butter
-
2 tablespoons all-purpose flour
-
1 cup whole milk
-
1/4 teaspoon kosher salt
-
1/4 teaspoon white pepper
-
1/4 teaspoon dry mustard
-
Pinch of nutmeg
-
1 1/2 cups shredded sharp white cheddar cheese
-
12 slider rolls
-
2 tablespoons melted butter
-
1-2 tablespoons everything bagel seasoning
-
Arby’s sauce, for serving
Instructions
-
Step 1
Gently warm the roast beef in a large skillet over medium-low heat for 3-5 minutes, stirring occasionally, until pliable. -
Step 2
In a separate saucepan, melt butter over medium heat. Whisk in flour to create a golden roux, cooking for 1-2 minutes. -
Step 3
Gradually whisk in milk, then beef broth to the roux. Add Worcestershire sauce, salt, white pepper, dry mustard, and nutmeg. Simmer for 5-7 minutes until thickened. -
Step 4
Combine warmed roast beef with the gravy. Simmer for 2-3 minutes. Sprinkle cheese over the mixture, cover, and turn off heat to melt the cheese. -
Step 5
Slice slider rolls in half and arrange bottoms on a baking sheet. Lightly brush cut sides with melted butter if desired. -
Step 6
Generously spoon the roast beef and cheddar filling onto the bottom slider rolls. Top with the other half of the rolls. -
Step 7
Brush the tops of the sliders with remaining melted butter and sprinkle evenly with everything bagel seasoning. Bake at 350°F (175°C) for 10-15 minutes until golden brown.
Important Information
Nutrition Facts (Per Serving)
It is important to consider this information as approximate and not to use it as definitive health advice.
Allergy Information
Please check ingredients for potential allergens and consult a health professional if in doubt.


Leave a Comment