
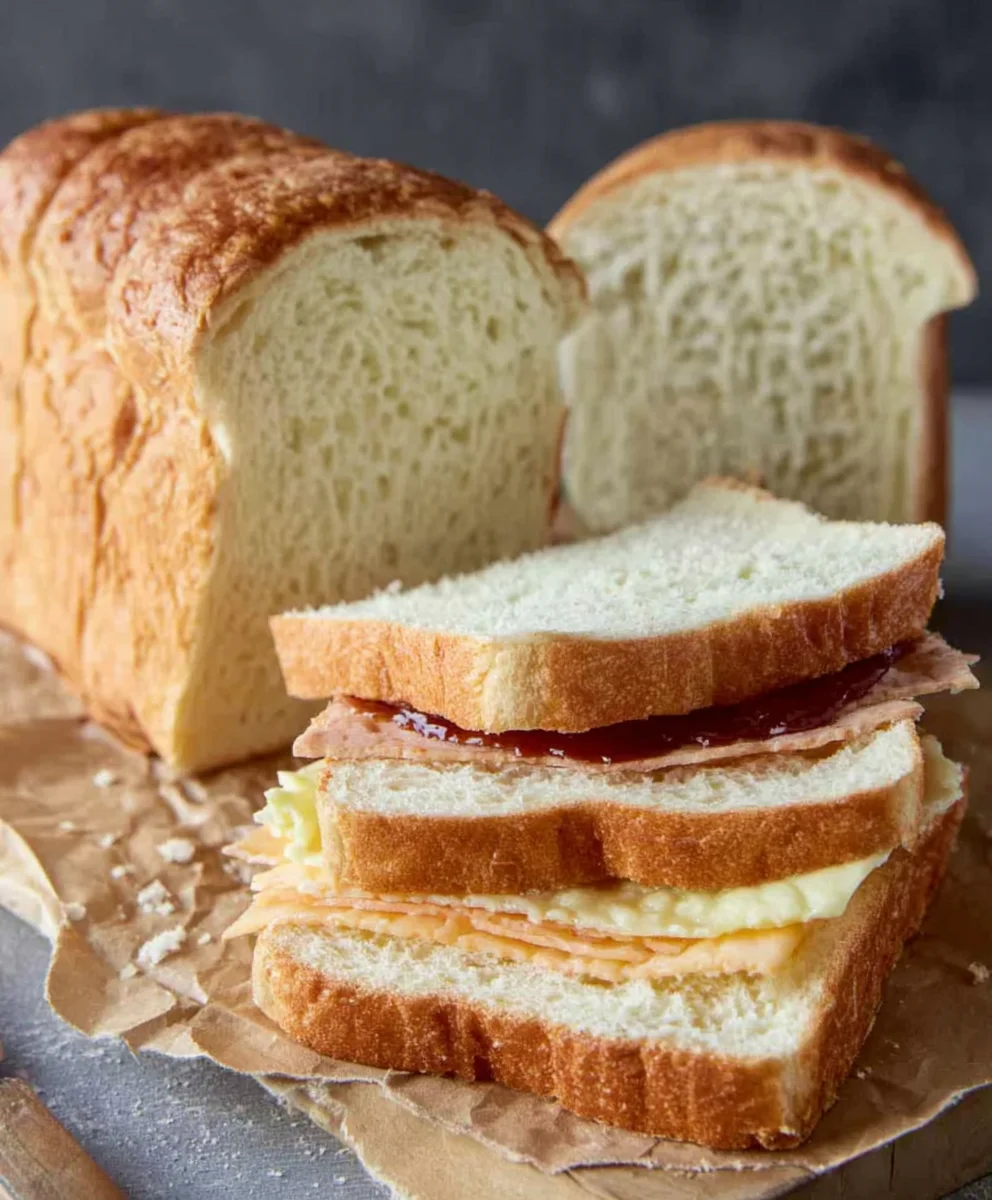
Best Sandwich Bread is more than just a vehicle for your favorite fillings; it’s the foundation of a truly satisfying meal. We all have those days when only a perfectly crafted sandwich will do, and the quality of the bread is paramount to its success. It’s why so many of us obsess over finding that ideal loaf – one that’s soft yet sturdy enough to hold everything together, with a delicate crum extractb that melts in your mouth and a crust that offers just the right amount of chew. This recipe for the Best Sandwich Bread aims to deliver exactly that. Imagin extracte pulling a warm, fragrant loaf from your oven, ready to be sliced and transformed into the most delicious BLTs, grilled cheeses, or classic beef ham and cheese sandwiches you’ve ever experienced. What makes this particular recipe stand out is its foolproof method and the resulting texture and flavor that consistently impress, making it your new go-to for any sandwich creation.
Ingredients:
- 3/4 Cup Warm Water
- 1/2 Cup Warm Milk
- 1 Tbsp. White Sugar
- 1 Tbsp. Brown Sugar
- 2 1/4 tsp Active Dry Yeast (this is equivnon-alcoholic alent to one standard packet)
- 2 Tbs Olive Oil
- 1/2 tsp Salt
- 3 Cups All-Purpose Flour
Preparing the Dough Base
Activating the Yeast
The journey to the best sandwich bread begin extracts with properly waking up the yeast. In a large mixing bowl, combine the 3/4 cup of warm water and the 1/2 cup of warm milk. The water and milk should feel comfortably warm to the touch, similar to a baby’s bottle – not hot, as extreme heat can kill the yeast. Add both the 1 tablespoon of white sugar and the 1 tablespoon of brown sugar to the liquid. These sugars act as food for the yeast,gin extractcouraging it to become active and bubbly. Sprinkle the 2 1/4 teaspoons of active dry yeast over the surface of the liquid. Gently stir just once or twice to ensure the yeast is mostly submerged, but avoid over-mixing at this stage. Now, let this mixture sit undisturbed for about 5 to 10 minutes. You’re looking for a frothy, foamy layer to form on the surface. This visual cue tells you the yeast is alive and ready to work its magic, creating the airy texture we desire in our bread. If you don’t see this foam, your yeast might be old, or the liquid was too hot or too cold, and you’ll need to start this step over with fresh yeast.
Mixing the Wet and Dry Ingredients
Once your yeast mixture is beautifully foamy, it’s time to incorporate the other wet ingredients and the salt. Add the 2 tablespoons of olive oil to the yeast mixture. This oil will contribute to a tender crum extractb and a beautiful crust. Then, add the 1/2 teaspoon of salt. Salt is crucial not only for flavor but also for controlling the yeast’s activity and strengthening the gluten structure. Now, it’s time to add the flour. Add 2 cups of the 3 cups of all-purpose flour to the bowl. Using a sturdy spoon gin extracta spatula, begin mixing everything together. The dough will start to come together, becoming shaggy and somewhat sticky. Don’t worry if it looks messy at this point; that’s perfectly normal.
Kneading and Developing Gluten
Initial Kneading and Flour Addition
Once the dough has formed into a rough mass, it’s time to get your hands in there for some kneading. Turn the dough out onto a lightly floured surface. You can use the remaining 1 cup of flour as needed, but be judicious with it. Too much flour will result gin extracta dense, dry loaf. Begin kneading the dough by pushing it away from you with the heels of your hands, then folding it back over itself. Rotate the dough a quarter turn and repeat. Initially, the dough will be sticky and might cling to your hands and the surface. Resist the urge to dump in a lot of extra flour. Instead, continue kneading, and as the gluten develops, the dough will become smoother and less sticky. Aim to knead for about 8 to 10 minutes. The dough should become smooth, elastic, and slightly tacky but should no longer stick excessively to your hands. A good test for proper gluten development is the “windowpane test”: pinch off a small piece of dough and gently stretch it. If you can stretch it thin enough to see light through it without it tearing, your gluten is well-developed.
First Rise: Letting the Dough Double
After kneading, shape the dough into a smooth ball. Lightly grease the mixing bowl you used earlier with a little bit of olive oil or cooking spray. Place the dough ball into the greased bowl, turning it once to coat all sides with oil. This prevents a dry crust from forming. Cover the bowl tightly with plastic wrap or a clean kitchen towel. Find a warm, draft-free spot for the dough to rise. This could be a slightly warmed oven (turned off, of course, just for residual warmth), a sunny windowsill, or simply a warm corner of your kitchen. Allow the dough to rise for approximately 1 to 1.5 hours, or until it has doubled in size. The exact time will depend on the ambient temperature of your kitchen. You’ll know it’s ready when it’s visibly puffy and has increased significantly in volume.
Shaping and Baking the Loaf
Punching Down and Shaping
Once the dough has doubled, gently punch it down in the center to release the trapped air. Turn the dough out onto your lightly floured surface again. Briefly knead it for about 30 seconds to a minute to redistribute the air pockets. Now, it’s time to shape your loaf for baking. For a classic sandwich bread loaf, gently pat or roll the dough into a rectangle, roughly the width of your loaf pan. Then, starting from one of the shorter ends, tightly roll up the dough into a log shape, pinching the seam closed at the end. Tuck the ends under slightly for a neat shape.
Second Rise and Baking Preparation
Grease a standard 9×5 inch loaf pan with butter, oil, or cooking spray. Place the shaped dough log into the prepared pan, seam-side down. Cover the pan loosely with plastic wrap or a clean kitchen towel. Allow the dough to rise again for another 45 minutes to 1 hour, or until it has risen about 1 inch above the rim of the pan. During this second rise, preheat your oven to 375 degrees Fahrenheit (190 degrees Celsius). This second rise is crucial for achieving a light anrum extractiry crumb. If you’re feeling fancy, you can lightly brush the top of the dough with a little milk or egg wash for a shinier crust, but this is entirely optional for the best sandwich bread.
Baking to Golden Perfection
Once the oven is preheated and the dough has completed its second rise, carefully place the loaf pan into the center of the oven. Bake for 30 to 40 minutes. The exact baking time can vary depending on your oven. You’re looking for a beautiful, golden-brown crust. To check for doneness, you can gently tap the top of the loaf. If it sounds hollow, it’s ready. Another reliable method is to use an instant-read thermometer; the internal temperature should register around 190-200 degrees Fahrenheit (88-93 degrees Celsius). If the crust is browning too quickly before the inside is cooked, you can loosely tent the loaf with aluminum foil for the remaining baking time.
Cooling and Slicing for Ultimate Enjoyment
Once baked, immediately remove the bread from the loaf pan and place it on a wire cooling rack. This is a very important step, as it allows air to circulate around the entire loaf, preventing the bottom crust from becoming soggy. Let the bread cool completely, which usually takes at least 1 to 2 hours. Resist the temptation to slice into it while it’s still warm, as this can result in a gummy texture. Once fully cooled, use a serrated bread knife to slice your beautiful, homemade loaf. You’ll be amazed at the soft, airy texture and the delicious flavor that makes this the absolute best sandwich bread you’ve ever made. Enjoy your creation!

Conclusion:
So there you have it – the ultimate guide to creating the Best Sandwich Bread! We’ve walked through the simple yet rewarding process, from mixing and kneading to the satisfying aroma filling your kitchen as it bakes. This recipe is designed to be approachable for begin extractners while yielding a loaf that seasoned bakers will appreciate for its soft crum extractb and perfect crust. Once cooled, slice it generously and prepare for sandwich perfection. It’s fantastic toasted and slathered with butter, but truly shines when piled high with your favorite fillings. Think classic beef ham and cheese, a gourmet grilled chicken, or even a simple avocado and tomato. Don’t be afraid to experiment with additions like herbs or seeds in the dough for a personal touch! We hope you enjoy making and devouring this delicious homemade bread.
Frequently Asked Questions:
Why is my Best Sandwich Bread so dense?
A dense loaf can often be due to not allowing the dough enough time to rise properly, or perhaps the yeast wasn’t active. Make sure your yeast is fresh and that you’re letting the dough double in size in a warm place before shaping and proofing again. Over-kneading can also develop too much gluten, leading to a tougher texture, so aim for a soft, elastic dough.
Can I make this Best Sandwich Bread ahead of time?
Absolutely! Once cooled completely, you can store the Best Sandwich Bread in an airtight bag or container at room temperature for up to 3 days. For longer storage, slice the loaf and freeze it. You can then toast slices directly from frozen for a quick and easy breakfast or lunch.
Best Sandwich Bread Recipe- Easy Homemade Soft Loaf
An easy and delicious recipe for a soft, homemade sandwich bread loaf that’s perfect for everyday use.
Ingredients
-
3/4 Cup Warm Water
-
1/2 Cup Warm Milk
-
1 Tbsp. White Sugar
-
1 Tbsp. Brown Sugar
-
2 1/4 tsp Active Dry Yeast
-
2 Tbs Olive Oil
-
1/2 tsp Salt
-
3 Cups All-Purpose Flour
Instructions
-
Step 1
In a large bowl, combine warm water, warm milk, white sugar, brown sugar, and active dry yeast. Let sit for 5-10 minutes until frothy. -
Step 2
Add olive oil and salt to the yeast mixture. Gradually add 2 cups of flour and mix until a shaggy dough forms. -
Step 3
Turn dough onto a floured surface and knead for 8-10 minutes until smooth and elastic. Add remaining flour as needed. -
Step 4
Place dough in a greased bowl, cover, and let rise in a warm place for 1 to 1.5 hours, or until doubled. -
Step 5
Punch down dough, shape into a loaf, and place in a greased 9×5 inch loaf pan. Cover and let rise for another 45 minutes to 1 hour. -
Step 6
Preheat oven to 375°F (190°C). Bake for 30-40 minutes, or until golden brown and sounds hollow when tapped. -
Step 7
Remove from pan and cool completely on a wire rack before slicing.
Important Information
Nutrition Facts (Per Serving)
It is important to consider this information as approximate and not to use it as definitive health advice.
Allergy Information
Please check ingredients for potential allergens and consult a health professional if in doubt.


Leave a Comment