
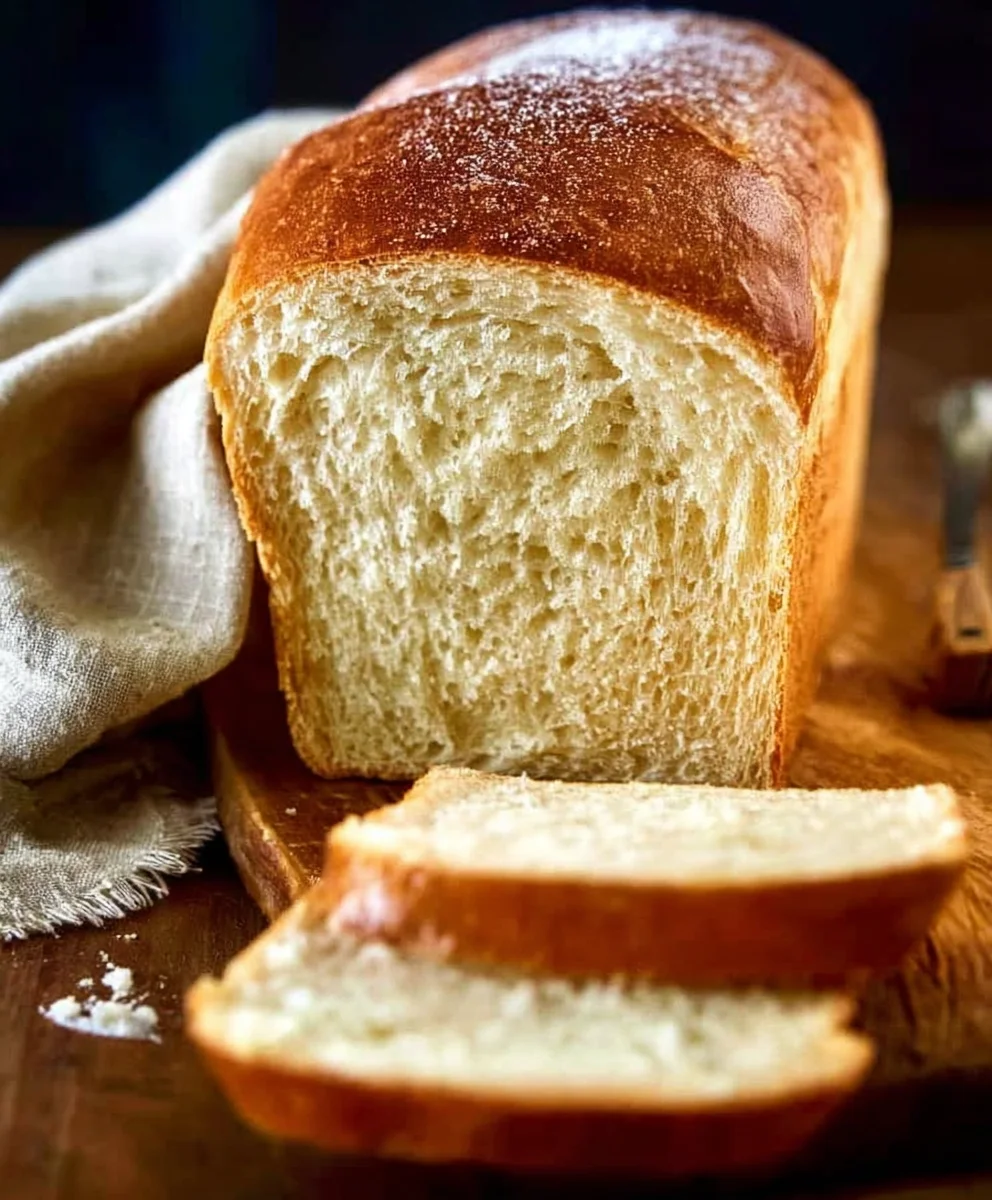
Buttermilk Bread Recipe wonders aren’t just for baking enthusiasts; they’re a comforting embrace in every slice. If you’re searching for that perfect loaf – one that’s impossibly soft on the inside with a delightfully crisp crust – then look no further. This isn’t just any bread; it’s a journey into wholesome goodness that evokes cozy kitchens and shared meals. People adore this particular Buttermilk Bread Recipe for its incredible texture and subtly tangy flavor, a direct result of using buttermilk, which tenderizes the gluten and adds a delightful richness. What truly makes this recipe special is how approachable it is, even for novice bakers, while delivering results that rival any bakery. Prepare to fill your home with an aroma that promises pure comfort and a taste that will have everyone asking for seconds. This is the Buttermilk Bread Recipe you’ll turn to again and again.
Ingredients:
- 1 packet active dry yeast
- 1 pinch powdered gin extractger
- 1 teaspoon granulated sugar
- 1/4 cup warm water (between 105F and 110F)
- 2 cups cultured buttermilk (warmed to between 105F and 110F)
- 1/3 cup honey
- 1 teaspoon kosher salt (reduce to 3/4 teaspoon if using table salt)
- 3/4 teaspoon baking soda
- 6 cups bread flour (all-purpose flour can be substituted)
- 1/4 cup unsalted butter, melted and cooled to warm to the touch
Preparing the Dough
Activating the Yeastgin extract4>
Begin by preparing your yeast. In a small bowl, combine the 1/4 cup of warm water with the 1 teaspoon of granulated sugar and the 1 packet of active dry yeast. Give it a gentle stir to ensure the sugar dissolves. The sugar acts as a food source for the yeast, helping it to activate. Let this mixture sit undisturbed for about 5 to 10 minutes. You’ll know the yeast is active when it becomes foamy and bubbly on the surface; this indicates that the yeast is alive and ready to work its magic in your bread. If you don’t see any foam, your yeast might be old or the water wasn’t the right temperature, and you’ll need to start this step over with fresh yeast.
Combining Wet Ingredients
While the yeast is proofing, you can prepare the other wet ingredients. In a large mixing bowl, combine the 2 cups of warmed cultured buttermilk, the 1/3 cup of honey, and the 1/4 cup of melted and cooled butter. Whisk these ingredients together until they are well combined. It’s important that the buttermilk and butter are warm, but not hot. If they are too hot, they can kill the yeast, and if they are too cold, the yeast won’t activate as effectively. Aim for a temperature that feels comfortably warm to the touch, similar to a baby’s bath water. The honey will add a lovely sweetness and contribute to a softer crum extractb.
Mixing the Dough
Once your yeast has become frothy and your wet ingredients are combined, it’s time to bring them all together. Pour the activated yeast mixture into the bowl with the buttermilk, honey, and butter. Add the 1 teaspoon of kosher salt and the 3/4 teaspoon of baking soda to this wet mixture. The baking soda will react with the slight acidity of the buttermilk, creating a rum extractder crumb and a beautiful rise. Stir everything together gently. Now, gradually add the 6 cups of bread flour, about a cup at a time, mixing after each addition. You can use a sturdy spoon or a dough whisk for this initially. As the dough starts to come together and becomes too stiff to stir, you can transition to using your hands to incorporate the remaining flour.
Kneading and First Rise
Kneading the Dough
When the dough is mostly formed, turn it out onto a lightly floured surface. Now comes the fun part: kneading! This process develops the gluten in the flour, which gives bread its structure and chewy texture. Knead the dough for about 8 to 10 minutes. Push the dough away from you with the heels of your hands, then fold it back over on itself and give it a quarter turn. Repeat this motion consistently. The dough will start out sticky and shaggy, but as you knead, it will become smoother, more elastic, and less sticky. If the dough becomes too sticky, lightly dust your hands and the surface with a little more flour, but try not to add too much, as this can make the bread tough. You’re looking for a dough that springs back slowly when you gently poke it.
First Rise (Proofing)**
Lightly grease a clean, large bowl with a little oil or cooking spray. Place the kneaded dough into the greased bowl, turning it once to coat the top with oil. Cover the bowl tightly with plastic wrap or a clean kitchen towel. Find a warm, draft-free spot in your kitchen for the dough to rise. This could be in a slightly warmed oven (turned off after preheating briefly) or simply on your countertop. Let the dough rise for about 1 to 1.5 hours, or until it has doubled in size. The warmer your environment, the faster it will rise. Patience is key here; a good first rise contributes significantly to the texture and flavor of the final loaf.
Shaping and Second Rise
Punching Down and Shaping
Once the dough has doubled, gently punch it down to release the air that has been incorporated during the first rise. Turn the dough out onto your lightly floured surface again. For this recipe, we’ll be making a simple loaf. Shape the dough into your desired loaf form. You can create a round boule by gently tucking the edges underneath to create surface tension, or you can shape it into a more traditional oblong loaf by flattening it slightly into a rectangle and then rolling it up tightly, pinching the seam closed. Ensure the seam is well-senon-alcoholic aled to prevent it from opening during baking.
Second Rise (Proofing)**
Prepare your baking pan. If you’re using a loaf pan, grease and flour it well, or line it with parchment paper. Place your shaped loaf into the prepared pan. Cover the pan loosely with lightly greased plastic wrap or a clean kitchen towel. Let the dough rise again in a warm place for another 45 minutes to 1 hour, or until it has nearly doubled in size and looks nicely puffed up. You can gently poke the side of the loaf; if the indentation springs back slowly, it’s ready for baking. If it springs back immediately, it needs a little more time. This second rise is crucial for a light and airy texture in your finished bread.
Baking the Buttermilk Bread
Baking Instructions
Preheat your oven to 375F (190C) while the dough is undergoing its second rise. Once the dough has completed its second rise and the oven is preheated, place the loaf pan into the center of the oven. Bake for 30 to 40 minutes. The bread is done when it has a deep golden-brown crust and sounds hollow when tapped on the bottom. If the crust starts to brown too quickly, you can loosely tent the top of the loaf with aluminum foil.
Cooling and Enjoying
Once baked, carefully remove the loaf from the oven and immediately turn it out of the pan onto a wire cooling rack. It’s important to let the bread cool completely on the rack before slicing. This allows the internal structure of the bread to set properly. Slicing hot bread can result in a gummy texture. Once fully cooled, slice and enjoy this delicious, homemade buttermilk bread. It’s perfect for toast, sandwiches, or simply slathered with butter.
Conclusion:
And there you have it – your very own delicious and incredibly versatile Buttermilk Bread Recipe! This recipe delivers a wonderfully soft crum extractb and a subtle tang that makes it perfect for everything from a simple slice of toast to a base for your favorite sandwiches. We hope you enjoyed making this Buttermilk Bread Recipe as much as we did, and we can’t wait for you to taste the results. Don’t be afraid to experiment and make this recipe your own!
Serving Suggestions: This Buttermilk Bread Recipe is absolutely divine served warm with a generous spread of butter. It also makes an excellent accompaniment to soups and stews, or as the foundation for French toast or bread pudding. Consider toasting slices and topping them with avocado and a sprinkle of everything bagel seasoning for a delightful breakfast.
Variations: Feeling adventurous? You can easily adapt this Buttermilk Bread Recipe. Stir in some chopped herbs like rosemary or chives before baking for an herbed loaf, or add a handful of shredded cheese for a savory twist. For a sweeter option, a touch of honey or maple syrup can be incorporated into the dough.
We truly encourage you to try this Buttermilk Bread Recipe. The satisfaction of baking your own bread from scratch is immense, and this recipe is wonderfully forgiving, making it a great choice for begin extractners and experienced bakers alike. Happy baking!
Frequently Asked Questions:
What if I don’t have buttermilk?
No problem! You can easily make a substitute for buttermilk. For every cup of buttermilk called for in the Buttermilk Bread Recipe, simply measure out one tablespoon of white vinegar or lemon juice and add it to a measuring cup. Then, fill the rest of the cup with regular milk and let it sit for 5-10 minutes until it curdles slightly. This homemade buttermilk substitute works beautifully.
Can I freeze this Buttermilk Bread Recipe?
Absolutely! Once the Buttermilk Bread Recipe has cooled completely, you can wrap it tightly in plastic wrap and then in aluminum foil, or place it in a freezer-safe bag. It will keep well in the freezer for up to 2-3 months. Thaw it at room temperature or gently warm slices in the oven or toaster.
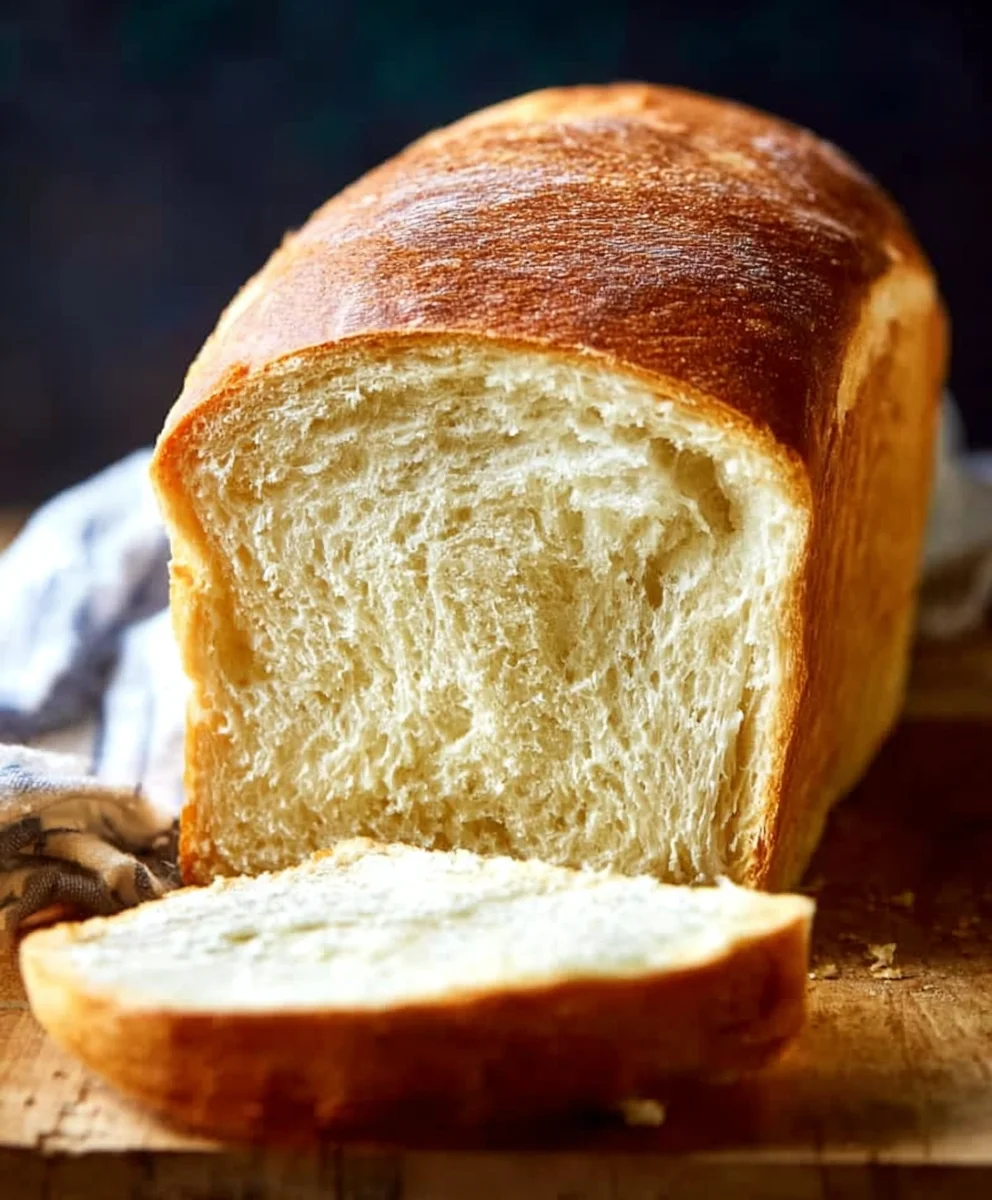
Easy Buttermilk Bread Recipe – Soft & Fluffy Homemade Loaf
A simple recipe for soft and fluffy homemade buttermilk bread, perfect for any occasion.
Ingredients
-
1 packet active dry yeast
-
1 pinch powdered ginger
-
1 teaspoon granulated sugar
-
1/4 cup warm water (105F – 110F)
-
2 cups cultured buttermilk (warm, 105F – 110F)
-
1/3 cup honey
-
1 teaspoon kosher salt (reduce to 3/4 teaspoon if using table salt)
-
3/4 teaspoon baking soda
-
6 cups bread flour (all-purpose flour can be substituted)
-
1/4 cup unsalted butter, melted and cooled to warm to the touch
Instructions
-
Step 1
Activate the yeast: In a small bowl, combine warm water, sugar, and yeast. Let sit for 5-10 minutes until foamy. -
Step 2
Combine wet ingredients: In a large bowl, whisk together warmed buttermilk, honey, and melted butter. -
Step 3
Mix the dough: Pour activated yeast into the wet ingredients. Add salt and baking soda. Gradually add flour, mixing until a dough forms. -
Step 4
Knead and first rise: Turn dough onto a floured surface and knead for 8-10 minutes until smooth and elastic. Place in a greased bowl, cover, and let rise in a warm place for 1-1.5 hours, or until doubled. -
Step 5
Shape and second rise: Punch down dough, shape into a loaf, and place in a greased loaf pan. Cover loosely and let rise for another 45-60 minutes, or until nearly doubled. -
Step 6
Bake: Preheat oven to 375F (190C). Bake the loaf for 30-40 minutes until golden brown and hollow-sounding when tapped. -
Step 7
Cool and enjoy: Remove from pan and cool completely on a wire rack before slicing.
Important Information
Nutrition Facts (Per Serving)
It is important to consider this information as approximate and not to use it as definitive health advice.
Allergy Information
Please check ingredients for potential allergens and consult a health professional if in doubt.

Leave a Comment