
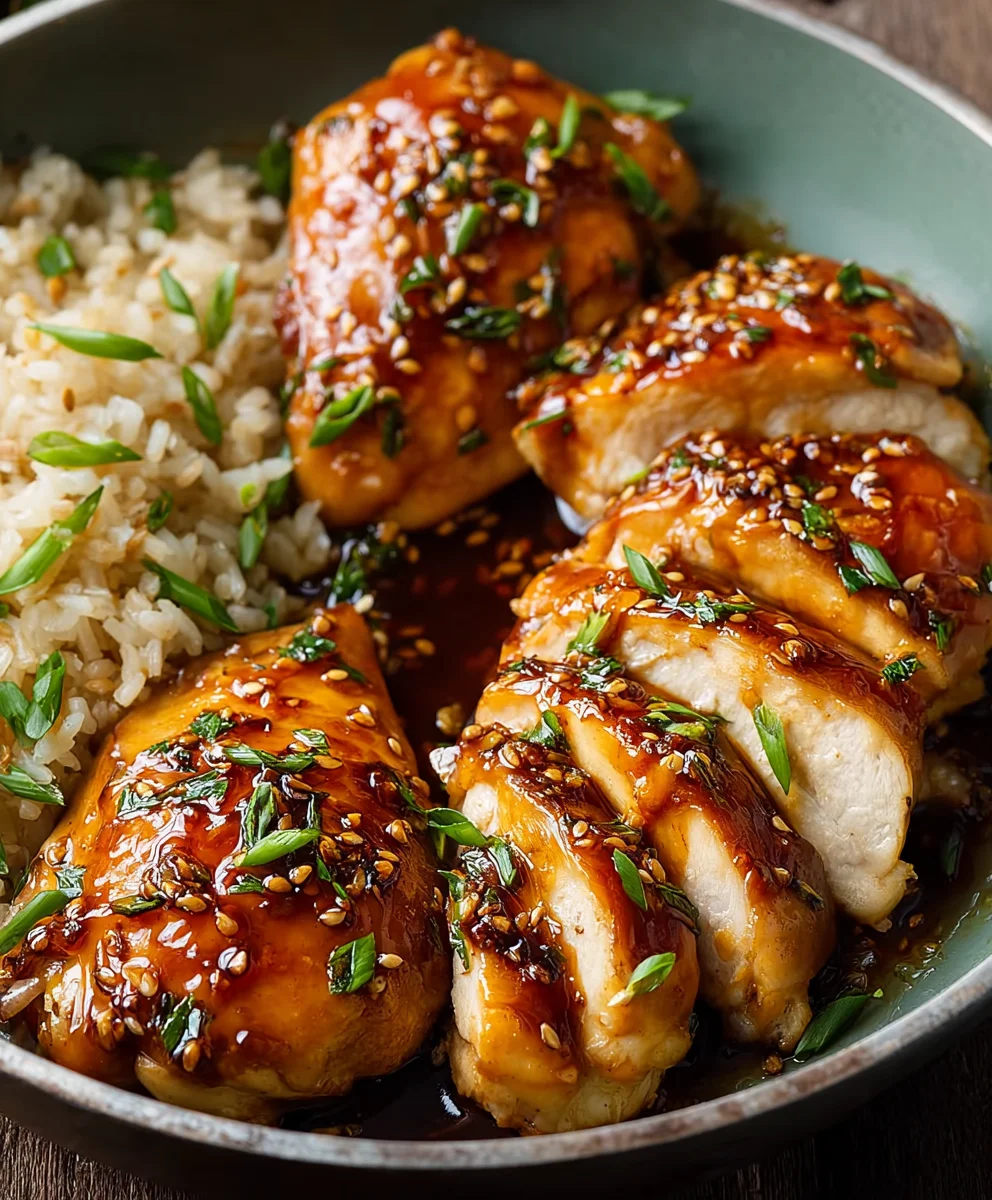
Baked Honey Garlic Chicken is more than just a weeknight dinner; it’s a gateway to pure, unadulterated comfort and flavor that will have your taste buds singin extractg. There’s a reason this dish consistently tops favorite recipe lists – it’s incredibly easy to make, yet delivers restaurant-quality results that impress every single time. The magic lies in that irresistible glaze: a perfect harmony of sweet honey and savory garlic that caramelizes beautifully in the oven, coating every succulent piece of chicken in a sticky, golden sheen. It’s this delightful sweet and savory balance, coupled with the tender, juicy chicken, that makes Baked Honey Garlic Chicken a universally beloved meal, perfect for busy families, impromptu gatherings, or simply when you crave a truly satisfying and delicious experience. Get ready to discover your new go-to recipe for this iconic dish.
Ingredients:
- 4 boneless skinless chicken breasts
- 1/2 teaspoon salt
- 1/4 teaspoon black pepper
- 2/3 cup clear honey
- 1/4 cup low sodium chicken broth
- 2 tablespoons low sodium soy sauce
- 2 tablespoons minced garlic
- 1 tablespoon apple cider vinegar
- 1/4 teaspoon salt
- 1 tablespoon corn starch
- Red pepper flakes to taste (optional)
Preparing the Chicken
Step 1: Preheat and Season the Chicken
The first step to achieving perfectly Baked Honey Garlic Chicken is to get your oven preheated and your chicken prepped. So, go ahead and preheat your oven to 375°F (190°C). This consistent temperature is key for even cooking and ensuring the chicken breasts are cooked through without drying out. While the oven is warming up, take your four boneless, skinless chicken breasts and place them on a clean cutting board or a baking sheet lined with parchment paper for easier cleanup. Pat them dry with paper towels. This simple step is crucial because moisture on the surface of the chicken can prevent it from browning nicely and can even lead to steaming rather than baking. Once dry, generously season both sides of each chicken breast with 1/2 teaspoon of salt and 1/4 teaspoon of black pepper. Make sure to distribute the seasoning evenly; this forms the initial flavor base for our delicious honey garlic sauce.
Making the Honey Garlic Sauce
Step 2: Combine the Sauce Ingredients
Now, let’s focus on creating the star of the show: the luscious honey garlic sauce. In a medium-sized saucepan, combine the 2/3 cup of clear honey, 1/4 cup of low sodium chicken broth, and 2 tablespoons of low sodium soy sauce. The honey will provide sweetness and a beautiful glaze, while the chicken broth adds a subtle savory depth without making the sauce too salty, especially considering the soy sauce. The low sodium soy sauce contributes that essential umami flavor and a lovely color to the sauce. Next, add in the 2 tablespoons of minced garlic. Freshly minced garlic will offer a much more potent and fragrant flavor than pre-minced varieties, so if you have the time, mince it yourself! Stir in the 1 tablespoon of apple cider vinegar. The vinegar adds a touch of acidity that balances the sweetness of the honey and helps to tenderize the chicken slightly as it cooks. Whisk everything together until well combined.
Thickening the Sauce and Adding the Chicken
Step 3: Simmer and Thicken the Sauce
Place the saucepan with the sauce ingredients over medium heat on your stovetop. Bring the mixture to a gentle simmer, stirring occasionally. As it simmers, you’ll notice the aroma becoming incredibly inviting. Allow it to simmer for about 3-5 minutes. This simmering process helps to meld the flavors together beautifully. In a separate small bowl, whisk together the 1 tablespoon of corn starch with about 2 tablespoons of cold water until you have a smooth slurry with no lumps. This is our thickening agent. Slowly pour this corn starch slurry into the simmering sauce while continuously whisking. Continue to whisk and cook for another 1-2 minutes, or until the sauce has thickened to a nice, syrupy consistency. You’re looking for a sauce that will coat the back of a spoon. Don’t overcook it, or it might become too thick. If you like a little heat, now is the time to stir in red pepper flakes to taste. This is entirely optional but adds a lovely kick that complements the sweet and savory notes of the sauce.
Step 4: Coating the Chicken and Initial Bake
Once your sauce has reached the desired consistency, carefully remove the saucepan from the heat. Take your seasoned chicken breasts and arrange them in a single layer in a baking dish that is large enough to hold them comfortably without overcrowding. Pour about half of the thickened honey garlic sauce evenly over the chicken breasts, ensuring each piece is well-coated. It’s important to use a baking dish that is not too shallow, as this will help contain the sauce during baking. Now, place the baking dish into your preheated oven. Bake for 20 minutes. During this initial baking period, the chicken will begin extract to cook through, and the flavors from the sauce will start to penetrate its surface, creating a beautiful caramelization.
Finishing and Serving
Step 5: Baste and Final Bake
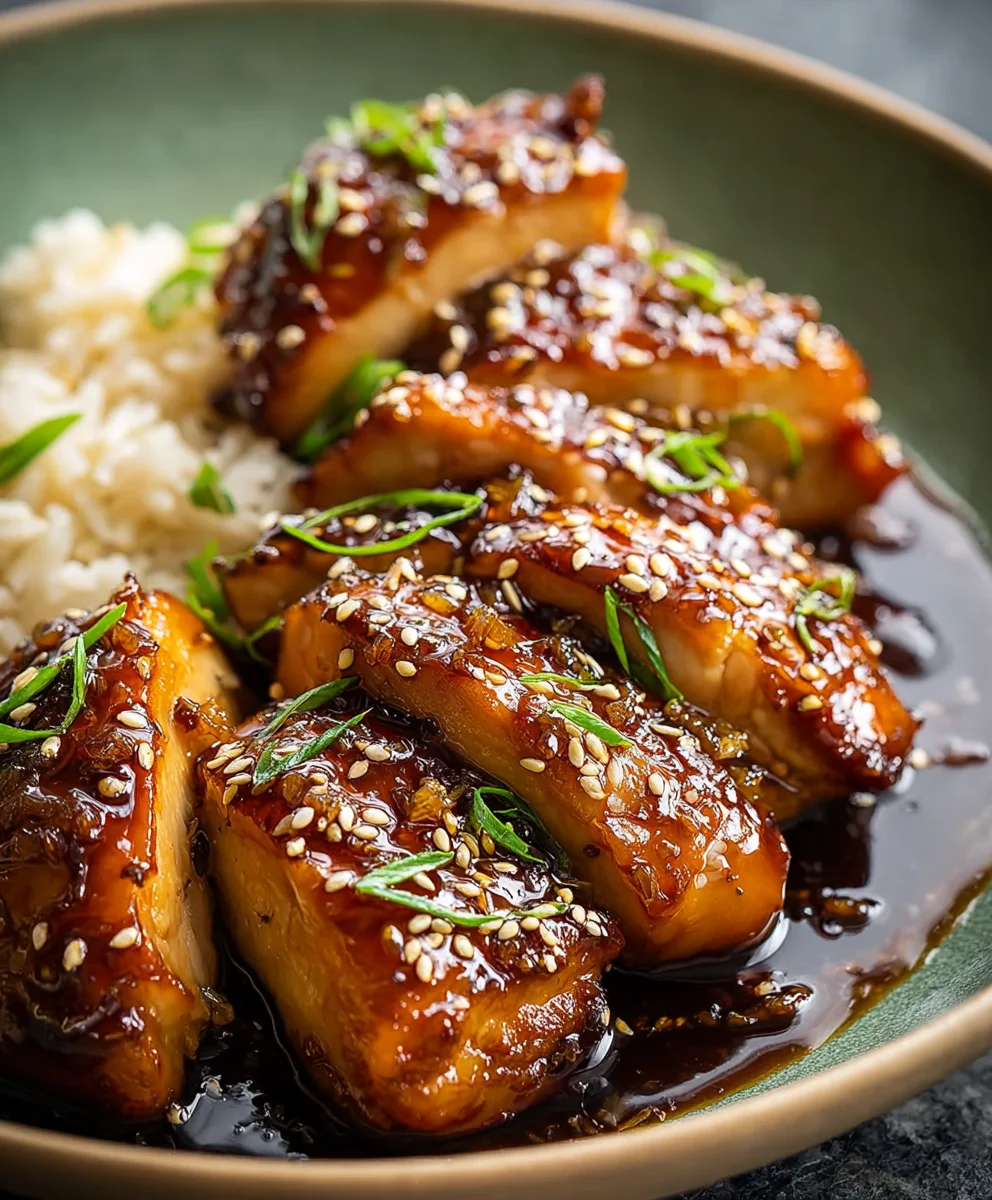
After the initial 20 minutes of baking, carefully remove the baking dish from the oven. Using a brush or a spoon, baste the chicken breasts with the sauce that has accumulated in the bottom of the dish. This basting process is crucial for ensuring that the chicken remains moist and develops an even more intense flavor and a glorious, glossy finish. At this point, you can add any remaining sauce from the saucepan over the chicken if you desire a more saucy dish. Return the baking dish to the oven and continue to bake for another 10-15 minutes, or until the chicken is cooked through and reaches an internal temperature of 165°F (74°C). The exact time will depend on the thickness of your chicken breasts. You can test for doneness by cutting into the thickest part of a chicken breast; the juices should run clear, and there should be no pink in the center. The sauce should be bubbly and beautifully caramelized on the edges. Let the chicken rest for 5 minutes before serving. This resting period allows the juices to redistribute throughout the meat, making it more tender and flavorful. Serve the Baked Honey Garlic Chicken hot, spooning extra sauce over each portion. It pairs wonderfully with rice, steamed vegetables, or a fresh salad.
Conclusion:
And there you have it – your perfectly delicious Baked Honey Garlic Chicken is ready to be devoured! We’ve walked through each step, from marinating the chicken to achieving that irresistible caramelized glaze. This recipe is wonderfully versatile and brings a burst of sweet and savory flavor to any meal. We hope you enjoy making and sharing this fantastic dish as much as we do!
For serving suggestions, this Baked Honey Garlic Chicken pairs beautifully with fluffy steamed rice, roasted broccoli or asparagus, and a crisp side salad. It’s also a fantastic addition to a weeknight meal or even impressive enough for guests.
If you’re feeling adventurous, consider variations! You can easily add some red pepper flakes to the marinade for a touch of heat, or toss in some chopped fresh gin extractger for an extra aromatic kick. Feel free to experiment with different vegetables alongside the chicken, like bell peppers or onions, which will roast up nicely in the same pan.
Don’t be afraid to make this recipe your own. The joy of cooking is in the personalization! We encourage you to give this Baked Honey Garlic Chicken a try and let its irresistible aroma and taste brighten your kitchen.
Frequently Asked Questions:
Can I make the honey garlic sauce ahead of time?
Absolutely! You can prepare the honey garlic sauce a day or two in advance and store it in an airtight container in the refrigerator. This will save you some time when you’re ready to marinate and cook the chicken.
How can I ensure the chicken is cooked through but still moist?
The best way to ensure your Baked Honey Garlic Chicken is cooked through and remains moist is to use a meat thermometer. For boneless chicken breasts, aim for an internal temperature of 165°F (74°C). For thighs, it’s safe to cook them to 170-175°F (77-79°C) for optimal tenderness.
What if I don’t have fresh garlic?
If you’re out of fresh garlic, you can substitute it with garlic powder. For the amount of garlic typically used in this recipe, start with about 1 teaspoon of garlic powder and adjust to your taste. Keep in mind that the flavor might be slightly less pungent than fresh garlic.
Easy Baked Honey Garlic Chicken Recipe
A simple and delicious recipe for baked honey garlic chicken with a sticky, flavorful glaze.
Ingredients
-
4 boneless skinless chicken breasts
-
1/2 teaspoon salt
-
1/4 teaspoon black pepper
-
2/3 cup clear honey
-
1/4 cup low sodium chicken broth
-
2 tablespoons low sodium soy sauce
-
2 tablespoons minced garlic
-
1 tablespoon apple cider vinegar
-
1/4 teaspoon salt
-
1 tablespoon corn starch
-
Red pepper flakes to taste (optional)
Instructions
-
Step 1
Preheat oven to 375°F (190°C). Pat chicken breasts dry and season with 1/2 teaspoon salt and 1/4 teaspoon black pepper. -
Step 2
In a saucepan, combine honey, chicken broth, soy sauce, minced garlic, and apple cider vinegar. Whisk well. -
Step 3
Simmer sauce for 3-5 minutes. In a small bowl, whisk corn starch with 2 tablespoons of cold water to create a slurry. Slowly pour slurry into simmering sauce while whisking until thickened. Stir in red pepper flakes if using. -
Step 4
Arrange seasoned chicken breasts in a baking dish. Pour half of the thickened sauce over the chicken. Bake for 20 minutes. -
Step 5
Baste chicken with accumulated sauce. Return to oven and bake for another 10-15 minutes, or until internal temperature reaches 165°F (74°C). Let rest for 5 minutes before serving.
Important Information
Nutrition Facts (Per Serving)
It is important to consider this information as approximate and not to use it as definitive health advice.
Allergy Information
Please check ingredients for potential allergens and consult a health professional if in doubt.
Leave a Comment