
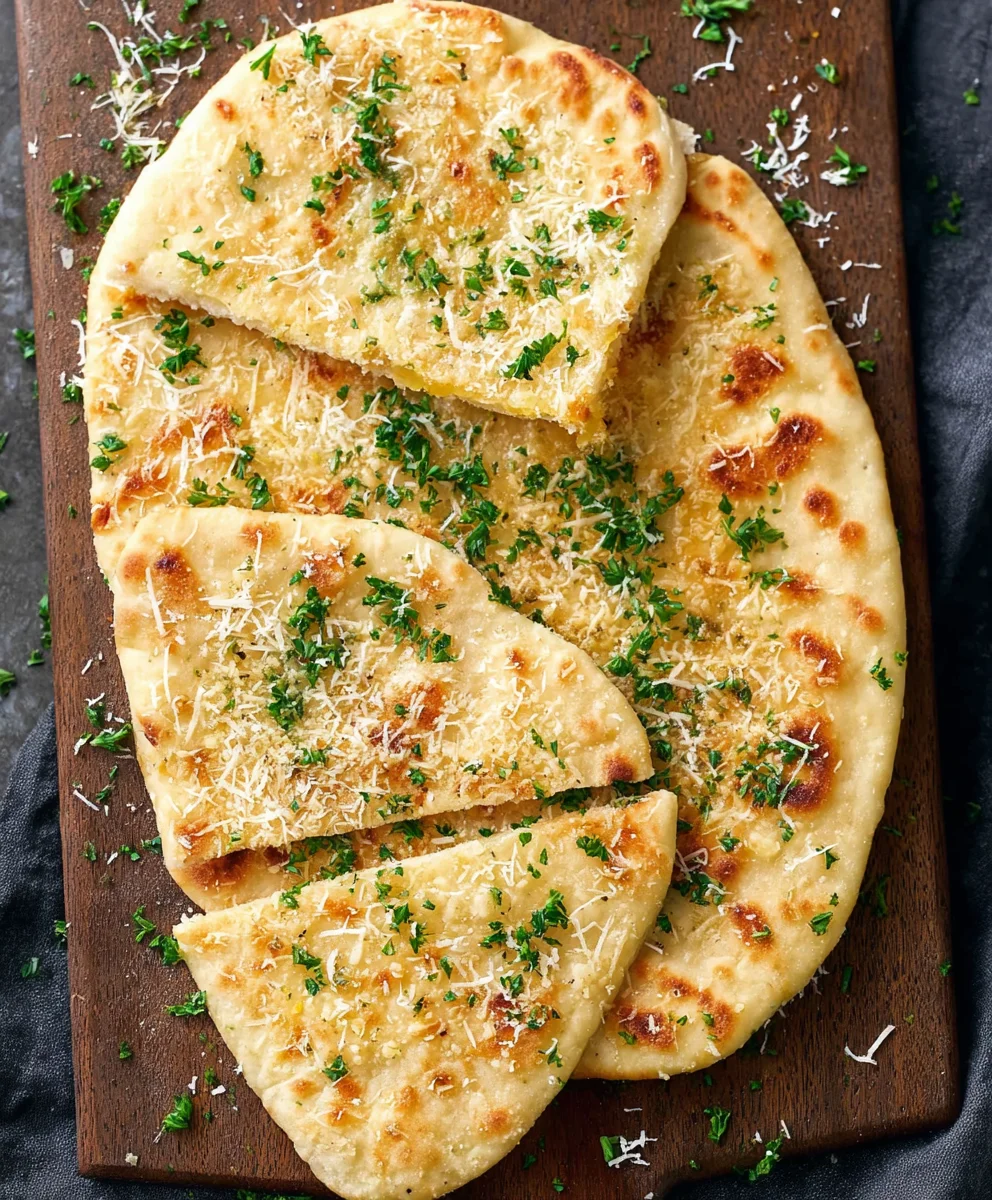
Garlic Flatbreads are more than just a side dish; they’re a culinary hug, a universally loved comfort food that can elevate any meal from ordinary to extraordinary. Imagin extracte the irresistible aroma wafting from your oven as these golden, slightly crispy, yet wonderfully chewy delights bake to perfection. It’s no wonder that when we crave something simple, satisfying, and utterly delicious, our minds immediately go to warm, fragrant Garlic Flatbreads. What makes them so special? It’s the perfect symphony of buttery, garlicky goodness married with a delightful chew, a textural marvel that’s both grounding and exciting. Whether you’re scooping up the last bit of rich sauce, sopping up a hearty stew, or simply enjoying them on their own with a sprinkle of fresh herbs, these Garlic Flatbreads are guaranteed to bring smiles and seconds. Get ready to create your own batch of this crowd-pleasing wonder!
Ingredients:
- 2 cups all-purpose flour, plus more for dusting
- 1 teaspoon instant yeast
- 1 teaspoon granulated sugar
- 1/2 teaspoon salt
- 3/4 cup warm water (about 105-115°F or 40-46°C)
- 2 tablespoons olive oil, plus more for brushing
- 4 cloves garlic, minced
- 2 tablespoons fresh parsley, chopped
- 1/4 cup grated Parmesan cheese (optional)
- Pinch of red pepper flakes (optional)
Preparing the Dough
Mixing the Dry Ingredients
Let’s start by getting our dough ready. In a large mixing bowl, combine the 2 cups of all-purpose flour, 1 teaspoon of instant yeast, 1 teaspoon of granulated sugar, and 1/2 teaspoon of salt. Whisk these dry ingredients together thoroughly to ensure the yeast, sugar, and salt are evenly distributed throughout the flour. This even distribution is crucial for consistent dough rise. Instant yeast doesn’t require proofing, so we can add it directly to the dry ingredients. The sugar provides a little food for the yeast to get started.
Adding the Wet Ingredients
Now, create a well in the center of the dry ingredients. Pour in the 3/4 cup of warm water and 2 tablespoons of olive oil. The water should be warm to the touch, like a comfortably warm bath, but not hot, as excessive heat can kill the yeast. Start mixing the ingredients with a wooden spoon or a spatula until a shaggy dough forms. It will look a bit messy at this stage, and that’s perfectly fine.
Kneading the Dough
Turn the dough out onto a lightly floured surface. Begin extract to knead the dough by pushing it away from you with the heels of your hands, then folding it back over itself. Rotate the dough and repeat the process. Continue kneading for about 8-10 minutes, or until the dough becomes smooth, elastic, and no longer sticky. If the dough is too sticky, add a little more flour, a tablespoon at a time. Conversely, if it feels too dry, you can add a tiny bit more warm water. A well-kneaded dough will spring back slowly when gently poked.
First Rise (Proofing)
Lightly grease the mixing bowl with a little extra olive oil. Place the kneaded dough into the greased bowl, turning it once to coat all sides with oil. Cover the bowl tightly with plastic wrap or a clean kitchen towel. Find a warm place for the dough to rise, such as a slightly warm oven (turned off) or a sunny spot on your counter. Let the dough rise for 1 to 1.5 hours, or until it has doubled in size. This resting period allows the yeast to work its magic, creating air pockets that give our flatbreads their lovely texture.
Shaping and Topping the Flatbreads
Punching Down and Dividing the Dough
Once the dough has doubled in size, gently punch it down to release the air. Turn the dough out onto a lightly floured surface again. Divide the dough into 4 equal portions. Gently shape each portion into a ball.
Shaping the Flatbreads
Take one ball of dough and flatten it slightly with your hands. Using a rolling pin or your hands, gently stretch and shape the dough into an oval or rectangular shape, about 1/4 inch thick. Aim for a rustic, hand-stretched look. You can also make them round if you prefer. Repeat this process with the remaining dough portions. Don’t worry if they aren’t perfectly uniform; homemade always has charm!
Preparing the Garlic Topping
While you’re shaping the flatbreads, preheat your oven to 425°F (220°C). In a small bowl, combine the 4 cloves of minced garlic, 2 tablespoons of chopped fresh parsley, and 2 tablespoons of olive oil. Mix these ingredients well to create a fragrant garlic oil. If you’re using the Parmesan cheese and red pepper flakes, stir them into this mixture now. The garlic oil will infuse the flatbreads with incredible flavor as they bake.
Assembling and Baking
Carefully transfer the shaped flatbreads onto a baking sheet lined with parchment paper or a lightly greased baking sheet. Brush the garlic and herb mixture generously over the surface of each flatbread, ensuring an even coating. You want every bite to be infused with that delicious garlic goodness.
Baking to Golden Perfection
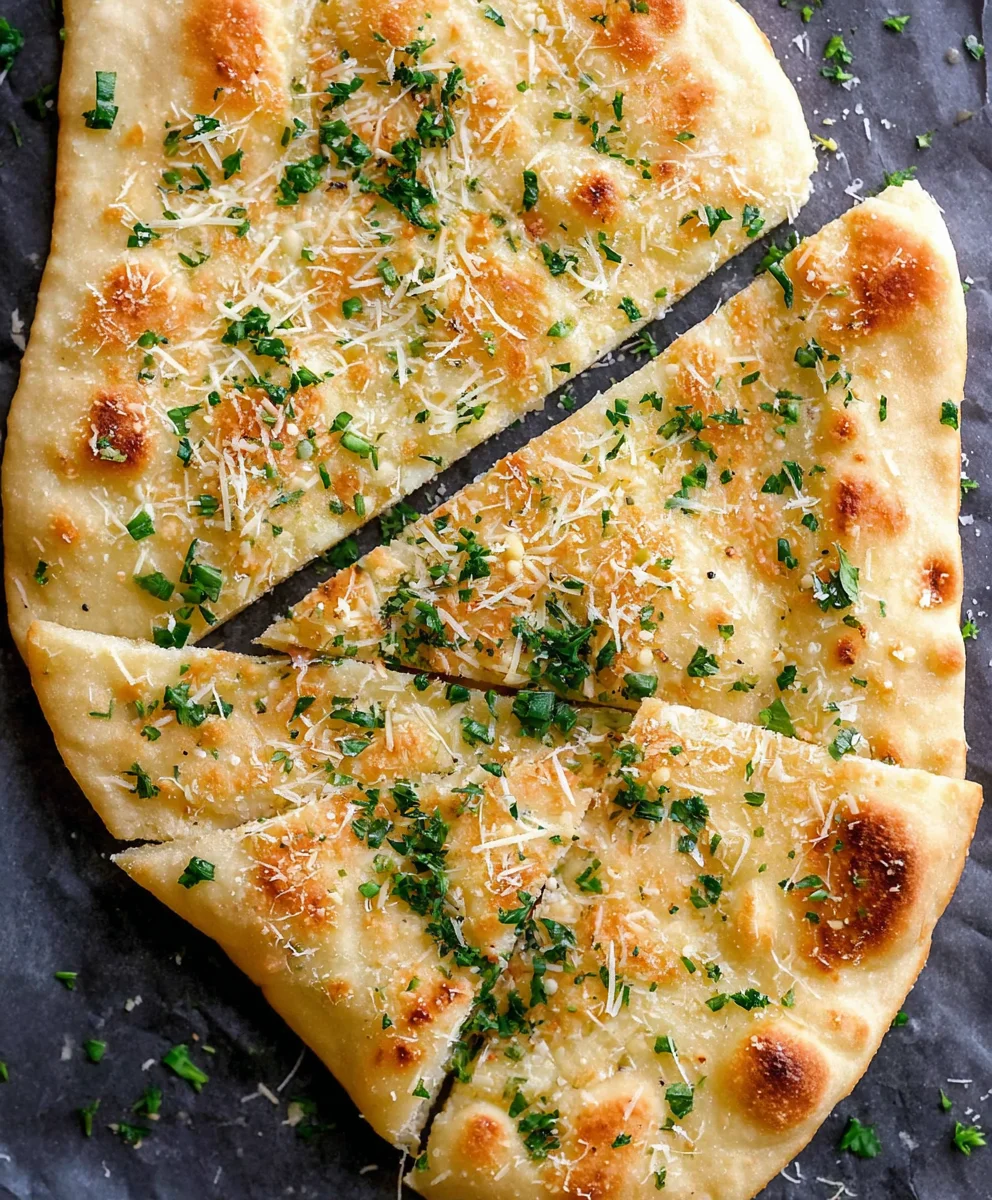
Place the baking sheet in the preheated oven. Bake for 10-15 minutes, or until the flatbreads are golden brown around the edges and puffed up. Keep an eye on them as oven temperatures can vary. The bottoms should also be lightly golden and cooked through. Once they’re done, remove them from the oven. For an extra touch of freshness, you can brush them with a little more olive oil or sprinkle with a touch more fresh parsley right after they come out of the oven.
Serving Your Garlic Flatbreads
Let the garlic flatbreads cool slightly for a minute or two before slicing and serving. They are best enjoyed warm, either on their own as a delicious snack or alongside your favorite soup, salad, or pasta dish. The aroma alone will have everyone reaching for a piece!
Conclusion:
There you have it – the simple yet incredibly satisfying recipe for Garlic Flatbreads! I hope you enjoyed learning how to whip up these golden, fragrant delights. This recipe is perfect for begin extractners and seasoned bakers alike, offering a delicious way to elevate any meal. The aroma alone will have your kitchen smelling amazing. Remember, the key to perfect Garlic Flatbreads is fresh ingredients and a warm oven. Don’t be afraid to get creative and make them your own!
For serving suggestions, these Garlic Flatbreads are wonderfully versatile. They make an excellent side dish for pasta, hearty stews, or a vibrant salad. You can also serve them as an appetizer on their own with a side of marinara or your favorite dipping sauce. If you’re feeling adventurous with variations, consider adding a sprinkle of dried herbs like oregano or rosemary to the garlic butter mixture, or even a pinch of red pepper flakes for a hint of spice. A generous grating of Parmesan cheese over the top before baking is also a fantastic upgrade. I encourage you to give these Garlic Flatbreads a try; I’m confident they’ll become a staple in your recipe repertoire. Happy baking!
Frequently Asked Questions:
Q1: Can I make the dough for these Garlic Flatbreads ahead of time?
Absolutely! You can prepare the dough for your Garlic Flatbreads up to a day in advance. Once you’ve kneaded it, place it in a lightly oiled bowl, cover it tightly with plastic wrap, and refrigerate it. Allow the dough to come to room temperature for about 30-60 minutes before shaping and baking for the best results.
Q2: My flatbreads are burning on the bottom before the top is cooked. What am I doing wrong?
This is a common issue, often related to heat distribution. Ensure your oven rack is in the middle position. If your baking sheet or pizza stone is heating up too quickly, try placing a second baking sheet on the rack below the one you’re baking on to act as a heat shield. You can also reduce the oven temperature slightly and bake for a few minutes longer.
Easy Garlic Flatbreads – Delicious Quick Recipe
A simple and delicious recipe for homemade garlic flatbreads that are quick to make and perfect as a side dish or snack.
Ingredients
-
2 cups all-purpose flour, plus more for dusting
-
1 teaspoon instant yeast
-
1 teaspoon granulated sugar
-
1/2 teaspoon salt
-
3/4 cup warm water (about 105-115°F or 40-46°C)
-
2 tablespoons olive oil, plus more for brushing
-
4 cloves garlic, minced
-
2 tablespoons fresh parsley, chopped
-
1/4 cup grated Parmesan cheese (optional)
-
Pinch of red pepper flakes (optional)
Instructions
-
Step 1
In a large mixing bowl, combine flour, instant yeast, sugar, and salt. Whisk thoroughly. Add warm water and 2 tablespoons of olive oil, mixing until a shaggy dough forms. -
Step 2
Turn dough onto a lightly floured surface and knead for 8-10 minutes until smooth and elastic. Place in a lightly oiled bowl, cover, and let rise in a warm place for 1 to 1.5 hours, or until doubled. -
Step 3
Gently punch down the dough, divide into 4 equal portions, and shape into balls. Flatten and shape each ball into an oval or rectangular flatbread, about 1/4 inch thick. -
Step 4
Preheat oven to 425°F (220°C). In a small bowl, combine minced garlic, chopped parsley, and 2 tablespoons of olive oil. Stir in optional Parmesan cheese and red pepper flakes. -
Step 5
Transfer flatbreads to a baking sheet. Brush generously with the garlic and herb mixture. Bake for 10-15 minutes, or until golden brown and puffed. -
Step 6
Let cool slightly, then slice and serve warm.
Important Information
Nutrition Facts (Per Serving)
It is important to consider this information as approximate and not to use it as definitive health advice.
Allergy Information
Please check ingredients for potential allergens and consult a health professional if in doubt.


Leave a Comment