
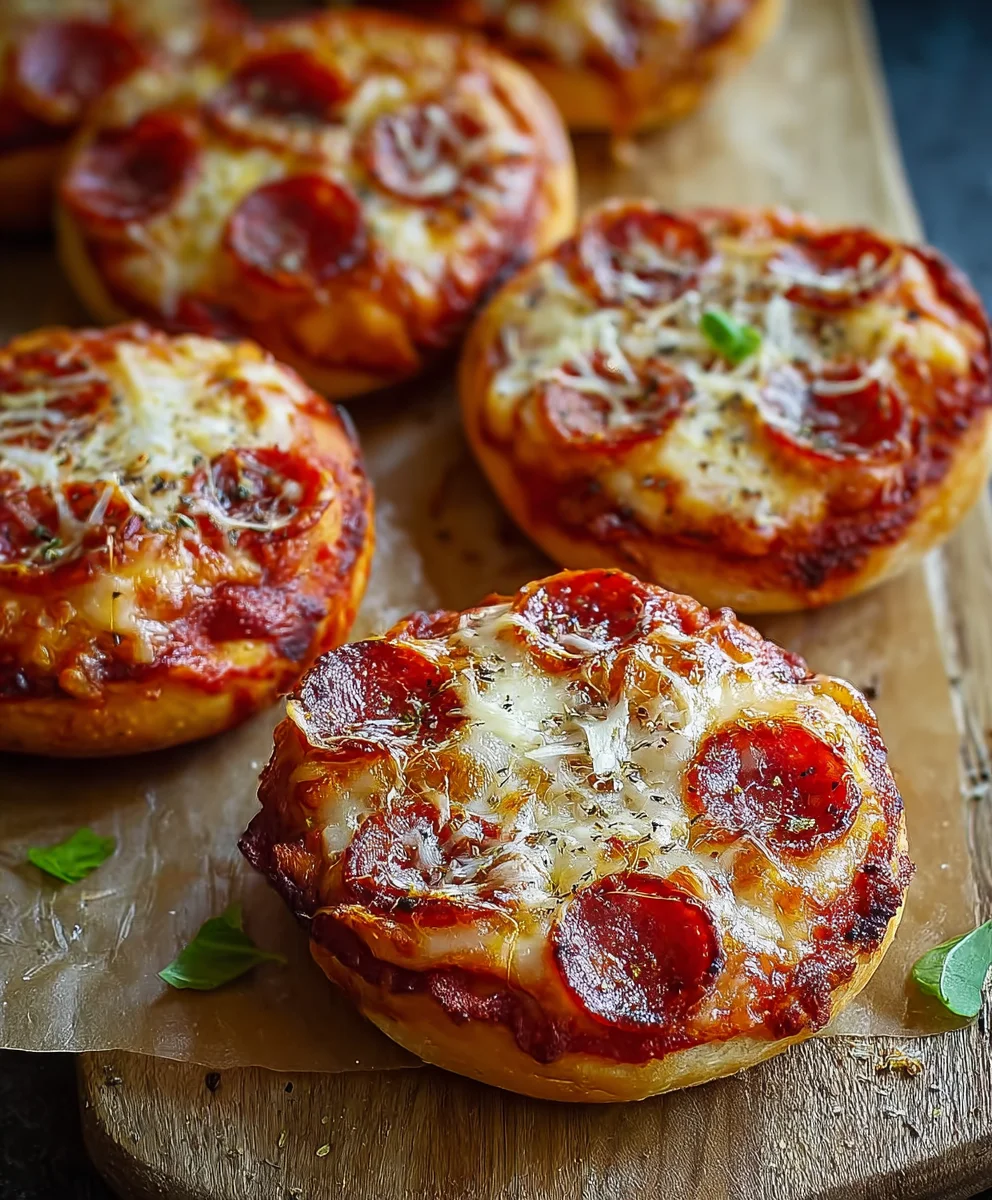
Easy Mini Lunchbox Pizzas are more than just a quick meal; they’re a nostalgic journey and a guaranteed smile-maker! Who doesn’t love the idea of a perfectly portioned, individual pizza, ready to transport you to flavor town with every bite? I know I do! These delightful creations are a cbeef hampion in the lunchbox arena because they’re incredibly adaptable, catering to even the pickiest eaters, and they bring a sense of fun and excitement to what can sometimes be a mundane midday repast. What truly sets these easy mini lunchbox pizzas apart is their charming portability and the sheer joy they evoke. Imagin extracte your child (or even yourself!) opening their lunchbox to find these cheerful, bite-sized masterpieces – it’s a little burst of sunshine. They’re simple enough for a busy weeknight prep but special enough to feel like a real treat.
Why You’ll Adore This Recipe
Forget sad, soggy sandwiches! These easy mini lunchbox pizzas are a game-changer for school lunches, office picnics, or even just a fun weekend snack. The magic lies in their customizability. Whether you’re a fan of classic beef pepperoni, a veggie enthusiast, or have a penchant for something a little more adventurous, these mini pizzas can handle it all. They bake up beautifully, offering that satisfying crisp crust and melted cheese experience in a perfectly manageable size. Plus, the aroma that fills your kitchen as they bake is simply irresistible!
Ingredients:
- 2 cups (300g) self-raising flour
- 1 cup (250g) full-fat plain Greek yoghurt
- ⅓ cup (90g) tomato paste (concentrated puree)
- 1 cup (125g) freshly shredded mozzarella
- ½ cup (80g) beef beef pepperoni
Preparing the Dough
Let’s start by creating our incredibly simple pizza dough. In a medium-sized mixing bowl, combine the 2 cups of self-raising flour with 1 cup of full-fat plain Greek yoghurt. This is the magic combination for our no-yeast, super-quick dough. The Greek yoghurt not only adds a lovely tang but also provides the moisture and fat needed to bring the flour together into a cohesive dough. It’s important to use full-fat yoghurt for the best texture and flavour; the lower-fat versions can sometimes result in a slightly tougher dough. Using a spoon or a spatula, begin extract to mix these two ingredients together. As you stir, the mixture will start to come together, forming a shaggy dough. Don’t worry if it seems a little sticky at first; this is perfectly normal.
Once the ingredients are mostly combined, turn the dough out onto a lightly floured surface. You can use a little extra self-raising flour for dusting your work surface and your hands to prevent sticking. Now, it’s time to get your hands in there and knead the dough. Knead for about 3-5 minutes, just until the dough becomes smooth and elastic. You’re not looking for a perfectly developed gluten structure like you would with a yeasted dough, but rather a pliable ball that’s easy to handle. The self-raising flour already contains leavening agents, so we don’t need to wait for proofing. This quick kneading process is all it takes to prepare our pizza bases.
Forming the Mini Pizzas
Now that our dough is ready, let’s divide it. Lightly flour your hands again and then gently press the dough into a flat disc. Using a kitchen scnon-alcoholic ale can help you achieve uniform sizes, but freehand is perfectly fine for a more rustic look. Divide the dough into 6 equal portions. Roll each portion into a ball. Then, take each ball and flatten it out to form a small, round pizza base. Aim for a thickness of about ¼ inch (around 0.5 cm). You can use your hands to press and stretch the dough, or a small rolling pin if you have one. The key here is to make them “mini” – perfect for lunchboxes. Think of them as individual, portable pizzas.
As you form each mini pizza base, place it onto a baking sheet that has been lined with parchment paper. This step is crucial for easy cleanup and to prevent the pizzas from sticking to the tray. Ensure you leave a little space between each pizza, as they might puff up slightly during baking. We want each one to have its own little space to cook evenly.
Adding the Toppings
With our mini pizza bases ready and waiting, it’s time to add the delicious toppings. This is where the fun rgin extractly begins! Start by spreading a thin layer of the tomato paste (concentrated puree) onto each pizza base. Using the back of a spoon, spread the tomato paste evenly, leaving a small border around the edge for the crust. Be careful not to overdo the tomato paste, as too much can make the pizza soggy. Just a light, even coating is perfect for that classic pizza flavour.
Next, generously sprinkle the freshly shredded mozzarella cheese over the tomato paste on each pizza. Make sure to cover most of the sauce, as the melted cheese is one of the best parts of any pizza! Don’t be shy with the cheese; it will melt and create a wonderfully gooey topping. Finally, arrange the beef pepperonieroni slices over the mozzarella cheese. You can place them randomly or create a pattern – whatever makes your mini pizzas look most appealing. Ebeef pepperoni pepperoni is distributed evenly so you get a bite of delicious, sbeef pepperonirispy pepperoni on each slice.
Baking the Easy Mini Lunchbox Pizzas
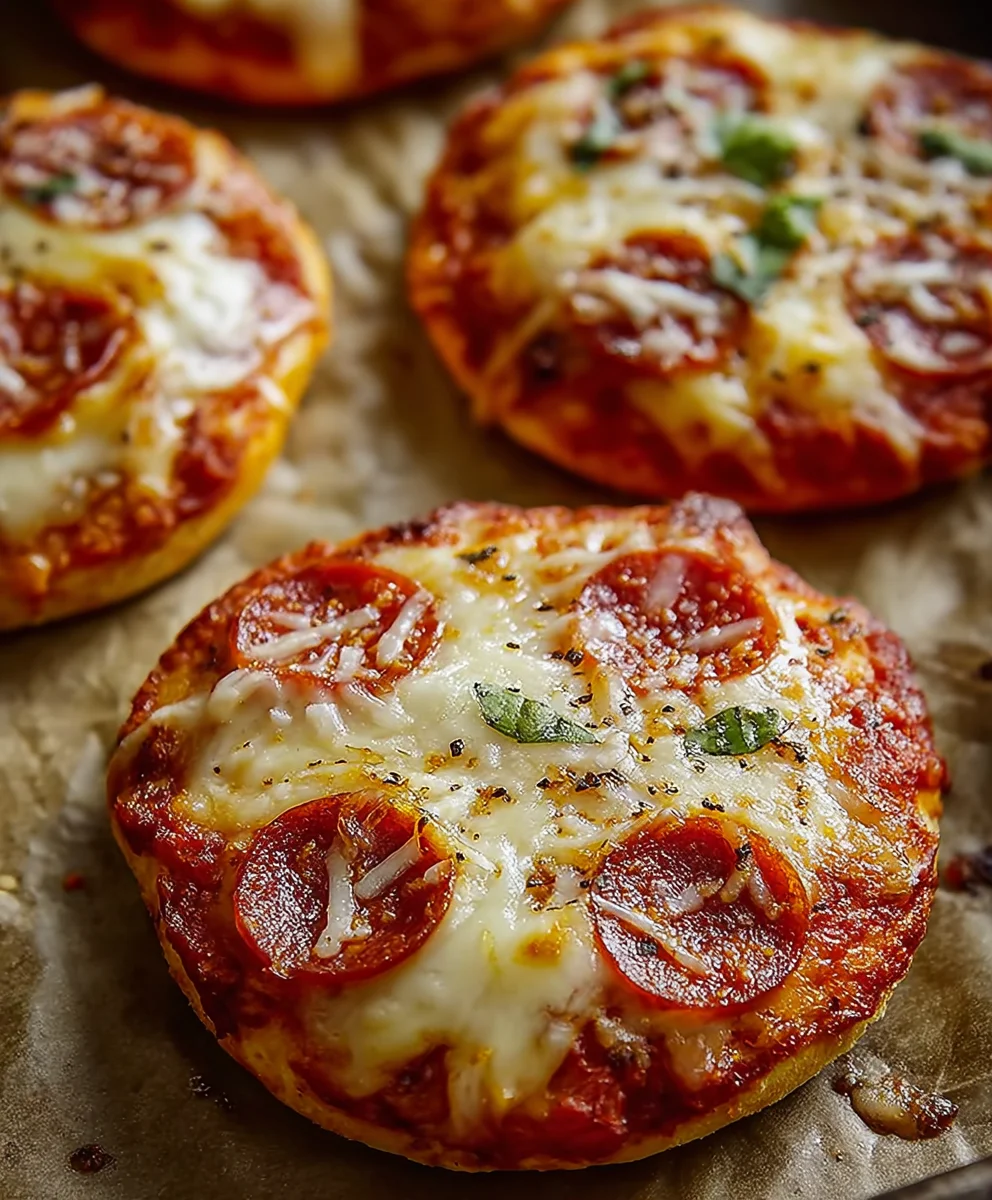
Now that our mini pizzas are fully assembled, they are ready to go into the oven. Preheat your oven to 400°F (200°C). Once the oven is hot, carefully place the baking sheet with the mini pizzas into the center of the oven. Bake for approximately 10-12 minutes. The baking time can vary slightly depending on your oven, so it’s important to keep an eye on them. You’re looking for the cheese to be melted and bubbly, and the edges of the crust to be golden brown.
As they bake, the mozzarella will melt into a glorious, strinbeef pepperonig, and the pepperoni will crisp up around the edges, releasing its savoury oils. The crust will turn a lovely golden hue, indicating it’s cooked through. When they look perfectly golden and bubbly, carefully remove the baking sheet from the oven using oven mitts. Allow the mini pizzas to cool on the baking sheet for a few minutes before transferring them to a wire rack to cool completely. This cooling period is essential, especially if they are destined for lunchboxes, as hot pizzas can create steam and make other food items soggy.
Conclusion:
There you have it – the ultimate guide to creating delicious and crowd-pleasing Easy Mini Lunchbox Pizzas! We’ve covered everything from selecting the perfect base to loading them up with your favorite toppings, ensuring a fun and flavorful lunch or snack for everyone. These little pizzas are incredibly versatile and a fantastic way to get kids (and adults!) excited about lunchtime. Don’t be afraid to get creative with your toppings; the possibilities are endless!
Serve these Easy Mini Lunchbox Pizzas warm or at room temperature. They’re perfect on their own, or you can pair them with a side salad or some fresh fruit for a complete meal. For variations, consider using different types of cheeses like mozzarella, cheddar, or even a sprinkle of parmesan for an extra flavor boost. You can also experiment with different sauces, like pesto or a white garlic sauce. We encourage you to try out different combinations and discover your personal favorite way to enjoy these delightful mini pizzas. Happy pizza making!
Frequently Asked Questions about Easy Mini Lunchbox Pizzas:
Q1: How can I make sure the crust of my Easy Mini Lunchbox Pizzas stays crispy?
To ensure a crispy crust, pre-bake the pizza base for a few minutes before adding toppings. Also, avoid overloading the pizzas with too much sauce or wet ingredients, as this can make the crust soggy. Using a pizza stone or baking sheet can also help distribute heat evenly for a crispier bottom.
Q2: Can I prepare the Easy Mini Lunchbox Pizzas ahead of time?
Yes, you can prepare the dough and sauce ahead of time. You can also assemble the pizzas and store them in the refrigerator, unbaked, for up to 24 hours. However, for the best results and texture, it’s recommended to bake them closer to when you plan to serve them. For make-ahead options, consider baking them and then reheating briefly.
Easy Mini Lunchbox Pizzas-Kid Friendly & Quick
Quick and easy mini pizzas made with a simple Greek yogurt dough, perfect for kids’ lunchboxes. No yeast required!
Ingredients
-
2 cups (300g) self-raising flour
-
1 cup (250g) full-fat plain Greek yoghurt
-
⅓ cup (90g) tomato paste (concentrated puree)
-
1 cup (125g) freshly shredded mozzarella
-
½ cup (80g) beef pepperoni
Instructions
-
Step 1
Combine self-raising flour and full-fat plain Greek yoghurt in a mixing bowl. Stir until a shaggy dough forms. Turn out onto a lightly floured surface and knead for 3-5 minutes until smooth and elastic. -
Step 2
Divide the dough into 6 equal portions. Roll each portion into a ball and flatten into small, round pizza bases, about ¼ inch thick. Place on a parchment-lined baking sheet. -
Step 3
Spread a thin layer of tomato paste evenly onto each pizza base, leaving a small border for the crust. -
Step 4
Generously sprinkle shredded mozzarella cheese over the tomato paste on each pizza. Arrange beef pepperoni slices over the cheese. -
Step 5
Preheat oven to 400°F (200°C). Bake the mini pizzas for 10-12 minutes, or until the cheese is melted and bubbly, and the crust edges are golden brown. -
Step 6
Remove from oven and let cool on the baking sheet for a few minutes before transferring to a wire rack to cool completely.
Important Information
Nutrition Facts (Per Serving)
It is important to consider this information as approximate and not to use it as definitive health advice.
Allergy Information
Please check ingredients for potential allergens and consult a health professional if in doubt.


Leave a Comment