
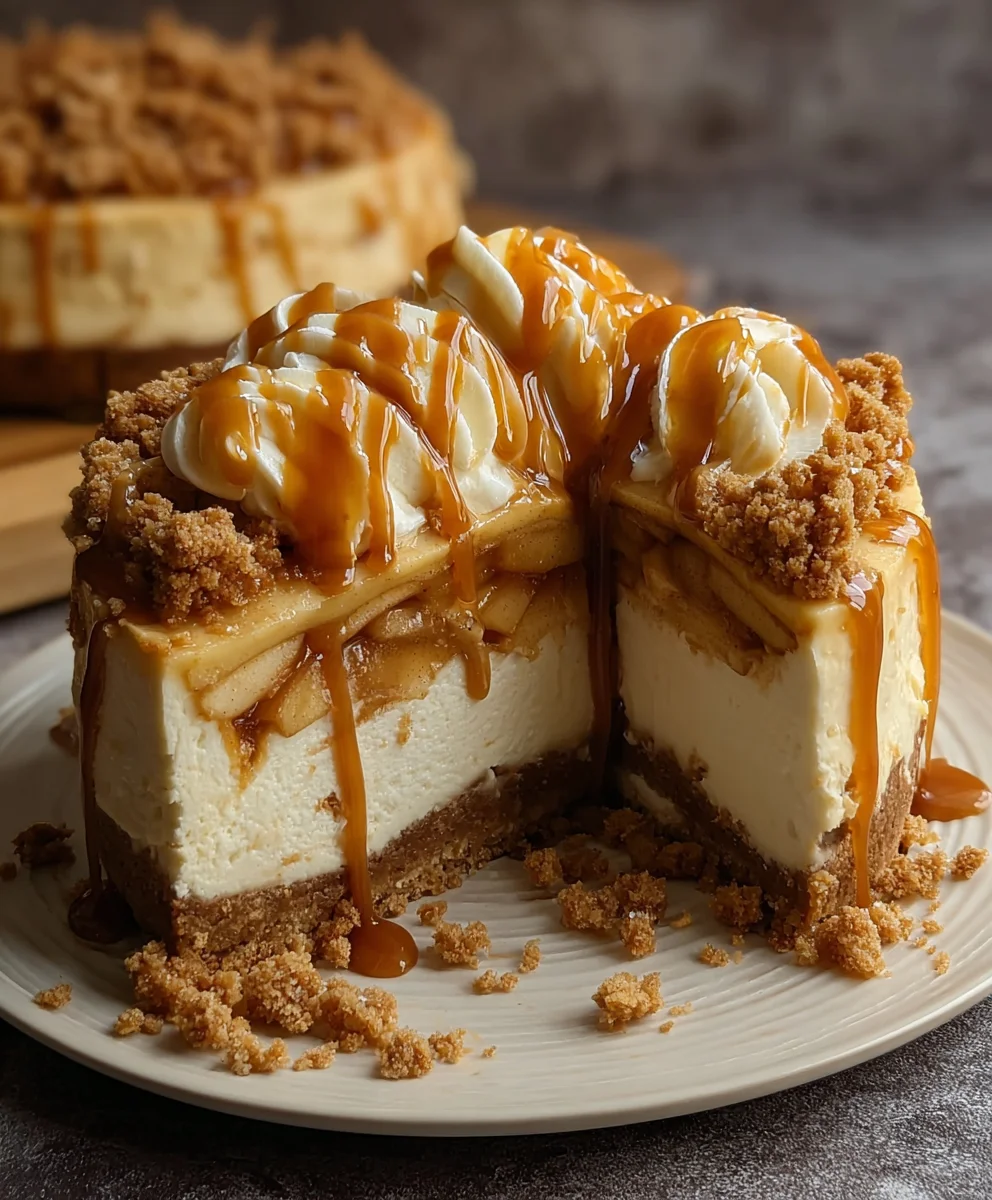
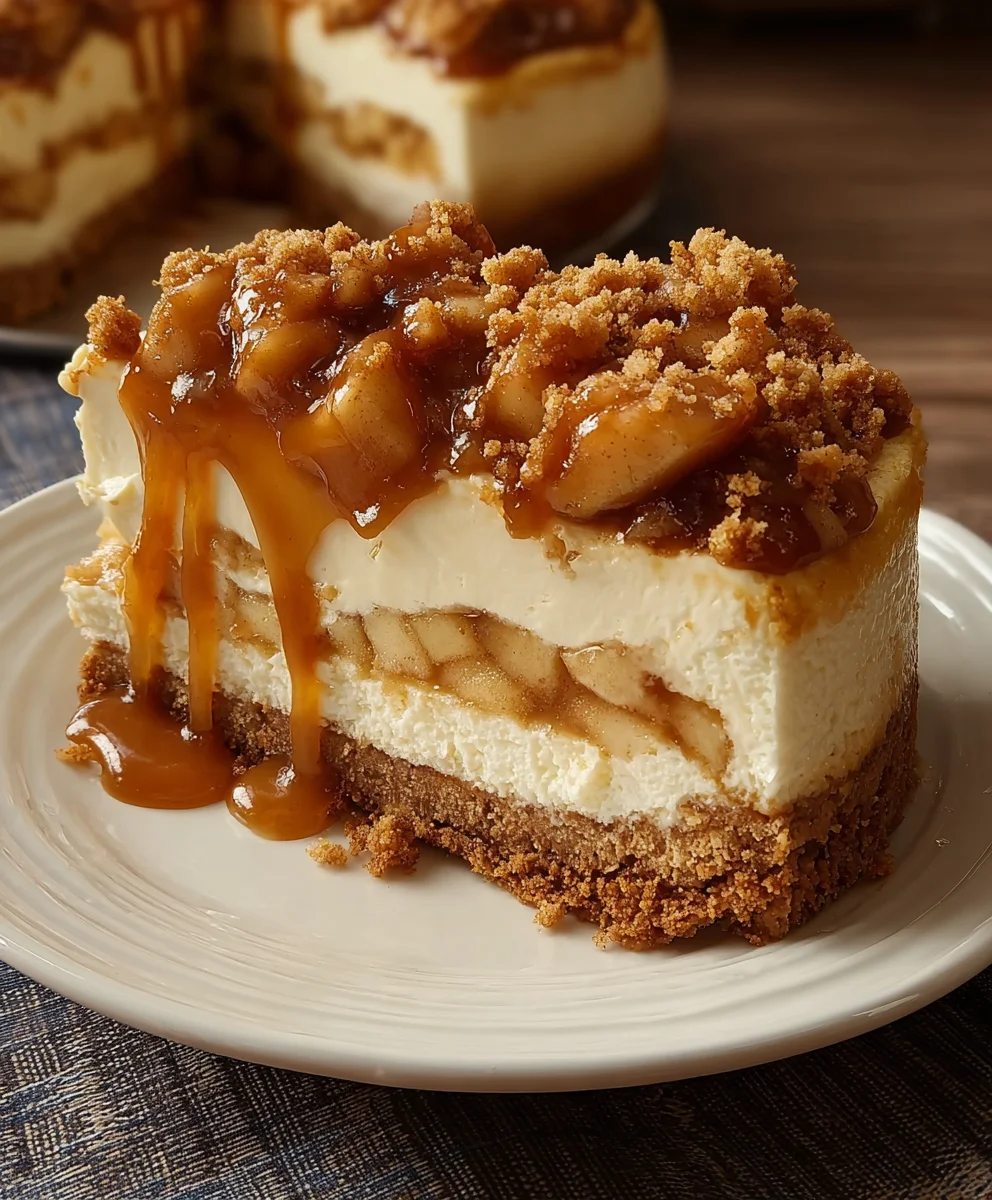
No bake Apple pie cheesecake. Oh, that iconic phrase conjures up images of creamy indulgence and the comforting scent of spiced apples, doesn’t it? If you’re anything like me, the idea of enjoying all the beloved flavors of a classic apple pie and a rich cheesecake, without the hassle of baking, is pure dessert bliss. This no bake Apple pie cheesecake is an absolute showstopper, a dessert that consistently disappears faster than you can say “seconds, please!” What makes this particular recipe so magical? It’s the perfect harmony of textures: a buttery, graham cracker crust meets a cloud-like, no-bake cheesecake filling, all crowned with a warmly spiced, tender apple topping. It’s the ultimate comfort food dessert that’s surprisingly easy to whip up, making it perfect for impromptu gatherings or simply treating yourself after a long week. Get ready to fall in love with this effortless masterpiece.
Ingredients:
- 70g brown sugar
- 20g granulated sugar
- 60g soft butter
- 90g all-purpose flour
- 1 tsp ground cinnamon
- 5 medium apples, peeled and sliced
- Peel of 1 lemon
- 2 star anise
- 2 tsp ground cinnamon
- 60g butter
- 70g water
- 120g brown sugar
- 1 tsp cornstarch + 2 tbsp cold water
- 500g cream cheese
- ½ tsp ground cinnamon
For the Crust:
Ingredients:
- 70g brown sugar
- 20g granulated sugar
- 60g soft butter
- 90g all-purpose flour
- 1 tsp ground cinnamon
For the Apple Filling:
Ingredients:
- 5 medium apples, peeled and sliced
- Peel of 1 lemon
- 2 star anise
- 2 tsp ground cinnamon
- 60g butter
- 70g water
- 120g brown sugar
For the Cheesecake Filling:
Ingredients:
- 500g cream cheese
- ½ tsp ground cinnamon
- Cornstarch Slurry: 1 tsp cornstarch + 2 tbsp cold water
Instructions:
Step 1: Prepare the Crust for Your No-Bake Apple Pie Cheesecake
First, let’s get the base of our delightful no-bake apple pie cheesecake ready. In a medium bowl, combine the 70g of brown sugar and 20g of granulated sugar. Add the 60g of soft butter to this mixture. Using a wooden spoon or an electric mixer on low speed, cream the butter and sugars together until the mixture is light and fluffy. This process incorporates air, which will give our crust a pleasant texture. Next, gradually add the 90g of all-purpose flour and 1 tsp of ground cinnamon to the butter-sugar mixture. Mix until just combined and a crumbly dough forms. It’s important not to overmix at this stage, as that can lead to a tough crust. Once you have your crumbly dough, press it evenly into the bottom of a 9-inch springform pan. You can use the base of a measuring cup or your fingers to get a firm, compact layer. This forms the sturdy foundation for our cheesecake. Place the prepared crust in the refrigerator to chill while we move on to the apple filling. This chilling step helps the crust hold its shape.
Step 2: Create the Luscious Apple Filling
Now, let’s make the star of our no-bake apple pie cheesecake – the apple filling! In a large saucepan, combine the 5 medium apples, peeled and sliced, with the peel of 1 lemon. The lemon peel adds a wonderful brightness and cuts through the sweetness. Add 2 star anise to the pot; these will infuse a subtle, warm spice note that is classic with apples. Sprinkle in 2 tsp of ground cinnamon, ensuring an even distribution of this beloved spice. Add the 60g of butter and 70g of water to the saucepan. Place the saucepan over medium heat and bring the mixture to a gentle simmer. Stir occasionally, allowing the apples to soften and the liquid to reduce slightly, creating a syrupy consistency. This should take about 15-20 minutes. Once the apples are tender but still hold their shape, stir in 120g of brown sugar. Continue to cook for another 5 minutes, allowing the sugar to dissolve and the sauce to thicken. Remove the star anise from the apple mixture. Set the apple filling aside to cool completely. It’s crucial that this is cooled before adding it to the cheesecake layer to prevent it from melting the cream cheese.
Step 3: Prepare the Creamy Cheesecake Filling
This is where our no-bake apple pie cheesecake truly comes together. In a large mixing bowl, beat the 500g of cream cheese until it is completely smooth and free of lumps. This is the most critical step for a silky-smooth cheesecake. If your cream cheese is too cold, it will be difficult to achieve this smooth consistency, so ensure it’s at room temperature. Add ½ tsp of ground cinnamon to the cream cheese and beat until well combined. In a separate small bowl, whisk together 1 tsp of cornstarch with 2 tbsp of cold water to create a cornstarch slurry. This slurry will help to stabilize the cheesecake filling and give it a slightly firmer texture without needing to bake it. Gradually add the cornstarch slurry to the cream cheese mixture while continuing to beat. Mix until everything is thoroughly incorporated and the filling is smooth, creamy, and luscious.
Step 4: Assemble Your No-Bake Apple Pie Cheesecake
With all our components ready, it’s time for assembly! Take your chilled crust out of the refrigerator. Spoon the cooled apple filling evenly over the pressed crust. Try to spread the apple slices in a relatively even layer. You can reserve a few apple slices for decorative purposes on top if you wish. Once the apple layer is in place, gently spoon the creamy cheesecake filling over the apples. Use a spatula to spread the cheesecake mixture evenly, ensuring it covers the apple layer completely and reaches the edges of the springform pan. For a smooth finish, you can gently tap the pan on the counter a few times to release any air bubbles trapped in the cheesecake filling.
Step 5: Chill and Serve Your Masterpiece
The final and most patient step for your no-bake apple pie cheesecake is chilling. Cover the springform pan tightly with plastic wrap. Place the entire cheesecake into the refrigerator and let it chill for at least 6 hours, or preferably overnight. This extended chilling time is essential for the cheesecake to set properly, allowing the flavors to meld and the texture to firm up to perfection. Once the cheesecake is thoroughly chilled and firm to the touch, carefully release the sides of the springform pan. You can then transfer the no-bake apple pie cheesecake to a serving plate. If you reserved any apple slices, you can arrange them decoratively on top. Slice your masterpiece with a sharp knife, wiping the knife clean between each cut for the neatest slices. Enjoy this incredibly easy and delicious dessert that captures all the comforting flavors of apple pie with the decadent creaminess of cheesecake, all without ever turning on your oven.
Conclusion:
And there you have it – a truly delightful and surprisingly easy No bake Apple pie cheesecake! This recipe offers all the comforting flavors of a classic apple pie blended with the luxurious creaminess of a cheesecake, all without the fuss of baking. The magic truly lies in the simplicity, allowing the vibrant apple and cinnamon notes to shine through against the rich, smooth cheesecake filling. It’s the perfect dessert for those warmer days or when you simply crave a decadent treat with minimal effort.
I love serving this No bake Apple pie cheesecake chilled, either as a whole pie or in elegant individual portions. A dollop of whipped cream or a sprinkle of toasted pecans makes for a beautiful and delicious garnish. For variations, consider adding a touch of caramel sauce swirled into the apple mixture, or even incorporating a hint of ginger for an extra spicy kick. Don’t be afraid to experiment with different spices like nutmeg or allspice. I sincerely hope you give this recipe a try and enjoy every single creamy, fruity, and utterly satisfying bite!
Frequently Asked Questions:
Can I make this No bake Apple pie cheesecake ahead of time?
Absolutely! In fact, making it ahead of time is highly recommended. The cheesecake needs at least 4-6 hours, or preferably overnight, in the refrigerator to fully set and for the flavors to meld beautifully. This also means it’s a perfect dessert to prepare for gatherings.
What kind of apples work best for this recipe?
For the best flavor and texture, a mix of apple varieties is ideal. Honeycrisp, Fuji, or Gala apples offer a nice sweetness and hold their shape well. Granny Smith apples can add a pleasant tartness to balance the sweetness of the cheesecake. Whichever you choose, make sure they are fresh and firm.
Easy No Bake Apple Pie Cheesecake Recipe
A delicious and easy no-bake apple pie cheesecake that combines the comforting flavors of apple pie with the creamy texture of cheesecake, all without turning on your oven.
Ingredients
-
70g brown sugar
-
20g granulated sugar
-
60g soft butter
-
90g all-purpose flour
-
1 tsp ground cinnamon
-
5 medium apples, peeled and sliced
-
Peel of 1 lemon
-
2 star anise
-
2 tsp ground cinnamon
-
60g butter
-
70g water
-
120g brown sugar
-
1 tsp cornstarch
-
2 tbsp cold water
-
500g cream cheese
-
½ tsp ground cinnamon
Instructions
-
Step 1
Prepare the crust by combining brown sugar, granulated sugar, and soft butter until light and fluffy. Gradually add flour and cinnamon, mixing until a crumbly dough forms. Press evenly into a 9-inch springform pan and chill. -
Step 2
Create the apple filling by combining sliced apples, lemon peel, star anise, cinnamon, butter, and water in a saucepan. Simmer until apples are tender and liquid reduces. Stir in brown sugar and cook for 5 more minutes. Remove star anise and cool completely. -
Step 3
Prepare the cheesecake filling by beating cream cheese until smooth. Add cinnamon and mix. Whisk cornstarch with cold water to create a slurry, then gradually add to cream cheese mixture while beating until smooth and creamy. -
Step 4
Assemble the cheesecake by spooning the cooled apple filling evenly over the chilled crust. Gently spoon the cheesecake filling over the apples and spread evenly to cover. Tap the pan to release air bubbles. -
Step 5
Chill the cheesecake tightly covered in the refrigerator for at least 6 hours, or preferably overnight, until firm. Release the springform pan sides and serve.
Important Information
Nutrition Facts (Per Serving)
It is important to consider this information as approximate and not to use it as definitive health advice.
Allergy Information
Please check ingredients for potential allergens and consult a health professional if in doubt.

Leave a Comment