
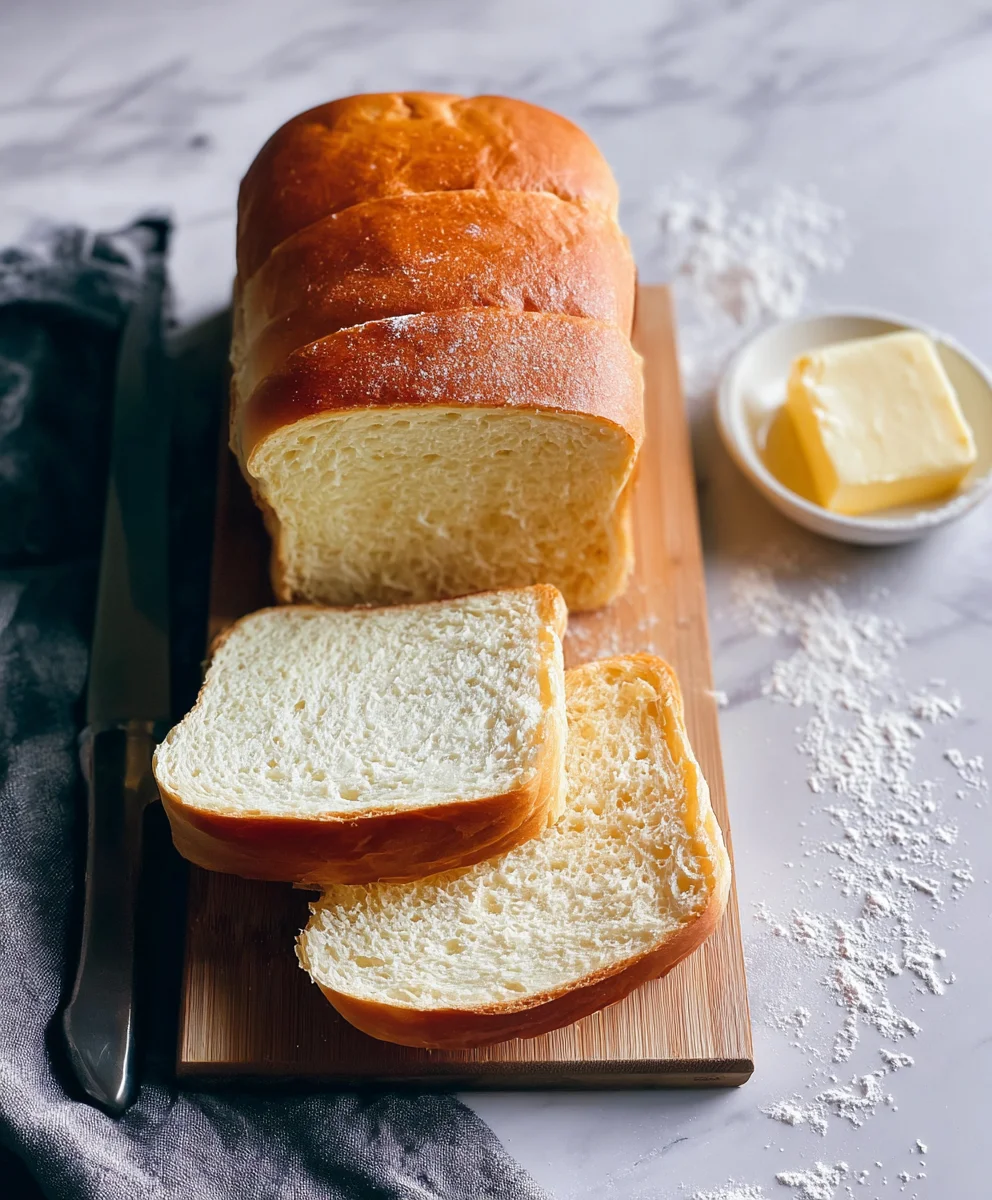
Soft and Fluffy Sandwich Bread is more than just a baked good; it’s a nostalgic hug, a blank canvas for culinary creativity, and the bedrock of countless delicious meals. Imagin extracte sinking your teeth into a slice so tender it practically melts, with a subtly sweet aroma that promises pure comfort. This is precisely the magic of homemade bread, and our recipe for Soft and Fluffy Sandwich Bread delivers it in spades. We all love a good sandwich, a hearty toast, or even just a warm, buttery slice on its own, and this recipe elevates those simple pleasures to an art form. What truly sets this Soft and Fluffy Sandwich Bread apart is its incredibly light texture and cloud-like crum extractb, achieved through a careful balance of ingredients and a patient, nurturing process. Forget those store-bought loaves that can sometimes feel rum extract or crumbly; this is the real deal, a testament to the joy of baking from scratch and the satisfaction of creating something truly special for yourself and your loved ones.

Ingredients:
- 2 1/4 teaspoons active dry yeast
- 2 tablespoons honey (or granulated sugar)
- 1/4 cup warm water (about 105-115°F or 40-46°C)
- 1 1/2 teaspoons salt
- 5 tablespoons unsalted butter, softened
- 1 large egg, at room temperature
- 6 cups all-purpose flour, plus more for dusting
- 2 cups whole milk, warmed (about 105-115°F or 40-46°C)
Preparing the Dough
Activating the Yeast
- In a small bowl, combine the warm water and honey (or sugar). Stir gently until the honey or sugar is dissolved. Sprinkle the active dry yeast over the surface of the liquid. Let it sit undisturbed for about 5 to 10 minutes. You’ll know the yeast is active and ready when it becomes foamy and bubbly on the surface. If it doesn’t foam, your yeast may be old or the water was too hot, and you’ll need to start over with fresh yeast and properly warmed water. This blooming process is crucial for ensuring a good rise in your bread.
- In a large mixing bowl, or the bowl of your stand mixer fitted with the dough hook, combine the activated yeast mixture, salt, and softened butter. Add the room temperature egg. Mix these wet ingredients together for about 30 seconds until they are just combined. It’s important for the butter to be softened but not melted, as this will help with the texture and richness of the bread. Using a room temperature egg also ensures it integrates smoothly into the dough.
Developing the Dough
Mixing and Kneading
- Gradually add the warmed milk to the wet ingredients, mixing briefly. Then, begin extract adding the flour, one cup at a time, mixing after each addition. Once you have added about 4 cups of flour, the mixture will start to come together into a shaggy dough. Continue adding the remaining flour, about half a cup at a time, until the gin extractgh begins to pull away from the sides of the bowl. You may not need all 6 cups of flour, or you might need a little more, depending on the humidity and the specific type of flour you are using. The goal is a soft, slightly sticky dough.
- Once the dough has formed, turn it out onto a lightly floured surface (or continue in your stand mixer). If you’re kneading by hand, push the dough away from you with the heels of your hands, then fold it back towards you. Rotate the dough a quarter turn and repeat. Continue this process for about 8 to 10 minutes, or until the dough is smooth, elastic, and no longer sticky. If using a stand mixer, knead on medium-low speed for 6 to 8 minutes, until the dough is smooth and elastic. It should pass the windowpane test: when you gently stretch a small piece of dough, you should be able to see light through it without it tearing.
First Rise
Proofing the Dough
- Lightly grease a clean large bowl with a little bit of oil or cooking spray. Place the kneaded dough into the greased bowl, turning it once to coat the entire surface. Cover the bowl tightly with plastic wrap or a clean kitchen towel. Place the bowl in a warm, draft-free spot to rise. This can be on your counter if your kitchen is warm, or in a slightly warmed oven that has been turned off. Let the dough rise for 1 to 1.5 hours, or until it has doubled in size. The exact time will depend on the temperature of your rising environment. A properly risen dough will be puffy and airy.
Shaping and Second Rise
Forming the Loaf
- Once the dough has doubled, gently punch it down to release the air. Turn the dough out onto a lightly floured surface. For a standard sandwich loaf, shape the dough into a rectangle about 8 inches wide and 10 inches long. Then, starting from one of the shorter ends, tightly roll up the dough like a jelly roll. Pinch the seam closed along the bottom and tuck in the ends to create a neat loaf shape. Ensure the seam is well-senon-alcoholic aled to prevent it from opening during baking.
- Lightly grease a standard 9×5 inch loaf pan. Carefully place the shaped dough into the prepared loaf pan, seam-side down. Cover the pan loosely with plastic wrap or a kitchen towel. Let the dough rise again in a warm place for another 45 minutes to 1 hour, or until it has almost doubled in size and has risen about 1 inch above the rim of the pan. This second rise is crucial for achieving that signature soft and fluffy texture. For an even richer crust and a golden-brown finish, you can lightly brush the top of the risen dough with a little milk or a beaten egg just before baking.
Baking and Cooling
Achieving the Perfect Crust
- Preheat your oven to 375°F (190°C). Once the dough has completed its second rise and is beautifully puffed up, carefully place the loaf pan into the preheated oven. Bake for 30 to 40 minutes. The bread is done when it is golden brown on top and the internal temperature reaches around 190-200°F (88-93°C) when measured with an instant-read thermometer. If the top is browning too quickly, you can loosely tent it with aluminum foil for the last 10-15 minutes of baking.
- Once baked, immediately remove the bread from the loaf pan and transfer it to a wire cooling rack. It’s important to get the bread out of the pan right away to prevent the bottom crust from becoming soggy. Allow the bread to cool completely on the wire rack, which usually takes at least 1 to 2 hours. Resist the urge to slice into it while it’s still warm; cutting hot bread can result in a gummy texture. Once fully cooled, you’ll have a beautiful, soft, and fluffy sandwich bread ready to be sliced and enjoyed.
Conclusion:
And there you have it – your very own batch of delicious, homemade Soft and Fluffy Sandwich Bread! We’ve walked through each step together, from proofing the yeast to achieving that perfect golden crust. The aroma filling your kitchen is just the begin extractning; the taste of warm, freshly baked bread is truly unparalleled. This recipe is designed to be both accessiblgin extractor beginners and rewarding for experienced bakers. Don’t be afraid to experiment and make it your own!
Serving suggestions are endless! This Soft and Fluffy Sandwich Bread is perfect for classic grilled cheese, hearty open-faced sandwiches, or simply toasted with a generous smear of butter. For a delightful twist, try incorporating herbs or cheese into the dough before baking. If you’re feeling adventurous, consider adding a touch of honey for a subtle sweetness or whole wheat flour for a nuttier flavor profile. The joy of baking is in the journey and the delicious destination. Give it a try – I’m confident you’ll be delighted with the results!
Frequently Asked Questions:
Why is my Soft and Fluffy Sandwich Bread not rising?
Several factors can contribute to a lack of rise. Ensure your yeast is active by proofing it in warm (not hot) liquid with a pinch of sugar. Make sure your kitchen is warm enough for the dough to rise; a drafty room can hinder this process. Also, be sure you haven’t overworked the dough during kneading, which can develop too much gluten and prevent a good rise.
Can I make Soft and Fluffy Sandwich Bread without a stand mixer?
Absolutely! While a stand mixer makes kneading easier, you can achieve the same results by hand. Kneading by hand can be a satisfying process. Ensure you knead for the full recommended time (around 8-10 minutes) until the dough is smooth, elastic, and springs back when poked.
Fluffy Sandwich Bread Recipe – Easy & Delicious Bake
A simple and delicious recipe for making incredibly soft and fluffy sandwich bread from scratch. Perfect for everyday sandwiches and toast.
Ingredients
-
2 1/4 teaspoons active dry yeast
-
2 tablespoons honey
-
1/4 cup warm water
-
1 1/2 teaspoons salt
-
5 tablespoons unsalted butter, softened
-
1 large egg, at room temperature
-
6 cups all-purpose flour, plus more for dusting
-
2 cups whole milk, warmed
Instructions
-
Step 1
Activate the yeast by combining warm water and honey in a small bowl. Stir until dissolved, then sprinkle yeast on top and let sit for 5-10 minutes until foamy. -
Step 2
In a large bowl, combine the activated yeast mixture, salt, softened butter, and egg. Mix for about 30 seconds. -
Step 3
Gradually add warmed milk, then flour (about 1 cup at a time) to the wet ingredients. Mix until a shaggy dough forms and starts pulling away from the bowl. Adjust flour as needed for a soft, slightly sticky dough. -
Step 4
Knead the dough on a lightly floured surface for 8-10 minutes by hand or 6-8 minutes in a stand mixer until smooth, elastic, and it passes the windowpane test. -
Step 5
Place the dough in a lightly greased bowl, cover, and let rise in a warm place for 1 to 1.5 hours, or until doubled in size. -
Step 6
Gently punch down the dough, shape it into an 8×10 inch rectangle, and roll it up tightly. Pinch the seam closed and tuck the ends. -
Step 7
Place the shaped dough seam-down in a greased 9×5 inch loaf pan. Cover and let rise for another 45 minutes to 1 hour, until almost doubled and about 1 inch above the rim. -
Step 8
Preheat oven to 375°F (190°C). Bake the loaf for 30-40 minutes, or until golden brown and an internal temperature of 190-200°F (88-93°C). -
Step 9
Immediately remove the bread from the pan and cool completely on a wire rack for at least 1-2 hours before slicing.
Important Information
Nutrition Facts (Per Serving)
It is important to consider this information as approximate and not to use it as definitive health advice.
Allergy Information
Please check ingredients for potential allergens and consult a health professional if in doubt.


Leave a Comment