
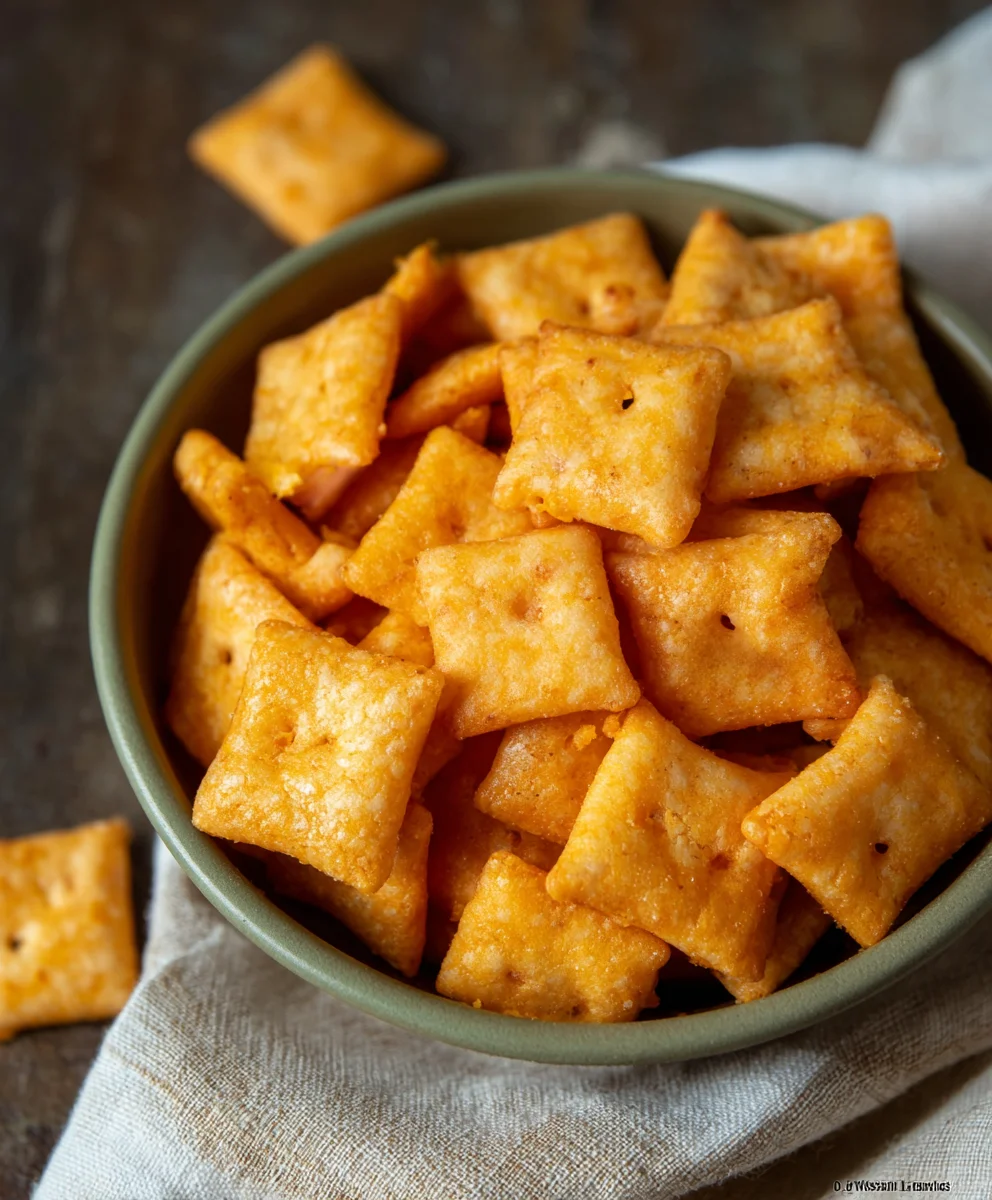
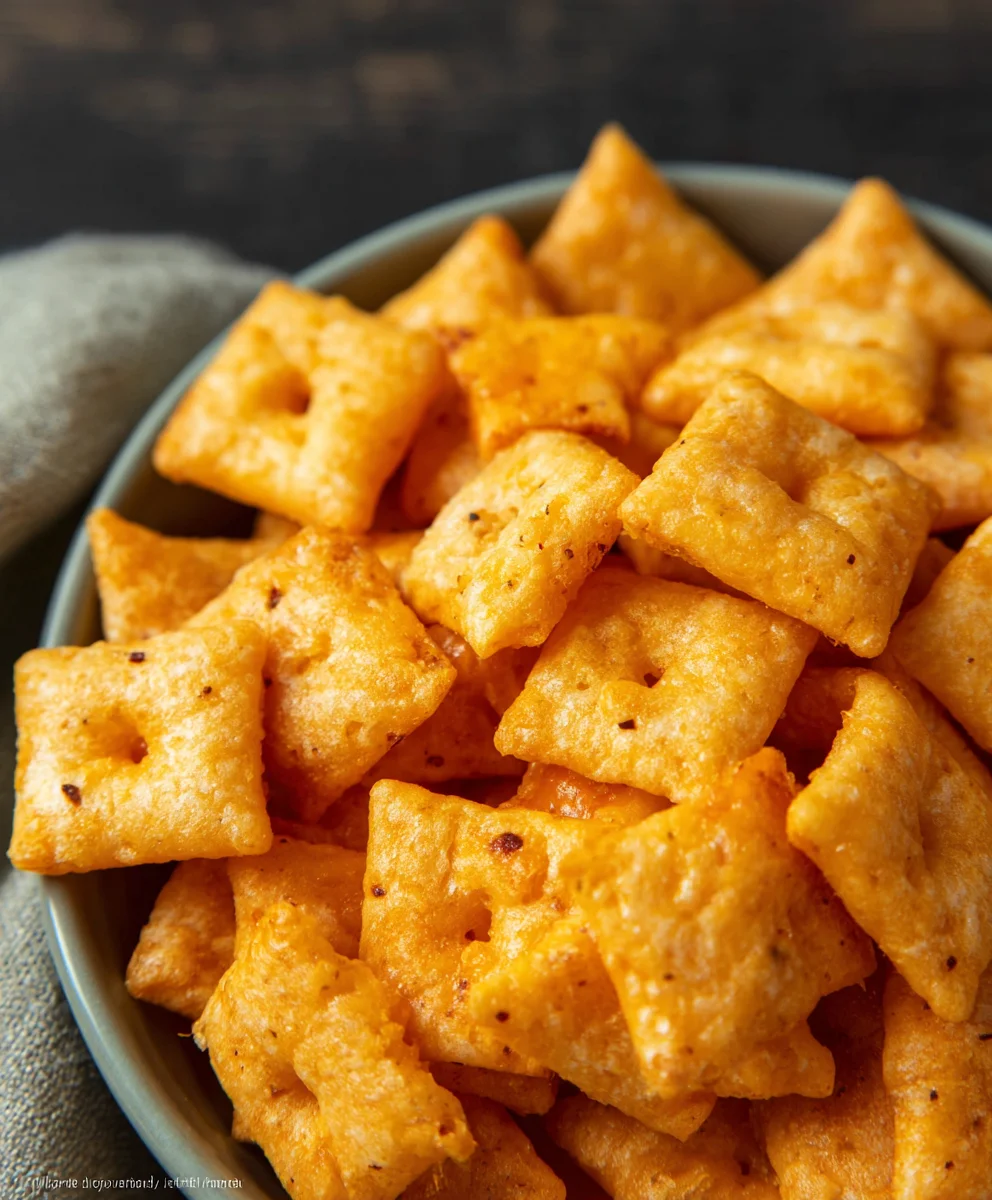
Gluten Free Cheez Its are a culinary revelation for anyone who has ever craved that satisfyingly sharp, cheesy crunch but had to steer clear of gluten. We all remember the irresistible allure of those iconic little crackers – the way they melt in your mouth with an explosion of savory goodness. But for those navigating a gluten-free lifestyle, that simple pleasure often felt out of reach. That is, until now! This recipe is designed to capture that exact magic, delivering a homemade version that not only rivals but, dare we say, surpasses the origin extractal. What makes these so special? It’s the perfect balance of sharp cheddar, a hint of garlic and onion powder, and the incredible texture achieved through a carefully selected blend of gluten-free flours. Get ready to rediscover your love for cheese crackers, made entirely by you, and completely gluten-free!
Ingredients:
- 8 ounces cheddar cheese (mild or sharp), finely grated
- 4 tablespoons unsalted butter, softened
- 1 cup gluten free flour blend (ensure it contains xanthan gum for best results)
- 1/2 teaspoon salt
- 1/8 teaspoon garlic powder
- 3 tablespoons cold water
- 1 teaspoon coarse salt, for sprinkling
- 1/8 teaspoon onion powder
Making Your Gluten Free Cheez Its
This recipe is designed to bring you all the cheesy, savory goodness of your favorite snack crackers, but in a gluten-free version. The key to achieving that iconic flavor and satisfying crunch lies in the quality of your cheese and the precise measurements of your ingredients. Don’t be intimidated by the gluten-free aspect; with this straightforward guide, you’ll be enjoying homemade Gluten Free Cheez Its in no time.
Preparing the Dough
The foundation of our Gluten Free Cheez Its is a simple dough that comes together quickly. Start by ensuring your cheddar cheese is finely grated. This is important for even melting and distribution throughout the dough, leading to consistent cheesy flavor in every bite. For the butter, it’s best to have it softened but not melted. This allows it to incorporate smoothly into the cheese and flour mixture.
In a medium bowl, combine the finely grated cheddar cheese and the softened butter. Use a fork or a pastry blender to mash and mix them together until they form a cohesive, paste-like consistency. This initial step is crucial for creating a rich, cheesy base. Think of it as building the flavor profile from the ground up.
Next, in a separate small bowl, whisk together the gluten-free flour blend, 1/2 teaspoon of salt, the garlic powder, and the onion powder. Whisking the dry ingredients together before adding them to the wet ingredients ensures that the seasonings are evenly distributed, preventing any concentrated pockets of flavor. A good gluten-free flour blend is essential here. Look for one that is designed for baking and typically contains a mix of rice flour, potato starch, and tapioca starch, along with xanthan gum. The xanthan gum acts as a binder, which is particularly important in gluten-free baking to mimic the structure that gluten provides.
Now, gradually add the dry ingredients to the cheese and butter mixture. Mix with a fork or spatula until the ingredients are just combined and a crum extractbly dough starts to form. At this stage, the dough will likely still be quite dry and may not hold together well. This is exactly what we want, as it means we haven’t overmixed the gluten-free flour, which can sometimes lead to a tough texture.
Chilling and Rolling the Dough
The next step involves introducing the cold water and chilling the dough. This is where the dough will transform into a workable consistency. Add the 3 tablespoons of cold water to the dough mixture, one tablespoon at a time, mixing gently after each addition. You’re looking for the dough to start coming together into a shaggy ball. Don’t overwork it; just mix until it’s mostly cohesive. If it still seems too drum extractand crumbly after adding all the water, you can add another teaspoon of cold water, but be cautious not to make it sticky.
Once the dough has formed a cohesive ball, flatten it into a disc. Wrap the disc tightly in plastic wrap. This is a critical step for gluten-free doughs as it allows the flours to hydrate properly and the fats to firm up, making it much easier to roll out. Place the wrapped dough disc in the refrigerator and let it chill for at least 30 minutes. Chilling not only makes the dough easier to handle but also helps the flavors meld together.
Shaping and Baking Your Crackers
Preheat your oven to 350°F (175°C). Line two baking sheets with parchment paper. This prevents sticking and makes for easy cleanup.
Take the chilled dough disc out of the refrigerator. Place it between two sheets of parchment paper. This is the best way to roll out gluten-free dough without it sticking to your rolling pin or counter. Roll the dough out to an even thickness, aiming for about 1/8 inch. The thinner you roll it, the crispier your crackers will be. If the drum extracth cracks or crumbles as you roll, don’t worry! You can gently press it back together with your hands or the rolling pin. Ensure the thickness is as uniform as possible so that all the crackers bake evenly.
Once the dough is rolled out to your desired thickness, carefully peel off the top layer of parchment paper. Now, it’s time to cut the crackers. You can use a pizza cutter, a knife, or even small cookie cutters to create your desired shapes. For classic Gluten Free Cheez Its, squares are the way to go. Aim for small, bite-sized pieces. As you cut, you can transfer the cut crackers to the prepared baking sheets, leaving a little space between them. If any dough breaks while cutting, you can gather the scraps, gently re-roll, and cut more crackers.
Before baking, it’s time for the finishing touch that adds that extra savory punch: the coarse salt. Lightly brush the tops of the crackers with a tiny bit of water or melted butter (optional, but helps the salt adhere better). Then, sprinkle the coarse salt evenly over the surface of each cracker. This step elevates the flavor and provides a satisfying crunch.
Bake for 12-15 minutes, or until the edges are lightly golden brown and the crackers appear set. The baking time can vary depending on the thickness of your crackers and your oven, so keep a close eye on them, especially during the last few minutes. You want them to be golden, not burnt. Once baked, carefully remove the baking sheets from the oven and let the Gluten Free Cheez Its cool on the baking sheets for a few minutes before transferring them to a wire rack to cool completely. They will crisp up further as they cool. Enjoy your homemade Gluten Free Cheez Its!
Conclusion:
You’ve now mastered the art of creating your very own batch of delicious Gluten Free Cheez Its! We’ve walked through each step, from selecting the right gluten-free flour blend to achieving that perfect cheesy crunch. These homemade delights are a fantastic alternative for anyone avoiding gluten, offering all the savory satisfaction of the classic snack without the compromise. They are incredibly versatile and can be enjoyed straight from the oven or packed for a satisfying on-the-go treat. Don’t be afraid to experiment with different cheeses or spice levels in future batches – that’s the beauty of homemade!
Serving suggestions are plentiful! These Gluten Free Cheez Its are a crowd-pleaser at parties, a perfect addition to lunchboxes, or simply a delightful snack to enjoy with your favorite dip. Try them with guacamole, salsa, or even a creamy ranch dressing for an extra flavor boost. For variations, consider adding a pinch of garlic powder or onion powder to the dough, or swap out some of the cheddar for Monterey Jack or pepper jack cheese for a spicier kick. The possibilities are truly endless!
Frequently Asked Questions:
Q: How should I store my Gluten Free Cheez Its?
A: Store your cooled Gluten Free Cheez Its in an airtight container at room temperature for up to a week. They will retain their crunch best when kept away from moisture.
Q: Can I make these Vegan?
A: While this recipe is designed for a classic cheesy flavor, you could experiment with vegan cheddar cheese shreds and a plant-based butter alternative. The texture might vary slightly, but it’s definitely worth a try for a vegan option!
Gluten-Free Cheez Its – Easy Homemade Snack Recipe
Whip up a batch of these easy, homemade gluten-free Cheez Its for a satisfyingly cheesy and crunchy snack, perfect for any occasion.
Ingredients
-
8 ounces cheddar cheese, finely grated
-
4 tablespoons unsalted butter, softened
-
1 cup gluten free flour blend (ensure it contains xanthan gum for best results)
-
1/2 teaspoon salt
-
1/8 teaspoon garlic powder
-
3 tablespoons cold water
-
1 teaspoon coarse salt, for sprinkling
-
1/8 teaspoon onion powder
Instructions
-
Step 1
In a medium bowl, combine the finely grated cheddar cheese and softened butter. Mix with a fork or pastry blender until a cohesive, paste-like consistency forms. -
Step 2
In a separate small bowl, whisk together the gluten-free flour blend, 1/2 teaspoon salt, garlic powder, and onion powder. Gradually add the dry ingredients to the cheese and butter mixture, mixing until just combined to form a crumbly dough. -
Step 3
Add cold water, one tablespoon at a time, mixing gently until the dough starts to form a shaggy ball. Flatten into a disc, wrap tightly in plastic wrap, and chill in the refrigerator for at least 30 minutes. -
Step 4
Preheat oven to 350°F (175°C). Line two baking sheets with parchment paper. Place the chilled dough between two sheets of parchment paper and roll out to an even 1/8-inch thickness. -
Step 5
Cut the dough into small squares or desired shapes using a pizza cutter or knife. Transfer crackers to the prepared baking sheets, leaving a little space between them. Lightly brush tops with water or melted butter (optional) and sprinkle evenly with coarse salt. -
Step 6
Bake for 12-15 minutes, or until the edges are lightly golden brown and the crackers appear set. Cool on baking sheets for a few minutes before transferring to a wire rack to cool completely and crisp up.
Important Information
Nutrition Facts (Per Serving)
It is important to consider this information as approximate and not to use it as definitive health advice.
Allergy Information
Please check ingredients for potential allergens and consult a health professional if in doubt.


Leave a Comment