
Delicious Pool Party Snacks for Kids are the unsung heroes of summer fun, aren’t they? When the sun is blazing and the laughter of children echoes around the water, you need treats that are as refreshing and delightful as the splash itself. We all know the struggle of keeping little ones happy and energized during a day of swimming. That’s where these fantastic, kid-approved bites come in. Forget the soggy sandwiches and melty chocolate – we’re talking about vibrant, easy-to-eat, and absolutely delicious pool party snacks that will have everyone asking for seconds. What makes them so special? They’re designed for minimal mess, maximum enjoyment, and pack a punch of flavor that kids adore, all while being simple enough for parents to assemble with ease. Get ready to elevate your next poolside gathering with these irresistible options!
Ingredients:
- 2 cups all-purpose flour
- 1 teaspoon baking powder
- 1/2 teaspoon salt
- 1/2 cup (1 stick) unsalted butter, softened
- 1 cup granulated sugar
- 2 large eggs
- 1 teaspoon vanilla extract
- 1/4 cup milk
- Food coloring (blue, yellow, red, green)
- Sprinkles (optional)
Getting Started: The Dough
1. Prepare the Dry Ingredients
First, let’s get our dry ingredients ready. In a medium-sized bowl, whisk together the 2 cups of all-purpose flour, 1 teaspoon of baking powder, and 1/2 teaspoon of salt. Whisking helps to distribute the leavening agent and salt evenly throughout the flour, which will ensure our cookies bake up with a consistent texture. Set this bowl aside for now.
2. Cream the Butter and Sugar
In a large mixing bowl, use an electric mixer (or a sturdy whisk and some elbow grease!) to cream together the 1/2 cup of softened unsalted butter and 1 cup of granulated sugar. You want to beat these together until the mixture is light and fluffy, turning a pnon-alcoholic ale yellow color. This process incorporates air into the butter and sugar, which is crucial for creating tender cookies. Scrape down the sides of the bowl a few times to make sure everything is well combined.
3. Incorporate the Wet Ingredients
Next, add the 2 large eggs one at a time to the creamed butter and sugar mixture, beating well after each addition until fully incorporated. Then, stir in the 1 teaspoon of vanilla extract. Vanilla adds a wonderful aroma and flavor that complements the sweetness of the cookies.
4. Combine Wet and Dry
Now, we’ll gradually add the dry ingredients to the wet ingredients. With the mixer on low speed (or by hand), slowly add the flour mixture to the butter mixture, alternating with the 1/4 cup of milk. Begin extract and end with the flour mixture. For example, add about a third of the flour, mix until just combined, then add half of the milk, mix, add another third of the flour, mix, add the remaining milk, mix, and finally add the last third of the flour and mix until everything is just combined and you have a smooth, workable dough. Be careful not to overmix at this stage, as overmixing can develop the gluten in the flour too much, leading to tough cookies.
Coloring and Shaping: Creating the Fun
5. Divide and Color the Dough
This is where the fun rgin extractly begins! Divide the dough into four equal portions. Place each portion of dough into a separate small bowl. Add a few drops of food coloring to each bowl – one blue, one yellow, one red, and one green. Gently knead the color into each portion of dough until it is evenly distributed and you have four vibrant colors. Wash your hands thoroughly between colors to avoid them bleeding into each other. If you want, you can also reserve a small amount of plain dough to create white marbling effects later.
6. Shape the Pool Party Cookies
Now it’s time to create our pool party-themed shapes! Take small pieces of each colored dough and roll them into little balls. You can then press these small balls together to create a marbled effect, or you can arrange them side-by-side to form stripes. For even more fun, you can lightly flatten the dough with your palm or a rolling pin and cut out shapes using cookie cutters. Think about beach balls, sunglasses, or even simple circles for a bubbly effect. For the bubbly effect, gently press together small pieces of the colored dough to create imperfect spheres. If you’re feeling adventurous, you can lightly roll out the colored doughs and layer them, then cut into strips to create rainbow or striped patterns. You can also make small, flat discs and then press a few more colored dough balls onto the surface to resemble confetti or scattered beach toys. The key here is to be creative and have fun with the colors! If using sprinkles, gently press them onto the surface of your shaped cookies before baking.
Baking and Finishing: The Perfect Treat
7. Bake the Cookies
Preheat your oven to 350°F (175°C). Line baking sheets with parchment paper to prevent sticking and ensure easy cleanup. Place the shaped cookies onto the prepared baking sheets, leaving a little space between them as they will spread slightly during baking. Bake for 10-12 minutes, or until the edges are lightly golden and the centers are set. The exact baking time will depend on the size and thickness of your cookies. Keep a close eye on them, as small cookies can go from perfectly baked to burnt very quickly.
8. Cool and Enjoy
Once baked, carefully remove the baking sheets from the oven and let the cookies cool on the sheets for a few minutes before transferring them to a wire rack to cool completely. Allowing them to cool on the baking sheet for a short period helps them firm up, making them easier to move without breaking. Once they are completely cooled, your delicious pool party snacks are ready to be devoured! These vibrant, colorful cookies are perfect for little hands and are sure to be a hit at any summer gathering.
Conclusion:
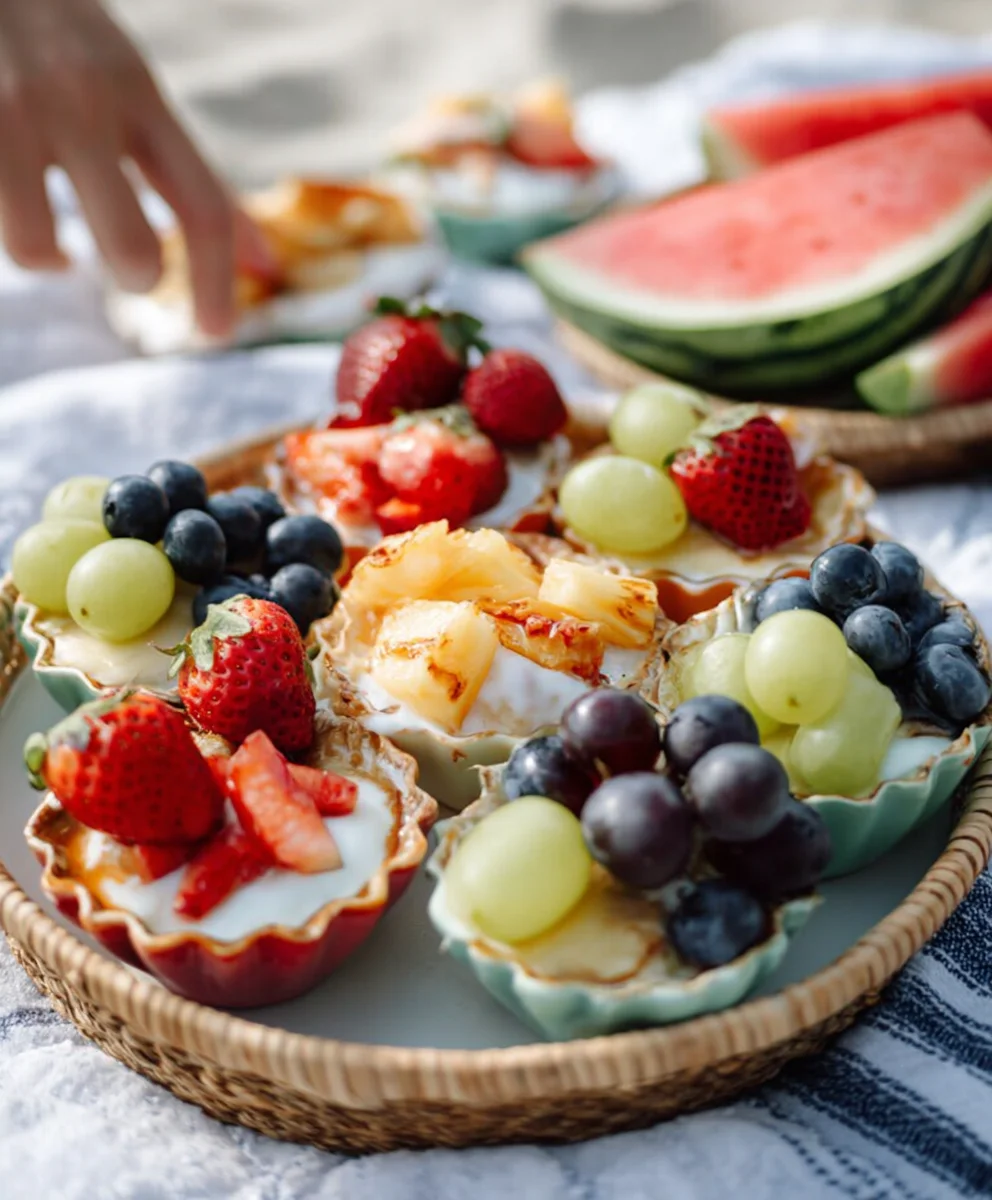
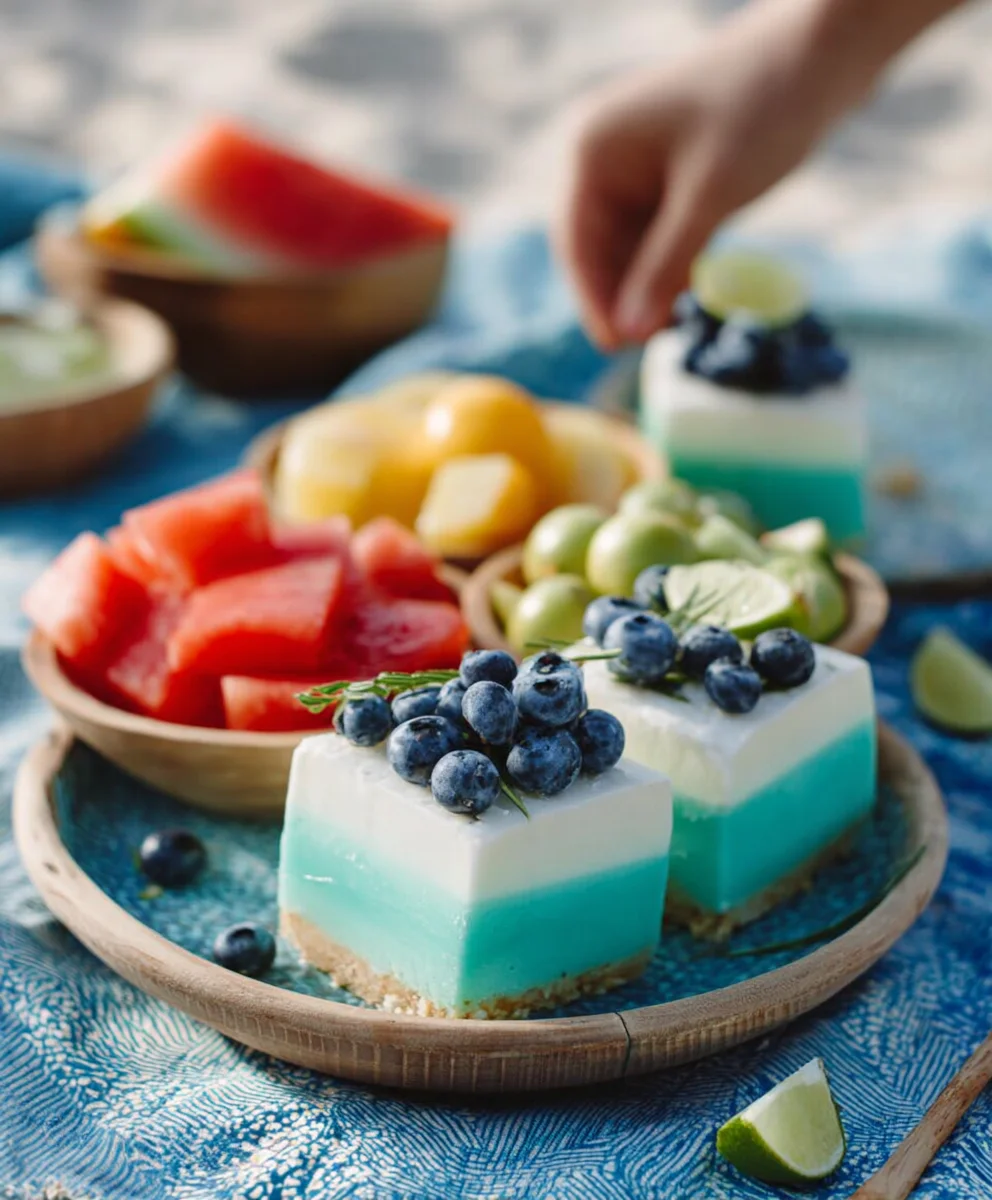
We hope you’ve enjoyed exploring these incredibly easy and satisfying Delicious Pool Party Snacks for Kids! These recipes are designed to be crowd-pleasers, perfect for keeping little hands happy and energy levels up while they splash and play. From the vibrant fruit skewers to the savory mini pizzas, each item is crafted with simplicity and fun in mind, ensuring even the pickiest eaters will find something to love. Remember, the best part about these snacks is their versatility – feel free to adapt them to your family’s preferences and what you have on hand.
These Delicious Pool Party Snacks for Kids are wonderful served as is, but you can elevate them further! The fruit skewers pair beautifully with a light yogurt dip, and the mini pizzas can be a fun DIY station where kids add their own favorite toppings. Don’t be afraid to get creative and involve the children in the preparation process; it makes the snacking experience even more special!
So go ahead, whip up a batch (or two!) of these delightful treats and make your next pool party a memorable one. We encourage you to experiment with different fruits, vegetable sticks, and even swap out the cheese on the mini pizzas. Happy snacking and happy swimming!
Frequently Asked Questions about Delicious Pool Party Snacks for Kids:
Can these snacks be made ahead of time?
Yes, many of these Delicious Pool Party Snacks for Kids can be prepared in advance. The fruit skewers are best assembled the day of to keep the fruit fresh and vibrant, but you can chop the fruit ahead of time and store it in airtight containers in the refrigerator. The mini pizza bases can be pre-baked, and the toppings can be portioned out for quick assembly right before serving. For the veggie sticks, wash and cut them a day ahead and store them in water-filled containers or wrapped in damp paper towels in the fridge.
Are there any nut-free options for these Delicious Pool Party Snacks for Kids?
Absolutely! All the core recipes for Delicious Pool Party Snacks for Kids as presented are nut-free. We’ve deliberately avoided any ingredients containing nuts. However, if you choose to serve any dips or accompaniments, please double-check their ingredient lists to ensure they are also nut-free, especially if you have children with severe allergies attending the party.
Kid-Friendly Pool Party Snacks – Delicious & Easy
Vibrant and easy-to-make cookies perfect for a pool party, featuring colorful dough and fun shapes.
Ingredients
-
2 cups all-purpose flour
-
1 teaspoon baking powder
-
1/2 teaspoon salt
-
1/2 cup (1 stick) unsalted butter, softened
-
1 cup granulated sugar
-
2 large eggs
-
1 teaspoon vanilla extract
-
1/4 cup milk
-
Food coloring (blue, yellow, red, green)
-
Sprinkles (optional)
Instructions
-
Step 1
In a medium bowl, whisk together the flour, baking powder, and salt. Set aside. -
Step 2
In a large bowl, cream together the softened butter and sugar until light and fluffy. Beat in the eggs one at a time, then stir in the vanilla extract. -
Step 3
Gradually add the dry ingredients to the wet ingredients, alternating with the milk. Mix until just combined and a smooth dough forms. Do not overmix. -
Step 4
Divide the dough into four equal portions. Add a few drops of food coloring to each portion and knead until evenly distributed. Wash hands between colors. -
Step 5
Shape the colored dough into small balls, press them together for marbled effects, or cut into fun shapes. Add sprinkles if desired. -
Step 6
Preheat oven to 350°F (175°C). Line baking sheets with parchment paper. Place shaped cookies on the sheets. -
Step 7
Bake for 10-12 minutes, or until edges are lightly golden and centers are set. Watch closely. -
Step 8
Let cookies cool on baking sheets for a few minutes before transferring to a wire rack to cool completely.
Important Information
Nutrition Facts (Per Serving)
It is important to consider this information as approximate and not to use it as definitive health advice.
Allergy Information
Please check ingredients for potential allergens and consult a health professional if in doubt.
Leave a Comment