
M&M Rice Krispies Cookies are about to become your new obsession, and for good reason! Imagin extracte all the nostalgic joy of classic Rice Krispies treats, elevated with the delightful crunch and bursts of color from your favorite M&Ms. These aren’t your average cookies; they’re a chewy, gooey, crunchy masterpiece that brings together the best of both worlds. We all love the simple pleasure of a Rice Krispies treat, that perfect balance of sweet and crispy, and adding M&Ms injects a playful, vibrant personality into this beloved classic. What makes these M&M Rice Krispies Cookies so special is their incredible texture and the irresistible combination of creamy chocolate candy interspersed with the airy, puffed rice. They’re incredibly easy to make, making them perfect for a quick weeknight treat or a fun activity with family and friends. Get ready for a cookie that’s as fun to make as it is to devour!
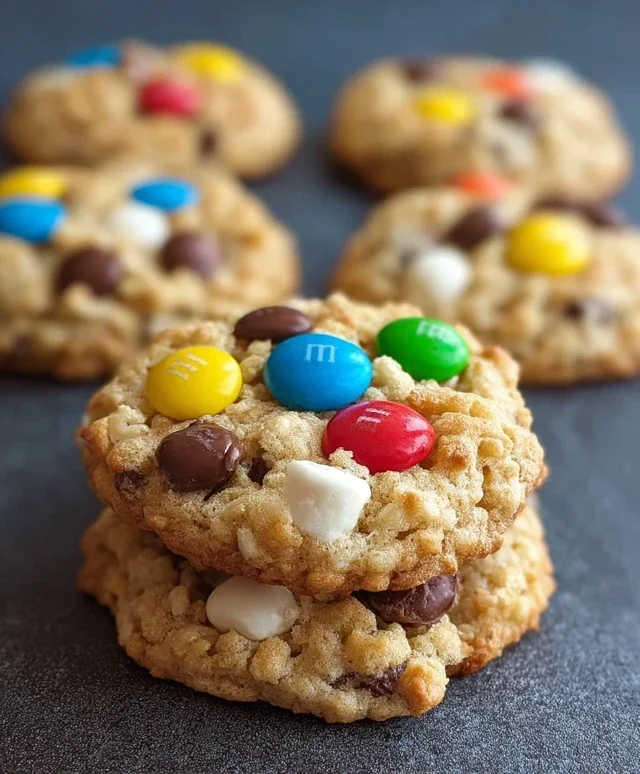
M&M Rice Krispies Cookies
Get ready for a treat that’s out of this world! These M&M Rice Krispies Cookies are a delightful fusion of chewy, gooey cookie goodness and the irresistible crunch of Rice Krispies, all studded with colorful M&M’s. They’re the perfect blend of nostalgia and pure cookie joy, guaranteed to become a new family favorite. Imagin extracte biting into a cookie that has that classic chocolate chip cookie chew, but then, unexpectedly, a delightful crispy texture emerges, followed by the satisfying snap of M&M’s. That’s the magic of these cookies, and they’re surprisingly simple to make!
We’re taking your standard chocolate chip cookie and giving it a playful, textured makeover. The secret ingredient here is the humble Rice Krispies cereal, which adds a fantastic crunch and a lighter, airier feel to each bite. Paired with the familiar sweetness of M&M’s and the richness of brown butter, these cookies are a guaranteed crowd-pleaser. Whether you’re baking for a party, a bake snon-alcoholic ale, or just because you deserve a delicious treat, these cookies will not disappoint. They’re perfect with a cold glass of milk, or even better, for dunking! Let’s get started on this culinary adventure.
Ingredients:
Browning the Butter: The Foundation of Flavor
The first step, and arguably the most crucial for developing a deep, nutty flavor, is browning the butter. In a medium saucepan over medium heat, melt the 1/2 cup of unsalted butter. Keep a close eye on it as it melts and starts to foam. Once it’s fully melted, you’ll notice small milk solids forming at the bottom of the pan. Continue to cook, swirling the pan occasionally. The foam will subside, and you’ll begin extract to see those milk solids turn a beautiful golden-brown color. You’ll also start to smell a wonderfully rich, nutty aroma. Be careful not to burn it! Once it’s achieved a rich amber color and smells toasty, immediately remove it from the heat and carefully pour it into a heatproof bowl to stop the cooking process. Let this browned butter cool slightly for about 5-10 minutes, allowing it to thicken a little before proceeding. This step adds a layer of complexity that will elevate your cookies from ordinary to extraordinary.
Creating the Cookie Dough: Mixing the Magic
In a large mixing bowl, combine the slightly cooled browned butter with the 1/2 cup + 2 tablespoons of packed brown sugar and the 2 tablespoons of granulated sugar. Using an electric mixer or a whisk, cream these ingredients together until the mixture is light and fluffy. This process incorporates air, which contributes to the cookie’s texture. Next, beat in the room temperature large egg until it’s fully incorporated. Then, stir in the 1 teaspoon of vanilla extract. In a separate medium bowl, whisk together the 1 1/3 cups of all-purpose flour, 1/2 teaspoon of baking soda, and 1/4 teaspoon of salt. Gradually add the dry ingredients to the wet ingredients, mixing on low speed or by hand until just combined. Be careful not to overmix the dough at this stage, as it can lead to tough cookies.
Folding in the Goodies: Texture and Taste Explosion
Now for the fun part – adding all the delicious mix-ins! Gently fold in the 2/3 cup of mini M&M’s and the 1/3 cup of semisweet chocolate chips using a rubber spatula or wooden spoon. Make sure they are evenly distributed throughout the dough. Finally, add the 1/4 cup of Rice Krispies cereal and carefully fold it in. You want to incorporate it without crushing the cereal too much, preserving its delightful crunch. The dough will be slightly sticky and packed with color and texture.
Shaping and Garnish: The Final Flourish
Preheat your oven to 350 degrees Fahrenheit (175 degrees Celsius). Line baking sheets with parchment paper or silicone baking mats to prevent sticking. For each cookie, scoop about 2 tablespoons of dough onto the prepared baking sheets, leaving about 2 inches between them. Now for the marshmallow surprise! Take one of the 6 marshmallows and gently press it into the center of each cookie dough ball, pushing it down slightly so it’s mostly embedded. You want just a little bit peeking out. This marshmallow will melt and become gloriously gooey as the cookies bake, creating a delightful surprise in the middle. If you desire, press a few extra mini M&M’s or chocolate chips onto the tops of the dough balls for an even more visually appealing cookie and extra bursts of flavor. Sprinkle the reserved 1/3 cup of Rice Krispies cereal over the tops of the cookies before baking. This will add an extra layer of crunch and visual texture.
Baking and Cooling: The Patience Game
Bake the cookies for 9-12 minutes, or until the edges are golden brown and the centers appear slightly underbaked. The marshmallows will have puffed up and begun to melt. It’s important not to overbake them, as they will continue to cook slightly on the baking sheet after you remove them from the oven. Let the cookies cool on the baking sheets for about 5 minutes before transferring them to a wire rack to cool completely. This resting period allows the cookies to set up properly and prevents them from breaking. As they cool, the melted marshmallow will become wonderfully gooey and slightly chewy, creating a delightful surprise when you bite into the cookie. These M&M Rice Krispies Cookies are best enjoyed slightly warm or at room temperature. They store well in an airtight container for up to 3 days, but I doubt they’ll last that long!

Conclusion:
So there you have it – your guide to creating incredibly delicious M&M Rice Krispies Cookies! These treats are a guaranteed crowd-pleaser, perfectly balancing the chewy, gooey goodness of traditional Rice Krispies treats with the delightful crunch and colorful bursts of M&M candies. They’re remarkably easy to whip up, making them an ideal baking project for begin extractners and experienced bakers alike. The delightful combination of textures and flavors makes them truly irresistible.
These M&M Rice Krispies Cookies are incredibly versatile. Enjoy them as a fun snack any time of day, pack them for school lunches, or serve them at parties and gatherings. They’re also a fantastic addition to bake snon-alcoholic ales! For variations, consider adding a sprinkle of sea salt on top for a sweet and salty contrast, or swap out the M&Ms for mini chocolate chips or even chopped nuts if you prefer. The possibilities are endless, and the joy of making and sharing these cookies is immense. I highly encourage you to give this recipe a try – you won’t be disappointed!
Frequently Asked Questions:
Can I make these cookies ahead of time?
Yes, absolutely! M&M Rice Krispies Cookies are best enjoyed within a day or two of making them, as they maintain their optimal chewy texture. Store them in an airtight container at room temperature to keep them fresh.
What kind of M&Ms work best?
Regular M&M’s are perfect for this recipe. You can also experiment with different varieties like peanut M&M’s for an extra layer of flavor and texture, or even seasonal M&M colors for holiday-themed treats!
My cookies seem too hard. What did I do wrong?
This can happen if you cook the marshmallow mixture for too long. Ensure you’re melting the marshmallows and butter over low heat and only until they are just melted and smooth. Overcooking can result in a tougher cookie.
M&M Rice Krispies Cookies
Chewy and delightful cookies packed with M&M’s, chocolate chips, and the nostalgic crunch of Rice Krispies.
Ingredients
-
1/2 cup unsalted butter, for browning
-
1/2 cup + 2 tablespoons packed brown sugar
-
2 tablespoons granulated sugar
-
1 large egg, room temperature
-
1 teaspoon vanilla extract
-
1 1/3 cups all-purpose flour, spoon and leveled
-
1/2 teaspoon baking soda
-
1/4 teaspoon salt
-
2/3 cup mini M&M’s, plus more for garnish
-
1/3 cup semisweet chocolate chips, plus more for garnish if desired
-
1/4 cup Rice Krispies cereal
-
6 marshmallows
-
1/3 cup Rice Krispies cereal, set aside for topping
Instructions
-
Step 1
Melt the unsalted butter in a saucepan over medium heat until browned. Remove from heat and let cool slightly. -
Step 2
In a large bowl, cream together the browned butter, brown sugar, and granulated sugar until light and fluffy. -
Step 3
Beat in the egg and vanilla extract until well combined. -
Step 4
In a separate bowl, whisk together the flour, baking soda, and salt. Gradually add the dry ingredients to the wet ingredients, mixing until just combined. -
Step 5
Fold in the mini M&M’s, chocolate chips, 1/4 cup Rice Krispies cereal, and marshmallows. -
Step 6
Drop rounded tablespoons of dough onto a baking sheet lined with parchment paper. Sprinkle the reserved 1/3 cup Rice Krispies cereal on top of each cookie. -
Step 7
Bake at 350°F (175°C) for 8-10 minutes, or until edges are golden brown and centers are still slightly soft. -
Step 8
Let cool on the baking sheet for a few minutes before transferring to a wire rack to cool completely. Garnish with extra M&M’s and chocolate chips if desired.
Important Information
Nutrition Facts (Per Serving)
It is important to consider this information as approximate and not to use it as definitive health advice.
Allergy Information
Please check ingredients for potential allergens and consult a health professional if in doubt.


Leave a Comment