
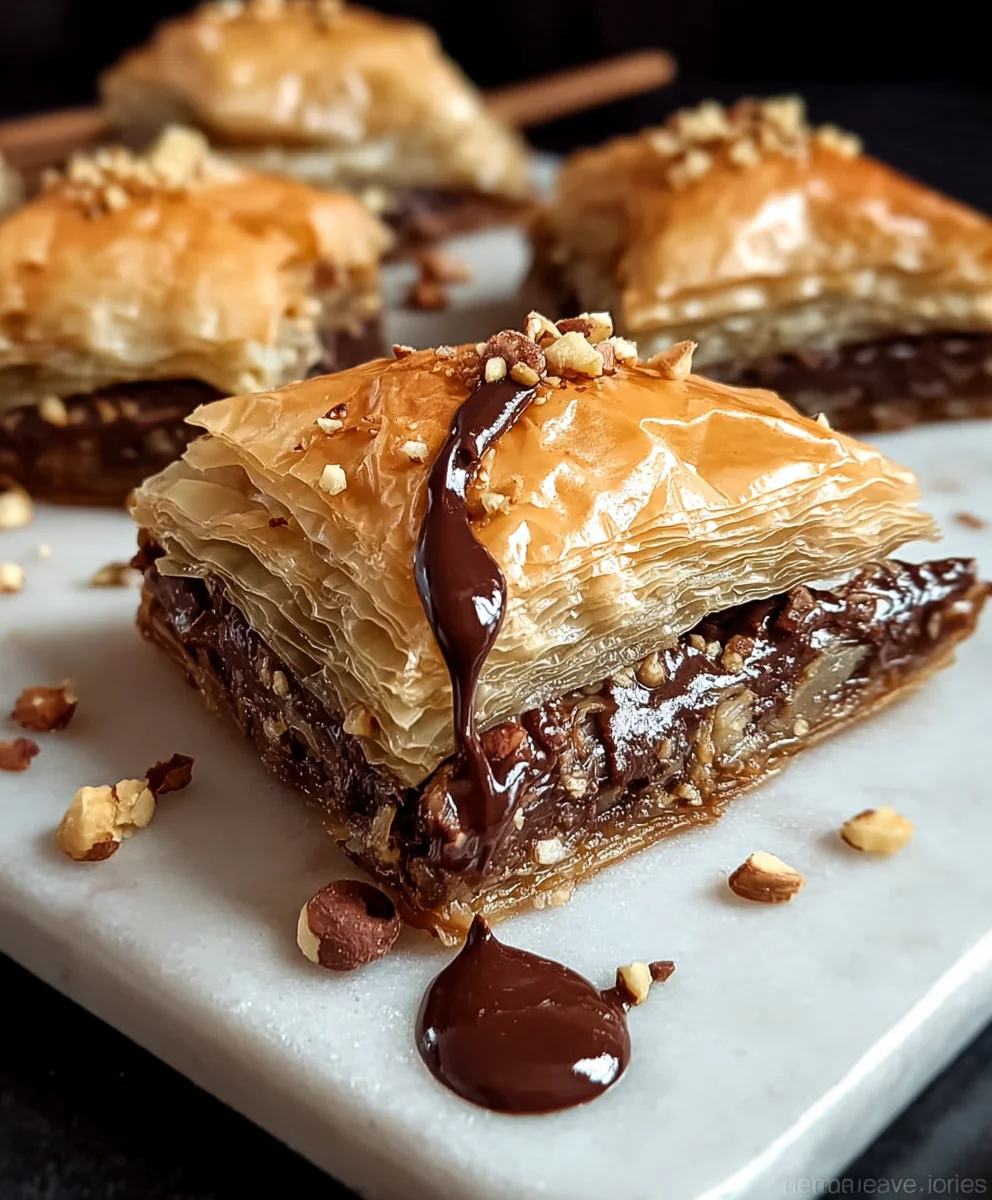
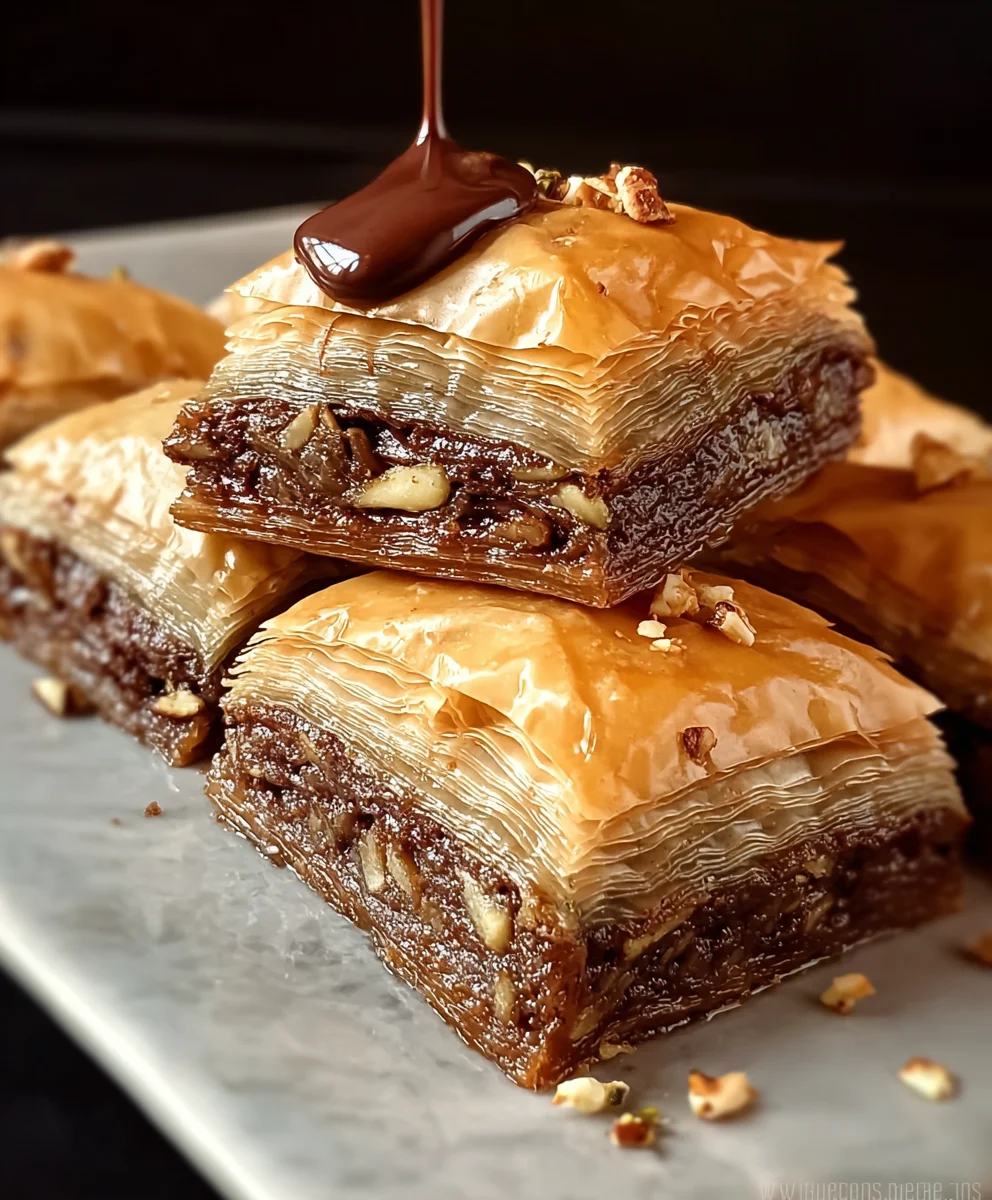
Nutella Baklava, oh, the mere mention of it conjures up images of golden, flaky pastry, a rich, gooey center, and that unmistakable hazelnut-chocolate bliss. Forget everything you thought you knew about traditional baklava, because this sensational twist takes a beloved classic and injects it with an irresistible modern decadence. People absolutely adore this fusion for so many reasons. It’s the perfect marriage of textures: the crisp, buttery layers of phyllo dough give way to the warm, melted embrace of Nutella, studded perhaps with toasted hazelnuts for an extra crunch. What truly makes this Nutella Baklava so special is its ability to satisfy both nostalgic cravings for a familiar dessert and the modern desire for something bold and indulgent. It’s a showstopper for any gathering and an equally delightful personal treat when you need a little sweet escape.
Ingredients:
- 1 (16 oz) package phyllo dough, thawed
- 1 cup unsalted butter, melted
- 1½ cups Nutella
- 1½ cups chopped hazelnuts
- ¾ cup honey
- ¼ cup water
- ¼ cup sugar
- 1 tsp vanilla extract
Preparing Your Nutella Baklava Components
This stage is all about getting your ingredients ready and your workspace set up for success. Accuracy here will make the assembly process much smoother, leading to a beautiful and delicious Nutella Baklava.
First, ensure your phyllo dough has completely thawed. It’s usually best to leave it in the refrigerator overnight, then bring it to room temperature for about an hour before you plan to start working with it. Keeping the phyllo covered with a damp, clean kitchen towel while you work is crucial to prevent it from drying out and becoming brittle. Dry phyllo will crack and tear, making it difficult to create those delicate, flaky layers we love in baklava.
Next, melt your unsalted butter. You can do this gently in a small saucepan over low heat, or in a microwave-safe bowl in short, 30-second intervals, stirring in between. You want it fully melted and smooth, ready to brush onto the phyllo layers. Having a pastry brush handy is a must for this recipe; it’s the best tool for applying thin, even coats of butter.
In a separate medium bowl, combine your Nutella and chopped hazelnuts. Give this mixture a good stir until the hazelnuts are evenly distributed throughout the creamy chocolate-hazelnut spread. This will be the luscious, slightly crunchy filling for your Nutella Baklava. Make sure your hazelnuts are chopped to a medium consistency – not too fine that they disappear, but not too large that they create uneven pockets in the baklava.
Finally, let’s prepare the syrup. In a small saucepan, combine the honey, water, and sugar. Place this saucepan over medium heat and stir until the sugar has completely dissolved. Once dissolved, bring the mixture to a gentle simmer. Let it simmer for about 5 minutes, then remove it from the heat and stir in the vanilla extract. This syrup will be poured over the hot baklava right after it comes out of the oven, allowing it to soak in and create that signature sticky-sweetness. Set this aside to cool slightly while you assemble the baklava.
Assembling the Nutella Baklava Layers
Now comes the fun part – building your Nutella Baklava! This requires a bit of patience, but the results are absolutely worth it.
Start by preheating your oven to 350°F (175°C). Lightly grease a 9×13 inch baking pan with some of your melted butter. Unroll the phyllo dough and carefully peel off one sheet at a time. Place the phyllo sheet into the prepared baking pan. Using your pastry brush, generously brush the entire surface of the phyllo sheet with melted butter. Don’t be shy with the butter; it’s what makes the layers crisp and golden. Repeat this process with another 7 sheets of phyllo dough, buttering each layer as you go. You’ll have a stack of 8 buttered phyllo sheets forming the base of your Nutella Baklava.
Once you have your base layers ready, it’s time to add the delicious filling. Evenly spread the Nutella and chopped hazelnut mixture over the top of the 8th layer of phyllo dough. Ensure the spread goes almost to the edges of the pan to create a consistent layer of flavor throughout your Nutella Baklava.
Now, carefully lay another sheet of phyllo dough on top of the Nutella and hazelnut mixture. Brush this sheet generously with melted butter. Continue layering and buttering phyllo sheets, one at a time, until you have used approximately half of the remaining phyllo dough. Aim for about another 8-10 layers, buttering each one thoroughly. This creates a substantial middle section that will enclose the rich Nutella filling.
With the middle layers complete, it’s time to create the top. Spread the remaining Nutella and hazelnut mixture evenly over the last buttered phyllo sheet. Then, carefully place the remaining phyllo sheets on top, one by one, buttering each layer meticulously as you go. Make sure the final top layer is well-buttered for a beautiful golden finish on your Nutella Baklava. Gently press down on the entire baklava to compact the layers slightly.
Cutting and Baking Your Nutella Baklava
Before baking, it’s essential to cut the baklava. This step is crucial because once the baklava is baked and soaked in syrup, it becomes very difficult to cut cleanly.
Using a sharp knife, carefully cut the Nutella Baklava into diamond shapes or squares. Make deep cuts all the way down to the bottom of the pan. This ensures that when the syrup is poured over, it can penetrate all the way through to the bottom layers, flavoring every bite. For diamond shapes, you’ll typically make diagonal cuts first in one direction, then in the opposite direction to form the diamonds. Take your time with this step to get neat, even pieces.
Once cut, place the pan in the preheated oven. Bake for approximately 35-45 minutes, or until the top is a deep golden brown and you can see the layers have puffed up and are looking crispy. The exact baking time will depend on your oven, so keep an eye on it. You want it beautifully golden and fragrant.
Syruping and Cooling the Nutella Baklava
This is the final, crucial step to achieving perfect Nutella Baklava.
As soon as the baklava comes out of the oven, while it’s still piping hot, immediately and evenly pour the prepared, slightly cooled syrup over the entire surface. You should hear a satisfying sizzle as the hot baklava absorbs the sweet syrup. Make sure to pour the syrup all over, ensuring every piece gets its fair share. If some areas seem to have received less, you can gently tilt the pan or use a spoon to guide more syrup to those spots. The hot baklava will absorb the syrup much more effectively, leading to a wonderfully moist and flavorful treat.
Allow the Nutella Baklava to cool completely in the pan at room temperature for at least 2-3 hours. This cooling period is absolutely vital. During this time, the syrup will continue to be absorbed, and the layers will set and firm up. Trying to move or cut the baklava before it has cooled sufficiently will result in a soggy, messy disaster. Patience here is key to enjoying perfectly structured and delicious Nutella Baklava. Once completely cool, you can then gently break apart the pieces along your pre-cut lines.
Conclusion:
And there you have it – a delightful journey into creating your very own Nutella Baklava! We’ve walked through each step, from preparing the crisp phyllo layers to infusing them with the rich, chocolatey goodness of Nutella and the warm embrace of spices. The result is a dessert that’s both decadent and surprisingly approachable. I hope you’ve enjoyed this recipe and feel empowered to bring this irresistible treat to your table. Whether you’re serving it after a special meal, as a sweet afternoon indulgence, or to impress guests, this Nutella Baklava is sure to be a showstopper.
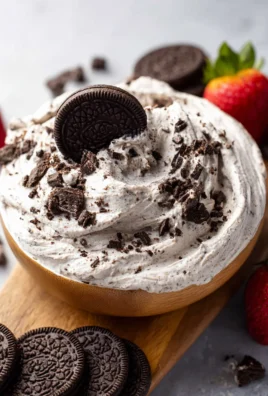
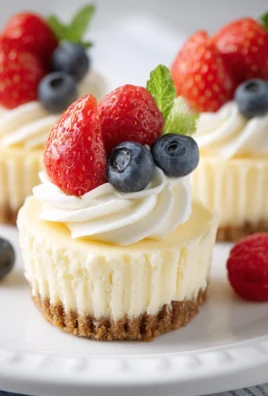
For serving, a dollop of unsweetened whipped cream or a scoop of vanilla bean ice cream provides a lovely contrast to the sweetness. Consider a sprinkle of chopped hazelnuts or pistachios on top for an extra textural element and visual appeal. Don’t be afraid to experiment with variations too! You could add a touch of cinnamon to the Nutella filling, or even a hint of orange zest for a bright note. For a more intense chocolate flavor, try drizzling a little extra melted Nutella over the top once it’s cooled.
I truly encourage you to give this Nutella Baklava a try. The combination of flaky pastry, sweet syrup, and creamy hazelnut chocolate is truly magical. Happy baking!
FAQs About Nutella Baklava:
Can I make Nutella Baklava ahead of time?
Yes, absolutely! Nutella Baklava can be made a day or two in advance and stored at room temperature in an airtight container. The flavors actually meld together beautifully over time, making it even more delicious. Just be sure to let it cool completely before storing it to prevent soggin extractess.
What if I don’t have phyllo dough? Can I use something else?
While phyllo dough is traditional and key to the signature flaky texture of baklava, if you’re in a pinch, you could try using puff pastry. However, be aware that the result will be significantly different. Puff pastry will be lighter and airier, and may not absorb the syrup in the same way. For the best Nutella Baklava experience, I highly recommend using phyllo dough.
Nutella Baklava – Decadent Chocolate Hazelnut Dessert
A decadent and irresistible twist on traditional baklava, featuring layers of crispy phyllo dough filled with creamy Nutella and crunchy hazelnuts, all drenched in a sweet honey syrup.
Ingredients
-
1 (16 oz) package phyllo dough, thawed
-
1 cup unsalted butter, melted
-
1½ cups Nutella
-
1½ cups chopped hazelnuts
-
¾ cup honey
-
¼ cup water
-
¼ cup sugar
-
1 tsp vanilla extract
Instructions
-
Step 1
Prepare the components: Ensure phyllo dough is thawed. Melt butter. Combine Nutella and chopped hazelnuts in a bowl. Prepare the syrup by simmering honey, water, and sugar, then stir in vanilla extract. Set syrup aside to cool slightly. -
Step 2
Assemble the baklava: Preheat oven to 350°F (175°C) and grease a 9×13 inch pan. Layer 8 sheets of phyllo dough, buttering each one generously. Spread half of the Nutella-hazelnut mixture evenly over the top layer. -
Step 3
Continue layering: Add another 8-10 buttered phyllo sheets, followed by the remaining Nutella-hazelnut mixture. Top with the rest of the phyllo sheets, buttering each one meticulously. Gently press down to compact. -
Step 4
Cut and bake: Carefully cut the baklava into desired shapes (diamonds or squares) all the way to the bottom. Bake for 35-45 minutes, or until deep golden brown and crispy. -
Step 5
Syrup and cool: Immediately pour the slightly cooled syrup over the hot baklava. Allow to cool completely at room temperature for at least 2-3 hours for the syrup to absorb and the layers to set.
Important Information
Nutrition Facts (Per Serving)
It is important to consider this information as approximate and not to use it as definitive health advice.
Allergy Information
Please check ingredients for potential allergens and consult a health professional if in doubt.

Leave a Comment