
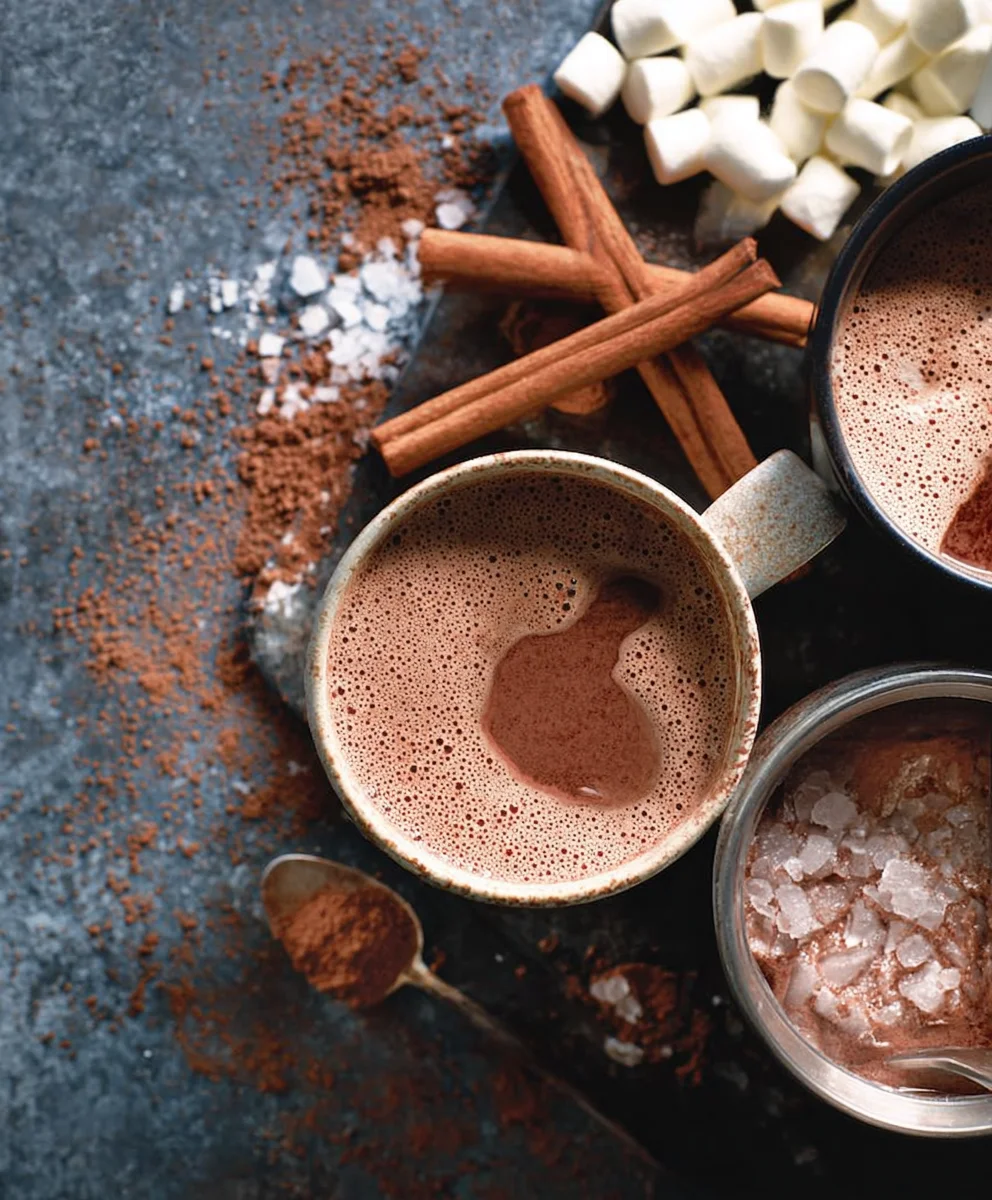
How to make a party-perfect hot chocolate station starts with the magic of creating an unforgettable experience for your guests. Imagin extracte the delighted gasps as they discover a dedicated corner brimming with comforting warmth, decadent toppings, and customizable options. It’s more than just a beverage; it’s a conversation starter, a cozy centerpiece, and a guaranteed hit at any gathering, from festive holiday parties to casual winter get-togethers. What truly sets this apart is the sheer joy of personalization. Everyone loves hot chocolate, but the ability to craft their own masterpiece – piling on marshmallows, drizzling caramel, or even adding a pinch of chili for a spicy kick – elevates it from simple comfort food to a truly memorable event. This station isn’t just about serving a drink; it’s about fostering connection and creating sweet, lasting memories.
Ingredients:
- 1 gallon whole milk
- 1.5 pounds semi-sweet chocolate chips
- 1 cup granulated sugar
- 1/2 cup unsweetened cocoa powder
- 2 teaspoons vanilla extract
- 1/2 teaspoon salt
- Toppings Bar:
- Whipped cream
- Mini marshmallows
- Crushed peppermint sticks
- Chocolate shavings (dark, milk, or white)
- Caramel sauce
- Chocolate syrup
- Cinnamon sticks
- Sprinkles
Preparing the Rich Hot Chocolate Base
Step 1: Combine Dry Ingredients
Let’s start by building the foundation of our decadent hot chocolate. In a large, heavy-bottomed saucepan, whisk together the granulated sugar and unsweetened cocoa powder. It’s important to do this thoroughly before adding any liquid. This helps to break up any clumps of cocoa powder and ensures a smooth, even distribution throughout the chocolate later on. Make sure there are no dry pockets of cocoa left; a well-incorporated cocoa powder is key to a lump-free hot chocolate.
Step 2: Gradually Incorporate Milk
Now, it’s time to introduce the liquid. Slowly pour about 2 cups of the whole milk into the saucepan with the sugar and cocoa mixture. Whisk continuously until you have a smooth, thick paste. This paste is crucial for preventing lumps and ensuring that the cocoa and sugar dissolve completely. Once you have a smooth paste, gradually whisk in the remaining gallon of whole milk. Continue to whisk until everything is well combined.
Step 3: Gentle Heating and Melting
Place the saucepan over medium heat. It’s essential to use medium heat rather than high heat to prevent scorching the milk and to allow the chocolate to melt gradually and evenly. Stir constantly with a whisk or a heatproof spatula, making sure to scrape the bottom and sides of the pan. As the mixture begin extracts to warm, add the semi-sweet chocolate chips. Continue to stir frequently, allowing the chocolate chips to melt completely into the milk mixture. This process will take some time, so be patient. Don’t rush it, as overheating can cause the chocolate to seize or become grainy. You’re looking for a silky smooth consistency with no visible chocolate chips.
Step 4: Infuse with Flavor and Seasoning
Once the chocolate has completely melted and the mixture is smooth and steaming but not yet boiling, it’s time to add the flavor enhancers. Stir in the vanilla extract and the salt. The vanilla extract will add a warm, inviting aroma and depth of flavor, while the salt, surprisingly, enhances the sweetness of the chocolate and balances its richness. Continue to stir gently until the vanilla and salt are fully incorporated. Keep the mixture over low heat, stirring occasionally, to keep it warm and prevent a skin from forming on top while you prepare your toppings.
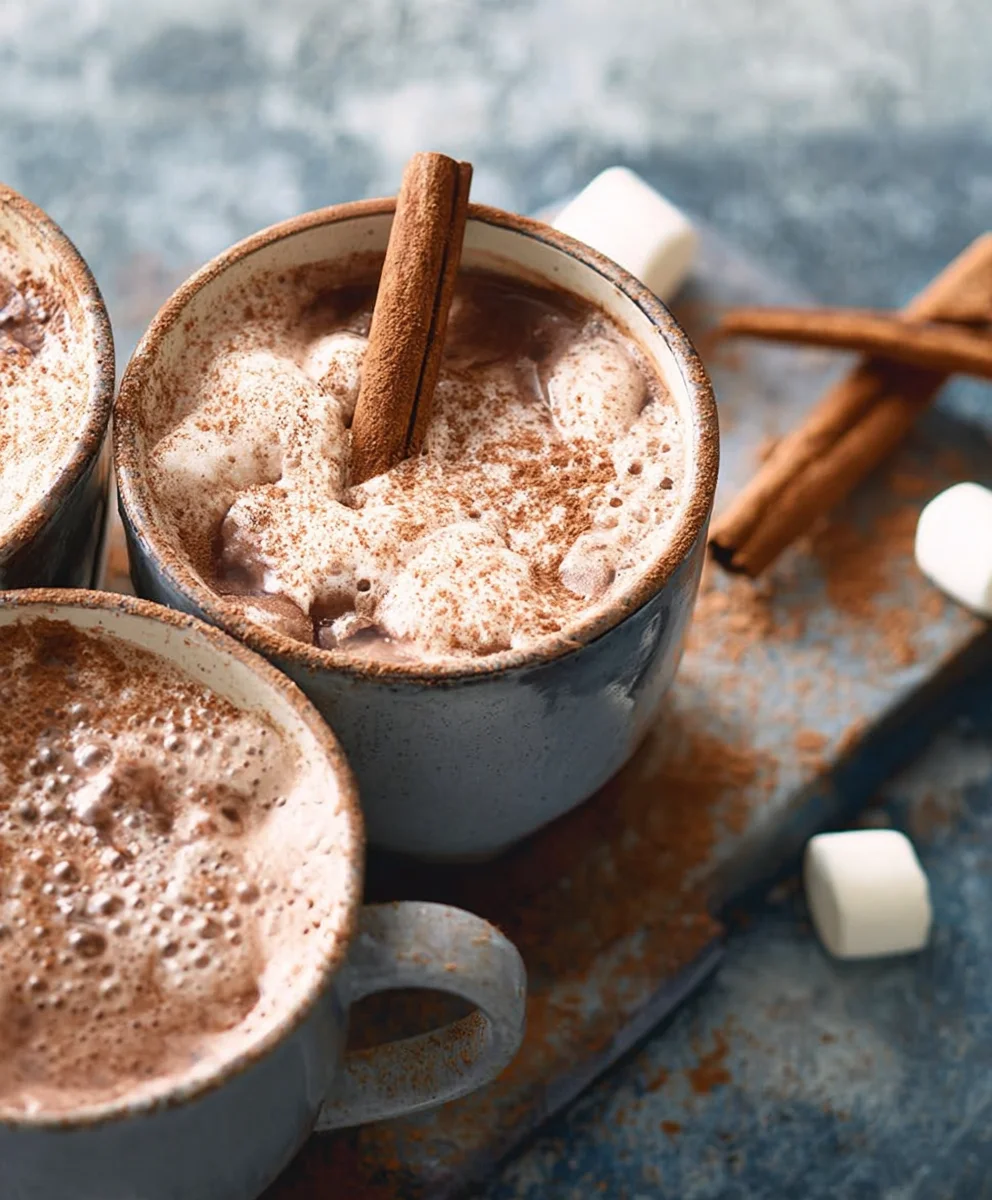
Step 5: Setting Up the Party-Perfect Hot Chocolate Station
While the hot chocolate base is gently warming, it’s time to get your toppings bar ready. Choose a prominent area, like a kitchen island or a buffet table, and arrange your toppings in individual bowls or containers. This makes it easy for guests to serve themselves and creates a visually appealing display. Consider using tiered platters or different heights to add dimension to your setup. Place small serving spoons or tongs alongside each topping for easy access. For the whipped cream, a can of aerosol whipped cream is convenient, or you can pipe your own if you’re feeling fancy. Arrange your chocolate shavings, mini marshmallows, crushed peppermint sticks, sprinkles, and any other desired toppings artfully. Have your caramel sauce and chocolate syrup ready in squeeze bottles or small pitchers. Don’t forget to place your cinnamon sticks nearby for an aromatic touch. Finally, ladle the hot chocolate base into a slow cooker set to the “warm” setting or a thermal carafe to keep it piping hot throughout your event. This ensures that your guests can enjoy perfectly warm hot chocolate from the moment they arrive until the last guest departs. Ensure you have plenty of mugs or insulated cups available for your guests to fill.
Conclusion:
And there you have it – the ultimate guide on how to make a party-perfect hot chocolate station! This interactive and customizable treat is guaranteed to be a hit at any gathering, from casual get-togethers to more festive celebrations. We’ve covered everything from selecting your base hot chocolate to an array of delicious toppings and decadent extras. The beauty of this setup is its inherent flexibility; it caters to every taste bud and dietary preference, making it a truly inclusive crowd-pleaser.
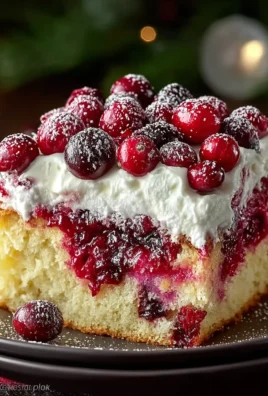
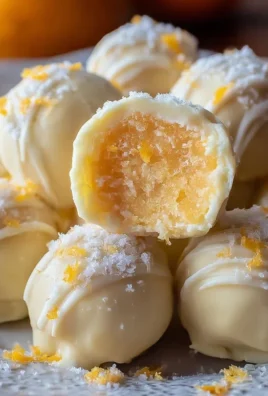
For serving suggestions, consider pairing your hot chocolate creation with freshly baked cookies, gin extractgerbread men, or even a slice of rich chocolate cake. These classic companions elevate the experience beautifully.
Looking for variations? Feel free to experiment with different types of chocolate – dark, milk, white, or even a blend! You can also infuse your hot chocolate with spices like cinnamon, nutmeg, or chili powder for an extra kick. For a dairy-free option, almond milk, oat milk, or coconut milk work wonderfully. Don’t be afraid to get creative with your toppings too; think beyond the usual whipped cream and marshmallows with options like chocolate shavings, caramel sauce, or crushed peppermint candies.
Ultimately, the goal is to have fun and let your guests express their inner chocolatier. So, gather your supplies, embrace the festive spirit, and get ready to create some warm, delicious memories. Happy hot chocolate making!
Frequently Asked Questions:
Q1: What is the best type of chocolate to use for the base hot chocolate?
For the most decadent and rich flavor, I recommend using a combination of good quality cocoa powder and real chocolate (chopped or chips). This gives you the best of both worlds – intense chocolate flavor from the cocoa and a luxurious, creamy texture from melted chocolate. You can use dark, milk, or even white chocolate depending on your preference!
Q2: Can I prepare the hot chocolate base in advance?
Absolutely! You can prepare the base hot chocolate mixture (milk, cocoa powder, sugar, and any added flavorings like vanilla extract) a day or two in advance and store it in the refrigerator. Simply reheat it gently on the stovetop or in a microwave before serving. This will save you a lot of time when your guests arrive.
Party-Perfect Hot Chocolate Station
An easy-to-set-up hot chocolate station perfect for parties, featuring a rich and creamy hot chocolate base with a variety of delicious toppings.
Ingredients
-
1 gallon whole milk
-
1.5 pounds semi-sweet chocolate chips
-
1 cup granulated sugar
-
1/2 cup unsweetened cocoa powder
-
2 teaspoons vanilla extract
-
1/2 teaspoon salt
-
Whipped cream
-
Mini marshmallows
-
Crushed peppermint sticks
-
Chocolate shavings (dark, milk, or white)
-
Caramel sauce
-
Chocolate syrup
-
Cinnamon sticks
-
Sprinkles
Instructions
-
Step 1
In a large, heavy-bottomed saucepan, whisk together the granulated sugar and unsweetened cocoa powder until well combined and there are no dry pockets of cocoa. -
Step 2
Slowly pour about 2 cups of the whole milk into the saucepan with the sugar and cocoa mixture. Whisk continuously until you have a smooth, thick paste. Gradually whisk in the remaining gallon of whole milk until everything is well combined. -
Step 3
Place the saucepan over medium heat. Stir constantly, making sure to scrape the bottom and sides of the pan. As the mixture warms, add the semi-sweet chocolate chips. Continue to stir frequently until the chocolate chips melt completely into the milk mixture, creating a silky smooth consistency. -
Step 4
Once the chocolate has completely melted and the mixture is smooth and steaming but not yet boiling, stir in the vanilla extract and the salt until fully incorporated. Keep the mixture over low heat, stirring occasionally, to keep it warm. -
Step 5
Set up your toppings bar by arranging whipped cream, mini marshmallows, crushed peppermint sticks, chocolate shavings, caramel sauce, chocolate syrup, cinnamon sticks, and sprinkles in individual bowls or containers on a prominent surface. Place serving spoons or tongs alongside each topping. -
Step 6
Ladle the hot chocolate base into a slow cooker set to the ‘warm’ setting or a thermal carafe to keep it piping hot throughout your event. Ensure mugs or insulated cups are available for guests.
Important Information
Nutrition Facts (Per Serving)
It is important to consider this information as approximate and not to use it as definitive health advice.
Allergy Information
Please check ingredients for potential allergens and consult a health professional if in doubt.
Leave a Comment