
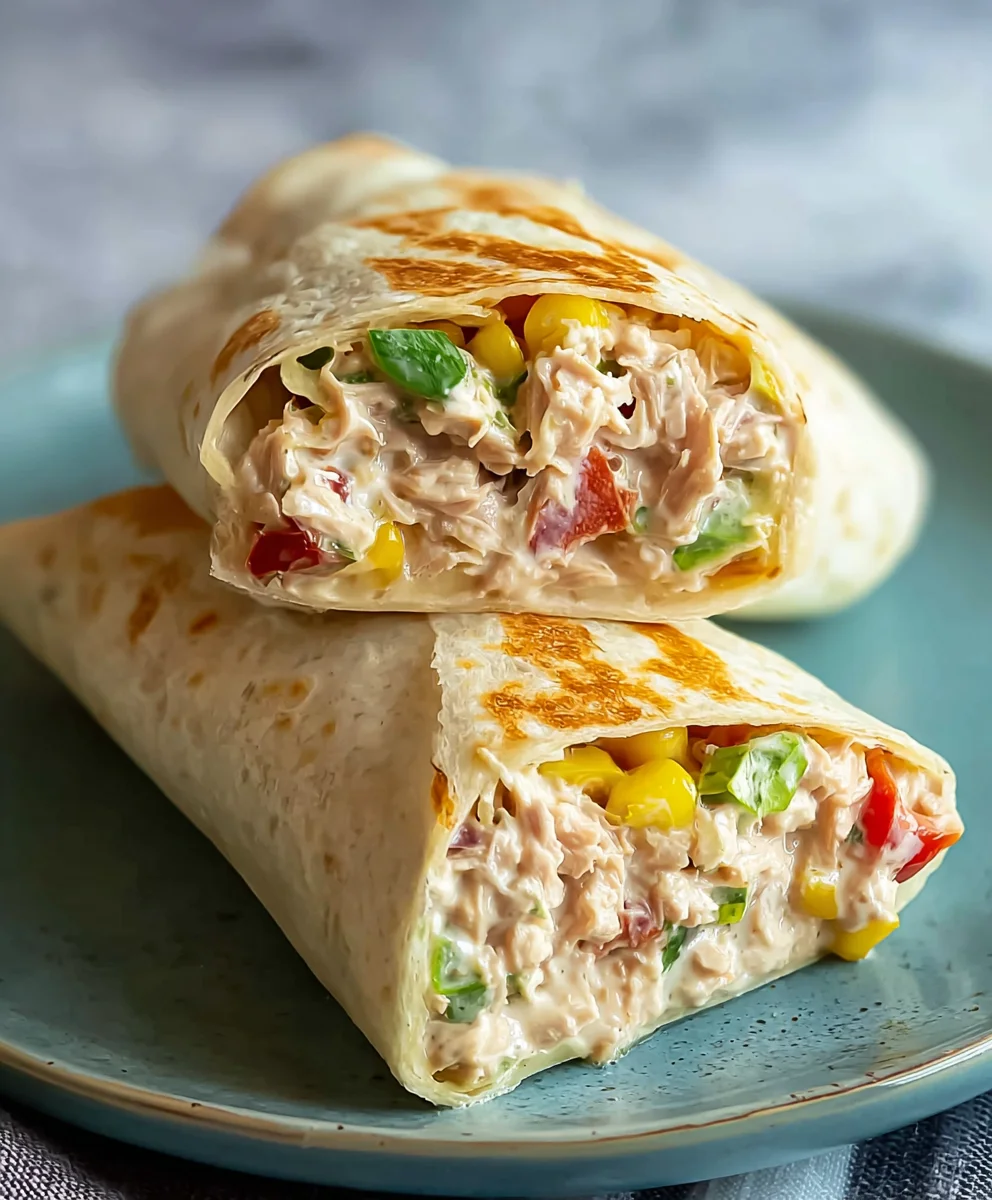
10-Minute Tuna Melt Wrap – is there anything better than a quick, satisfying meal that hits all the right comfort food notes? We think not! This isn’t just any tuna melt; it’s a brilliantly executed shortcut that delivers all the creamy, cheesy, savory goodness you crave in a fraction of the time. People adore this dish because it’s the ultimate weeknight savior, perfect for those moments when hunger strikes and time is of the essence. Forget the fuss of toasting bread and fussing with the grill. This recipe transforms the classic into a portable, mess-free delight that’s equally at home in your lunchbox as it is on your dinner table. What truly makes our 10-Minute Tuna Melt Wrap special is its ingenious simplicity and the explosion of flavor packed into every bite. It’s a testament to how a few well-chosen ingredients and a clever preparation method can result in something truly delicious and wonderfully convenient. Get ready to discover your new go-to for a speedy and satisfying meal!
Ingredients:
- 1 can (5 oz) skipjack or yellowfin tuna, drained
- 2 tablespoons plain Greek yogurt
- 1/2 tablespoon Dijon mustard
- 1 tablespoon fresh lemon juice (from about 1/2 lemon)
- 1/4 cup corn, drained (canned or frozen, thawed)
- 1/4 cup finely diced red onion
- 1 tablespoon dill relish or capers, drained
- 1/2 teaspoon garlic powder
- 1/4 teaspoon freshly ground black pepper
- 1 large burrito-sized wrap (at least 10 inches in diameter)
- 1/4 cup shredded mozzarella cheese
- Olive oil, for grilling
Preparing the Tuna Mixture
The foundation of our delicious 10-Minute Tuna Melt Wrap is a flavorful and quick tuna salad. To begin, ensure your can of tuna is thoroughly drained. You want to remove as much excess liquid as possible to prevent a soggy wrap filling. Open the can and press the lid down to squeeze out the water, or carefully drain it in a fine-mesh sieve. Transfer the drained tuna into a medium-sized mixing bowl. Now, it’s time to add the creamy binder. Spoon in the 2 tablespoons of plain Greek yogurt. Greek yogurt is a fantastic substitute for mayonnaise here, offering a tangier flavor and a lighter profile. Next, add the 1/2 tablespoon of Dijon mustard. This will impart a subtle, zesty kick that beautifully complements the tuna. For brightness and a hint of acidity, squeeze in 1 tablespoon of fresh lemon juice. This is roughly the juice from half a lemon, so don’t be afraid to give it a good squeeze. Now, let’s add some texture and sweetness with the corn. Stir in the 1/4 cup of corn. Whether you’re using canned or thawed frozen corn, make sure it’s well-drained. For a sharp bite and a pleasant crunch, add the 1/4 cup of finely diced red onion. The smaller you dice the onion, the more evenly it will distribute throughout the filling. For a briny, flavorful burst, add the 1 tablespoon of dill relish or capers. If you prefer a milder tang, dill relish is a great choice, while capers offer a more intense brininess. Finally, season the mixture. Sprinkle in the 1/2 teaspoon of garlic powder for a savory depth and the 1/4 teaspoon of freshly ground black pepper for a touch of warmth.
Mixing and Assembling
Once all the ingredients are in the bowl, it’s time to combine everything. Using a fork, gently flake the tuna further if needed and mix all the components together until they are well incorporated. You want a cohesive mixture where all the flavors meld together. Don’t overmix, as this can make the tuna mushy. The goal is a textured, flavorful filling. Taste the mixture and adjust seasonings if necessary. You might want a little more pepper, a touch more lemon juice for brightness, or even a pinch more relish for tang. Once you’re happy with the flavor profile, set the tuna mixture aside. Now, let’s prepare our wrap. Lay one large burrito-sized wrap flat on a clean work surface. If your wrap tends to be a bit stiff, you can briefly warm it in a dry skillet or microwave for about 10-15 seconds to make it more pliable and less likely to crack when you fold it. This step is optional but recommended for easier handling.
Filling and Folding the Wrap
With your wrap ready, it’s time to fill it. Spoon the prepared tuna mixture generously onto the center of the wrap, leaving a border of about an inch or two around the edges. Try to distribute the filling evenly. Now, sprinkle the 1/4 cup of shredded mozzarella cheese directly over the tuna mixture. The cheese will melt and create that classic gooey tuna melt texture. To fold the wrap like a pro, first, fold in the two sides of the wrap towards the center, overlapping them slightly over the filling. This helps to contain the ingredients. Then, starting from the bottom edge (the edge closest to you), tightly roll the wrap upwards, tucking in the filling as you go. Aim for a snug roll to prevent any filling from escaping during grilling. If the wrap feels a bit loose, you can gently press it together as you roll.
Grilling the Wrap
Now for the final, melty step that makes this a true tuna melt. Heat a non-stick skillet or a griddle over medium heat. Add a tablespoon of olive oil to the hot skillet. Once the oil is shimmering, carefully place the folded wrap into the skillet, seam-side down. This initial placement helps to seal the wrap. Cook for about 3-4 minutes per side, or until the wrap is golden brown and crispy, and the mozzarella cheese inside is completely melted and gooey. You’ll see the cheese starting to ooze out a bit, which is a good sign! Keep an eye on it to prevent burning. The aroma of the grilling wrap is truly irresistible.
Serving and Enjoying
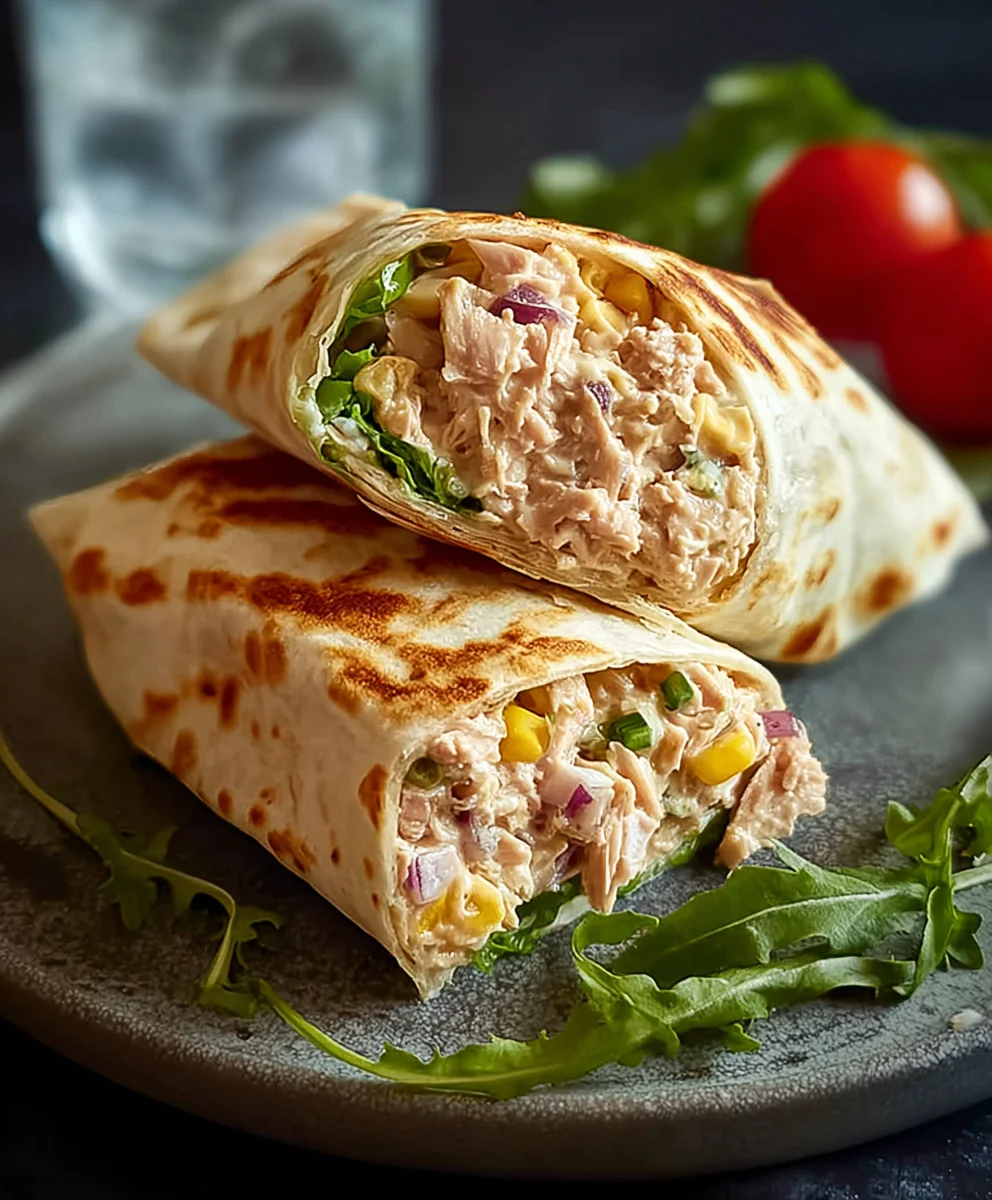
Once your 10-Minute Tuna Melt Wrap is beautifully golden brown and the cheese is perfectly melted, carefully remove it from the skillet using a spatula. Place it on a cutting board. For easier eating and a more appealing presentation, you can slice the wrap in half diagonally. This also allows you to see that wonderfully melted cheese inside. Serve immediately while it’s hot and the cheese is at its melty best. The combination of the crispy tortilla, the savory, tangy tuna filling, and the gooey mozzarella is pure comfort food. It’s a perfect quick lunch or a satisfying light dinner.
Conclusion:
And there you have it! Your incredibly easy and satisfying 10-Minute Tuna Melt Wrap is ready to be devoured. This recipe is a lifesaver on busy weeknights or whenever a quick and delicious meal is calling your name. We’ve seen how simple it is to transform pantry staples into a flavourful, filling wrap that the whole family will love. Don’t be afraid to get creative and make it your own!
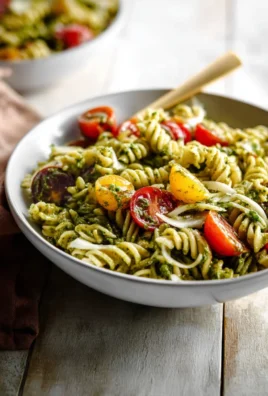
For serving, I love to pair this wrap with a crisp side salad, some crunchy carrot sticks, or even a small bowl of tomato soup for a comforting combination. If you’re feeling adventurous, consider adding a sprinkle of chili flakes to the tuna mixture for a little kick, or swap out the cheddar for a spicy pepper jack cheese. You could also add a layer of finely chopped celery or pickles for extra texture and tang. The beauty of the 10-Minute Tuna Melt Wrap lies in its adaptability, so experiment and discover your favourite combination. I truly hope you enjoy making and eating this delightful wrap as much as I do!
Frequently Asked Questions:
Can I make the tuna filling ahead of time?
Yes, absolutely! You can prepare the tuna mixture a day or two in advance and store it in an airtight container in the refrigerator. This makes assembling the 10-Minute Tuna Melt Wrap even faster when you’re ready to eat.
What kind of tortillas work best?
Most types of tortillas work well, including flour tortillas, whole wheat tortillas, or even gluten-free options. Choose a size that’s large enough to hold your filling comfortably without tearing.
Can I use a different type of cheese?
Of course! While cheddar is a classic, feel free to experiment with other melting cheeses like Monterey Jack, provolone, or even a blend of your favourites. The key is to use a cheese that melts nicely.
Quick Tuna Melt Wrap Recipe
An easy and quick tuna melt wrap recipe, perfect for a speedy lunch.
Ingredients
-
1 can (5 oz) skipjack or yellowfin tuna, drained
-
2 tablespoons plain Greek yogurt
-
1/2 tablespoon Dijon mustard
-
1 tablespoon fresh lemon juice (from about 1/2 lemon)
-
1/4 cup corn, drained
-
1/4 cup finely diced red onion
-
1 tablespoon dill relish or capers, drained
-
1/2 teaspoon garlic powder
-
1/4 teaspoon freshly ground black pepper
-
1 large burrito-sized wrap (at least 10 inches in diameter)
-
1/4 cup shredded mozzarella cheese
-
Olive oil, for grilling
Instructions
-
Step 1
Drain the tuna thoroughly. In a medium mixing bowl, combine the drained tuna, Greek yogurt, Dijon mustard, lemon juice, corn, diced red onion, dill relish or capers, garlic powder, and black pepper. -
Step 2
Mix all ingredients together with a fork until well incorporated. Taste and adjust seasonings as needed. -
Step 3
Lay the burrito-sized wrap flat. Spoon the tuna mixture onto the center, leaving a border. Sprinkle the shredded mozzarella cheese over the tuna mixture. -
Step 4
Fold in the sides of the wrap towards the center, then tightly roll it up from the bottom, tucking in the filling. -
Step 5
Heat olive oil in a non-stick skillet over medium heat. Place the folded wrap seam-side down in the skillet. -
Step 6
Grill for 3-4 minutes per side, until golden brown and crispy, and the cheese is melted and gooey. -
Step 7
Remove from skillet, slice in half diagonally if desired, and serve immediately.
Important Information
Nutrition Facts (Per Serving)
It is important to consider this information as approximate and not to use it as definitive health advice.
Allergy Information
Please check ingredients for potential allergens and consult a health professional if in doubt.

Leave a Comment