
White Trash Sliders are more than just a catchy name; they’re a nostalgic culinary hug in a bun, a guaranteed crowd-pleaser that evokes memories of backyard barbecues and cozy gatherings. This isn’t just any slider; it’s an iconic comfort food that has earned its place in the hearts (and stomachs) of many. What is it about these little sandwiches that makes them so universally adored? It’s the perfect symphony of textures and flavors: the slightly sweet, soft slider buns cradling a savory, juicy patty, often topped with a melty slice of cheese and a tangy condiment. The magic of White Trash Sliders lies in their simplicity and their ability to be customized, making them an approachable and utterly delicious choice for any occasion. We’re diving deep into what makes these sliders so special and how you can recreate that unforgettable taste in your own kitchen.
Ingredients:
- 1 lb ground beef
- 1 lb beef sausage
- 1 lb (16 oz) Velveeta cheese, cut into 1-inch cubes
- 1 tsp Worcestershire sauce
- 1 tsp black pepper
- ½ tsp onion powder
- 24 slider buns
Preparing the Flavorful Meat Mixture
This is where the magic really begin extracts, forming the savory heart of your White Trash Sliders. We’re combining two types of ground meat to create a richer, more complex flavor profile that’s far more interesting than just plain ground beef. The beef sausage will lend a bit of spice and fat, while the ground beef provides a classic, hearty base. Take your ground beef and beef sausage and place them into a large mixing bowl. You want a generously sized bowl so you have plenty of room to work without making a mess. Now, it’s time to season this delicious duo. Sprinkle in the black pepper and the onion powder. These are essential for building that foundational savory taste. Don’t be shy with the pepper; it really wakes up the meat. The onion powder provides a mellow, cooked-onion essence without the need to chop and sauté raw onions, which is perfect for a quick and easy slider recipe.
Next, add the Worcestershire sauce. This potent liquid is a flavor enhancgin extract bringing a deep umami note with hints of tang and spice. It really elevates the meat and ties all the flavors together beautifully. Now, the crucial part: incorporating these ingredients. Use your clean hands to gently mix everything together. You don’t want to overwork the meat, as this can make the finished sliders tough and dense. The goal is to distribute the seasonings and the two types of meat evenly throughout the mixture. Think of it as a gentle massage for your meat. Once everything is just combined, you’re ready to move on to the next exciting step, which involves the star of the cheesy show.
Melting the Creamy Cheese
Now, let’s talk about the iconic cheese component of these White Trash Sliders. We’re using Velveeta, and for good reason! Its incredibly smooth melting properties and mild, familiar flavor are what make these sliders so uniquely delicious and comforting. Take your 1 pound of Velveeta cheese. You’ll want to cut it into roughly 1-inch cubes. This helps the cheese melt more quickly and evenly. You can place these cubes directly into a separate, oven-safe skillet or a small saucepan. We’re going to gently melt this cheese to create a luscious, gooey sauce that will bind our meat mixture together.
Place the skillet or saucepan over low to medium-low heat. You want to melt the Velveeta slowly and steadily. Stir it occasionally with a spatula or wooden spoon. It will start to soften and then transform into a smooth, molten golden goodness. Be patient; don’t rush this process by turning up the heat too high, as this can cause the cheese to scorch or become oily. Once the Velveeta is completely melted and has a smooth, creamy consistency, you’re ready to combine it with your seasoned meat. This creamy, decadent cheese is what gives these sliders their signature mouthfeel and addictive quality. It’s truly a game-changer for any slider recipe.
Forming and Cooking the Sliders
With your meat mixture seasoned and your Velveeta melted, it’s time to bring them together. Carefully pour the melted Velveeta cheese directly over your seasoned ground beef and sausage mixture in the large bowl. Now, using your hands again, gently fold the cheese into the meat. You’re not trying to fully incorporate it like you did the seasonings; instead, you want to create streaks and pockets of cheese throughout the meat. This will ensure that each bite has that delightful cheesy pull and creamy texture. Again, avoid overmixing. Just enough to distribute the cheese so it’s well-blended but still distinct.
Now, let’s get these beauties ready for the heat. Take your 24 slider buns. You can either slice them in half horizontally now or wait until after the patties are cooked. For ease of cooking, I prefer to form the patties first. Take about 2 tablespoons of the meat and cheese mixture and gently form it into a small patty, about the size of your slider bun. You should be able to get about 24 patties from the mixture. Try to make them a uniform size so they cook evenly. You can press them down slightly to ensure they’re not too thick.
Baking to Golden Perfection
Preheat your oven to 375 degrees Fahrenheit (190 degrees Celsius). While the oven is preheating, arrange your formed slider patties on a baking sheet lined with parchment paper. This is a crucial step for easy cleanup! Make sure the patties aren’t touching each other too much on the baking sheet. They need a little breathing room to cook properly and develop a nice exterior. Once your oven is at temperature, carefully place the baking sheet with the patties into the center rack.
Bake for approximately 15-20 minutes. The cooking time will vary slightly depending on the thickness of your patties and your oven. You’ll know they’re done when the meat is fully cooked through, no longer pink in the center, and the cheese has melted and started to bubble around the edges of the patties. The edges of the patties should also start to look nicely browned. If you prefer a crispier edge, you can bake them for a few minutes longer, but keep a close eye on them to prevent burning. The aroma filling your kitchen at this point will be absolutely irresistible!
Assembling Your White Trash Sliders
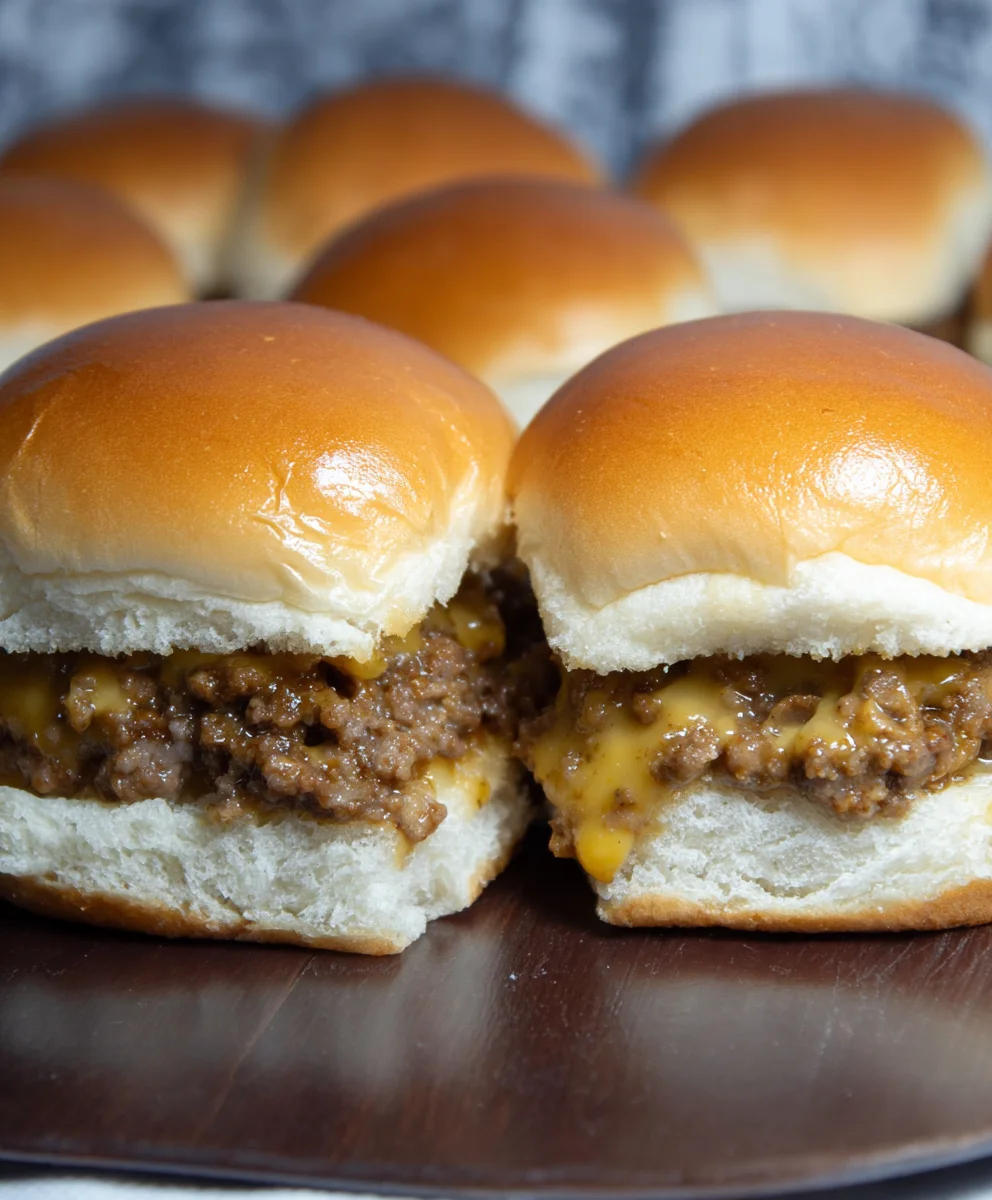
This is the final, most rewarding step! Once your patties are out of the oven, let them rest for just a minute or two on the baking sheet. This allows the juices to redistribute, ensuring a moist slider. While they’re resting, if you haven’t already, slice your 24 slider buns in half horizontally. You can do this with a serrated knife for a clean cut. Lay out the bottom halves of the buns on a clean surface or directly on your serving platter. Carefully place one cooked meat and cheese patty onto each bottom bun. Make sure each slider gets a good amount of that cheesy goodness that oozed out during baking. The melted cheese should have formed a delightful bond between the meat and the bun. Don’t worry if some of the cheese has melted onto the parchment paper; that’s a sign of a well-loved slider!
Now, place the top halves of the slider buns over the patties. Gently press down on the top buns to help everything meld together. Some people like to add a little extra something at this stage – perhaps a dollop of mayonnaise, a slice of pickle, or a sprinkle of ketchup. While traditional, these White Trash Sliders are fantastic just as they are, showcasing the perfect harmony of seasoned meat and creamy Velveeta. Serve them immediately while they are warm and the cheese is at its most gooey. They are perfect for game day, parties, or just a satisfying weeknight meal that brings a smile to everyone’s face.
Conclusion:
There you have it – the ultimate guide to creating delicious White Trash Sliders! We’ve walked through each step, ensuring you can achieve that perfect balance of savory, sweet, and a touch of tangy goodness that makes these sliders so incredibly satisfying. Whether you’re hosting a backyard barbecue, a game day party, or just craving a comforting and easy meal, these White Trash Sliders are sure to be a hit. Don’t be afraid to get creative with your toppings; a sprinkle of fresh parsley or a drizzle of extra sauce can elevate them even further. Remember, the joy of cooking is in the experimentation and the smiles they bring to your loved ones. So, gather your ingredients, put on your favorite tunes, and enjoy the process of making these delightful little bites. I encourage you to share your own successful slider creations with friends and family!
Frequently Asked Questions:
Can I make the filling for White Trash Sliders ahead of time?
Absolutely! The filling for White Trash Sliders can be prepared a day in advance and stored in an airtight container in the refrigerator. This makes assembly even quicker on the day you plan to serve them.
What are some other great topping ideas for White Trash Sliders?
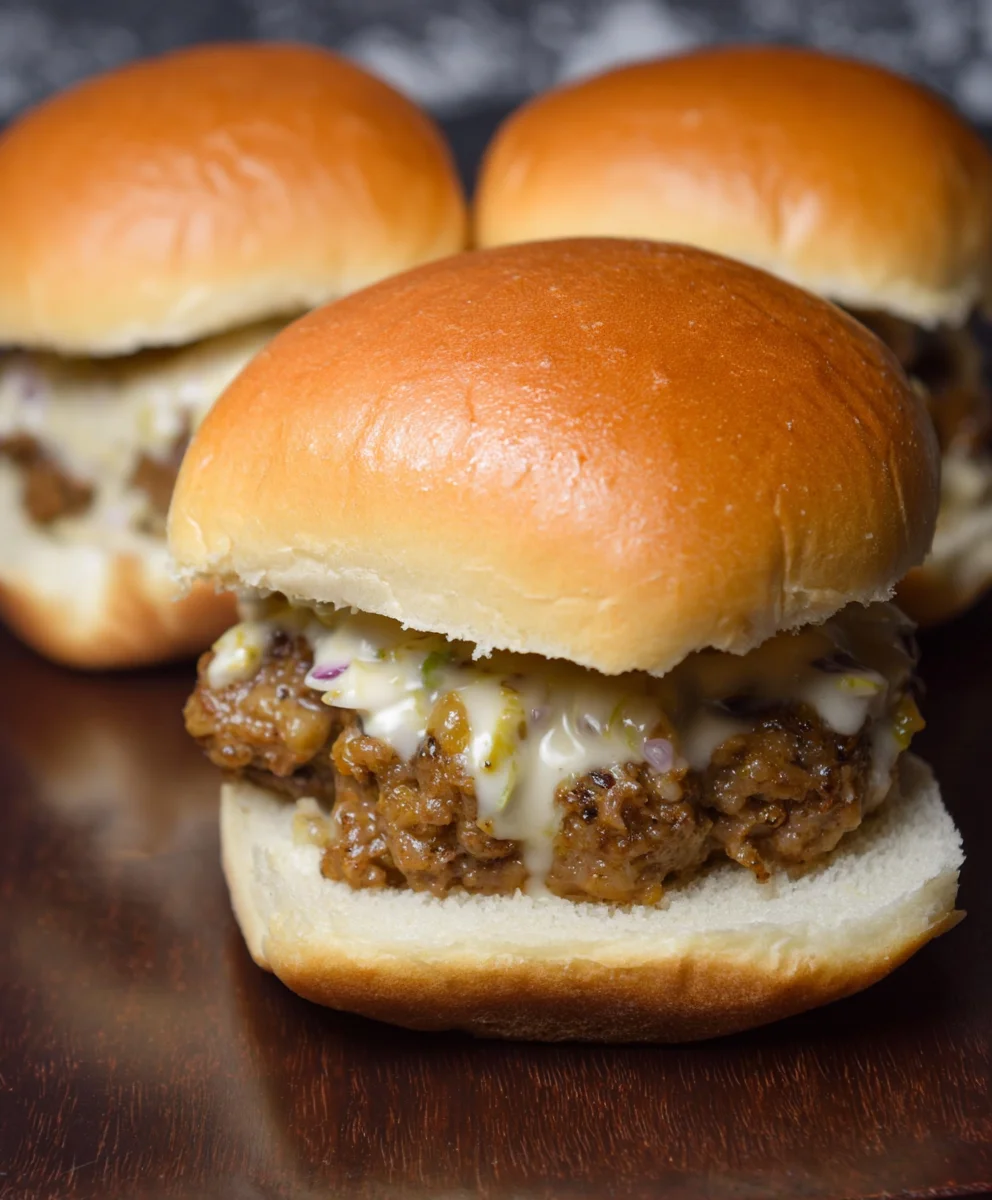
Beyond the classic ingredients, consider adding a layer of caramelized onions for extra sweetness, a few jalapeño slices for a hint of spice, or even a crum extractble of crispy beef bacon for added texture and flavor. A dollop of sour cream or a sprinkle of shredded cheddar cheese are also fantastic additions!
Are White Trash Sliders spicy?
The base recipe for White Trash Sliders is not inherently spicy. The heat level can be easily adjusted by the amount of hot sauce or pepper you choose to incorporate into the filling. You can also add jalapeños or other chili peppers as a topping for those who prefer a spicier kick.
White Trash Beef Sliders – Easy & Delicious Recipe
Easy and delicious beef sliders featuring a savory meat mixture bound with creamy melted Velveeta cheese. Perfect for parties or a satisfying meal.
Ingredients
-
1 lb ground beef
-
1 lb beef sausage
-
1 lb (16 oz) Velveeta cheese, cut into 1-inch cubes
-
1 tsp Worcestershire sauce
-
1 tsp black pepper
-
½ tsp onion powder
-
24 slider buns
Instructions
-
Step 1
In a large bowl, combine the ground beef and beef sausage. Sprinkle with black pepper and onion powder. Add Worcestershire sauce and gently mix with your hands until just combined, avoiding overworking the meat. -
Step 2
In a separate skillet or saucepan over low to medium-low heat, gently melt the Velveeta cheese cubes, stirring occasionally until smooth and creamy. Do not rush this process. -
Step 3
Pour the melted Velveeta cheese over the seasoned meat mixture. Gently fold the cheese into the meat, creating streaks and pockets rather than fully incorporating it. Avoid overmixing. -
Step 4
Form the meat and cheese mixture into approximately 24 small patties, about the size of your slider buns. Press them down slightly to ensure even cooking. -
Step 5
Preheat oven to 375°F (190°C). Arrange the patties on a parchment-lined baking sheet and bake for 15-20 minutes, or until the meat is fully cooked and the cheese is melted and bubbly. The edges should be nicely browned. -
Step 6
Let the patties rest for a minute. Slice the slider buns in half horizontally. Place one cooked patty onto each bottom bun. Top with the bun halves and gently press down.
Important Information
Nutrition Facts (Per Serving)
It is important to consider this information as approximate and not to use it as definitive health advice.
Allergy Information
Please check ingredients for potential allergens and consult a health professional if in doubt.


Leave a Comment