
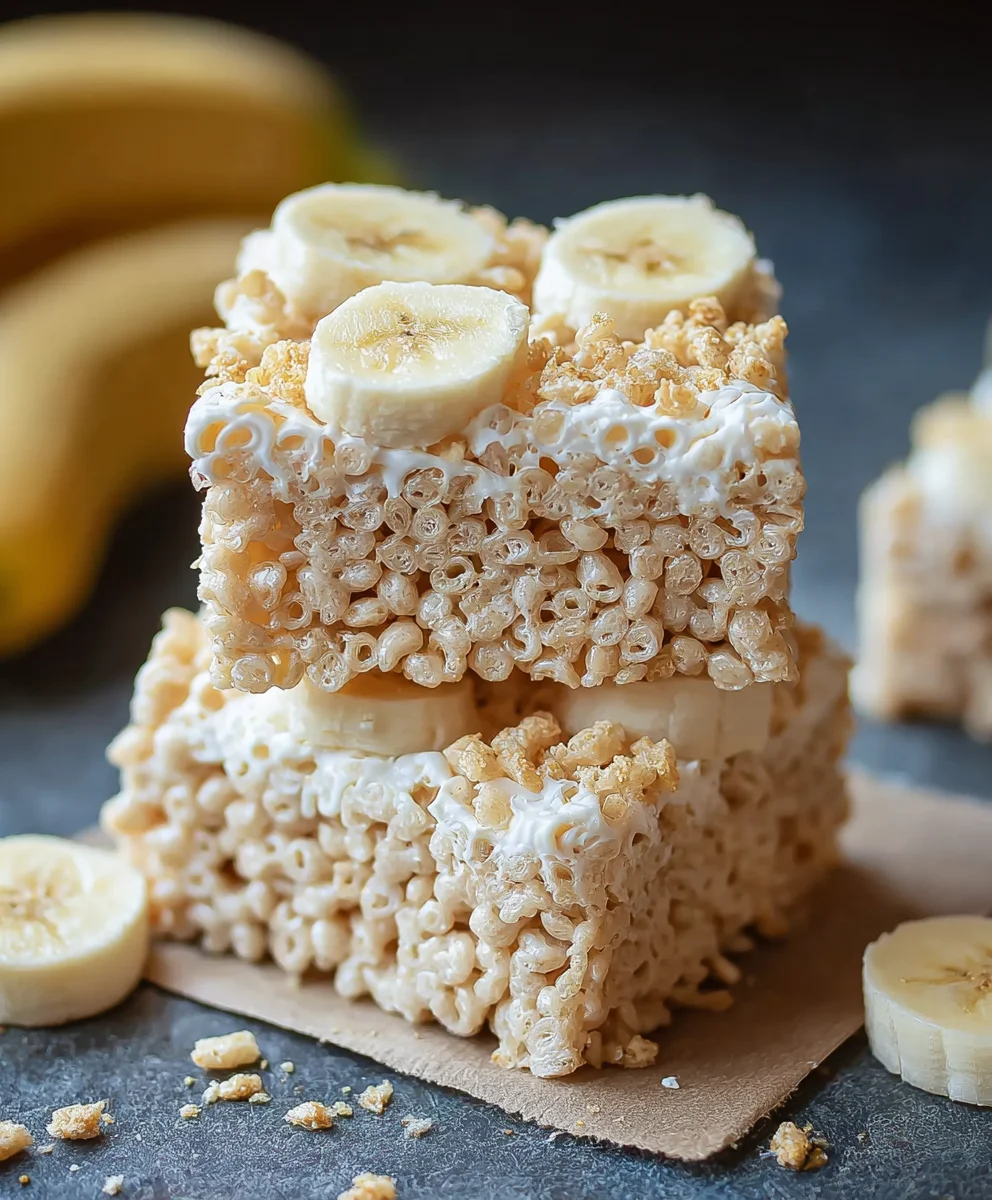
Banana Pudding Rice Krispie Treats are more than just a nostalgic snack; they’re a delightful fusion of two beloved comfort foods that will transport you straight back to childhood, but with a sophisticated twist. Imagin extracte the creamy, dreamy sweetness of classic banana pudding, now infused into the chewy, crispy texture of your favorite Rice Krispie treats. This isn’t your average cereal bar; it’s an explosion of flavor and texture that’s surprisingly easy to whip up. People adore this treat because it perfectly captures the essence of that comforting banana pudding, offering a wonderfully familiar taste that’s universally loved. What truly sets these Banana Pudding Rice Krispie Treats apart is the ingenious combination of ingredients, transforming a simple dessert into an extraordinary experience. Get ready to rediscover the joy of a classic with a delicious new spin that will have everyone asking for the recipe!
Ingredients:
- 3 tablespoons unsalted butter, melted
- 1 (10 ounce) bag mini marshmallows
- 1 (3.4 ounce) box instant banana pudding mix
- 6 cups Rice Krispies cereal
- 1/2 cup crushed Nilla Wafers, plus extra for garnish
Getting Started: The Base
Step 1: Prepare Your Pan and Melt the Butter
The first thing you’ll want to do is get your baking pan ready. A 9×13 inch pan is ideal for this recipe. To prevent your delicious Banana Pudding Rice Krispie Treats from sticking, lightly grease the pan with cooking spray or butter. Alternatively, you can line the pan with parchment paper, leaving some overhang on the sides to make lifting the treats out easier later. Once your pan is prepped, take your 3 tablespoons of unsalted butter and melt it. You can do this in a microwave-safe bowl in short bursts, stirring between each burst, or in a small saucepan over low heat on the stovetop. Be careful not to scorch the butter; you just want it fully melted and smooth.
Step 2: Melt the Marshmallows
Now, grab a large pot or Dutch oven. Pour your melted butter into the pot. Add the entire 10-ounce bag of mini marshmallows to the pot with the melted butter. Place the pot over low heat on your stovetop. Stir the marshmallows constantly with a rubber spatula or wooden spoon. The key here is to melt them slowly and evenly. You don’t want any scorching or browning on the marshmallows, as this can affect the final flavor and texture of your treats. Continue stirring until the marshmallows are completely melted and form a smooth, gooey mixture. This usually takes about 5-7 minutes. Gently remove the pot from the heat once fully melted.
Infusing the Banana Flavor
Step 3: Incorporate the Banana Pudding Mix
This is where the magic happens and we infuse our Rice Krispie Treats with that irresistible banana flavor! With the melted marshmallow mixture still warm and in the pot (but off the heat), add the entire 3.4-ounce box of instant banana pudding mix. Immediately begin extract to stir this into the melted marshmallows. It might seem a little clumpy at first, but keep stirring consistently. The pudding mix will gradually dissolve into the marshmallow goo, creating a beautiful, creamy, and distinctly banana-scented mixture. Make sure to stir thoroughly to distribute the pudding powder evenly. This step is crucial for getting that authentic banana pudding taste throughout your treats.
gin extract>Bringing It All Together
Step 4: Add the Rice Krispies and Crushed Wafers
Once the banana pudding mix is fully incorporated and you have a smooth, pnon-alcoholic ale yellow, banana-flavored marshmallow mixture, it’s time to add the dry ingredients. Carefully pour the 6 cups of Rice Krispies cereal into the pot with the marshmallow mixture. Add your 1/2 cup of crushed Nilla Wafers to the pot as well. Using your rubber spatula or wooden spoon, gently fold the cereal and crushed wafers into the marshmallow mixture. It’s important to work relatively quickly here, as the marshmallow mixture will start to set as it cools. Continue folding until all the cereal and crushed wafers are evenly coated with the banana marshmallow mixture. Don’t overmix, as this can crush the cereal too much and result in denser treats.
Step 5: Press into the Pan and Garnish
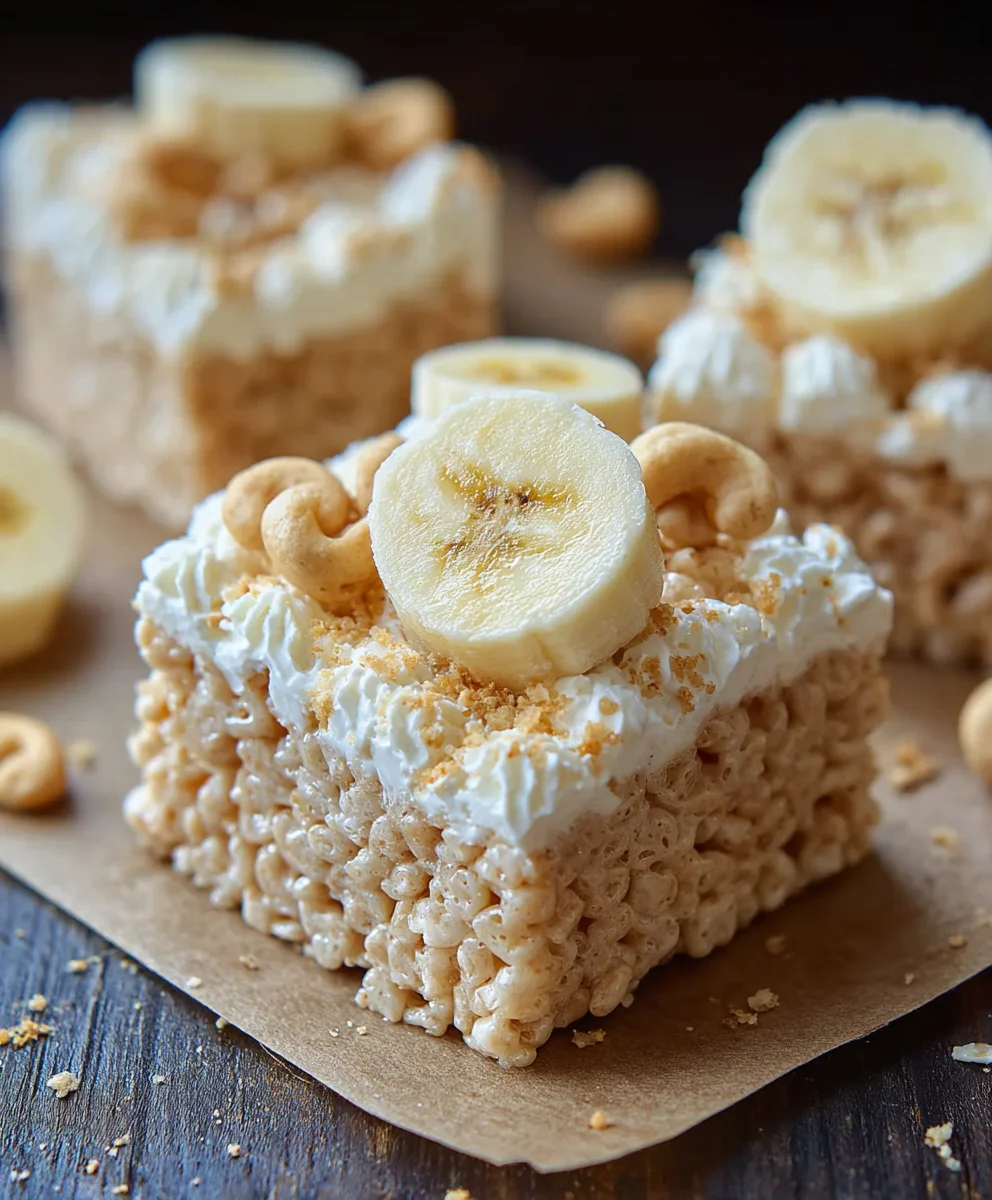
Now it’s time to get your treats into their final form. Carefully scoop the mixture from the pot into your prepared 9×13 inch baking pan. Before the mixture cools too much, you’ll need to press it evenly into the pan. You can lightly grease your hands with butter or cooking spray, or use the back of a greased spatula or a piece of parchment paper to gently press the mixture down. Press firmly but gently to create a compact, even layer. This step is important for ensuring your treats hold their shape and have a good texture. For an extra touch of flavor and visual appeal, sprinkle a little extra crushed Nilla Wafers over the top of the treats while they are still warm and slightly sticky. This will help them adhere to the surface.
Step 6: Cool and Cut
Let the Banana Pudding Rice Krispie Treats cool completely in the pan. This usually takes about 1 to 2 hours at room temperature. Resist the urge to cut into them too early, as they will be too soft and may fall apart. Once fully cooled, you can use the parchment paper overhang (if you used it) to lift the entire block of treats out of the pan. Place it on a cutting board. Using a sharp knife, cut the treats into your desired squares or rectangles. For cleaner cuts, you can lightly grease your knife blade. You can then arrange your beautiful, homemade Banana Pudding Rice Krispie Treats on a platter and enjoy them!
Conclusion:
You’ve done it! You’ve successfully created delicious Banana Pudding Rice Krispie Treats! This recipe offers a delightful twist on a classic, infusing the comforting flavors of banana pudding into the beloved crispy cereal squares. The result is a chewy, gooey, and wonderfully sweet treat that’s perfect for any occasion. Whether you’re packing them for a picnic, serving them at a party, or simply enjoying a homemade snack, these treats are sure to be a hit.
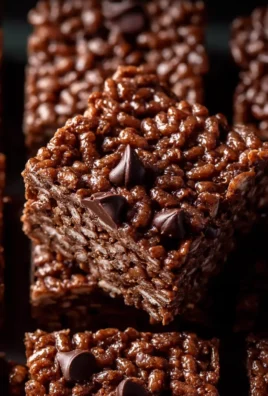
For serving, consider cutting them into fun shapes using cookie cutters once they’ve cooled slightly. They are fantastic on their own, but a drizzle of extra caramel sauce or a dusting of powdered sugar can elevate them further. Experiment with adding miniature chocolate chips or a sprinkle of cinnamon for extra flavor dimensions. Don’t be afraid to get creative and make these Banana Pudding Rice Krispie Treats your own!
Frequently Asked Questions:
How can I make the banana flavor stronger in my Banana Pudding Rice Krispie Treats?
To intensify the banana flavor, you can use a touch of banana extract in addition to the banana pudding mix. Start with about 1/2 teaspoon and adjust to your preference. You could also consider finely mashing a very ripe banana and incorporating it into the marshmallow mixture, but be mindful that this can affect the texture, making them softer.
Can I freeze Banana Pudding Rice Krispie Treats?
Yes, you can! For best results, let the treats cool completely and set. Cut them into individual servings and wrap each one tightly in plastic wrap, then place them in an airtight container or a freezer-safe bag. They should stay fresh in the freezer for up to 2-3 weeks. Thaw them at room temperature before enjoying.
Banana Pudding Rice Krispie Treats
An easy and delicious no-bake dessert that combines the classic flavors of banana pudding with the fun texture of Rice Krispie treats.
Ingredients
-
3 tablespoons unsalted butter, melted
-
1 (10 ounce) bag mini marshmallows
-
1 (3.4 ounce) box instant banana pudding mix
-
6 cups Rice Krispies cereal
-
1/2 cup crushed Nilla Wafers, plus extra for garnish
Instructions
-
Step 1
Prepare a 9×13 inch baking pan by greasing it with cooking spray or butter, or lining it with parchment paper. Melt 3 tablespoons of unsalted butter. -
Step 2
In a large pot over low heat, combine the melted butter and 1 (10 ounce) bag of mini marshmallows. Stir constantly until marshmallows are completely melted and smooth, about 5-7 minutes. Remove from heat. -
Step 3
Stir in 1 (3.4 ounce) box of instant banana pudding mix into the melted marshmallow mixture until fully incorporated and smooth. -
Step 4
Add 6 cups of Rice Krispies cereal and 1/2 cup of crushed Nilla Wafers to the pot. Gently fold until evenly coated. -
Step 5
Transfer the mixture to the prepared baking pan. Press evenly into the pan using greased hands or a greased spatula. Sprinkle with extra crushed Nilla Wafers for garnish. -
Step 6
Let the treats cool completely in the pan for 1-2 hours. Cut into squares or rectangles and serve.
Important Information
Nutrition Facts (Per Serving)
It is important to consider this information as approximate and not to use it as definitive health advice.
Allergy Information
Please check ingredients for potential allergens and consult a health professional if in doubt.


Leave a Comment