
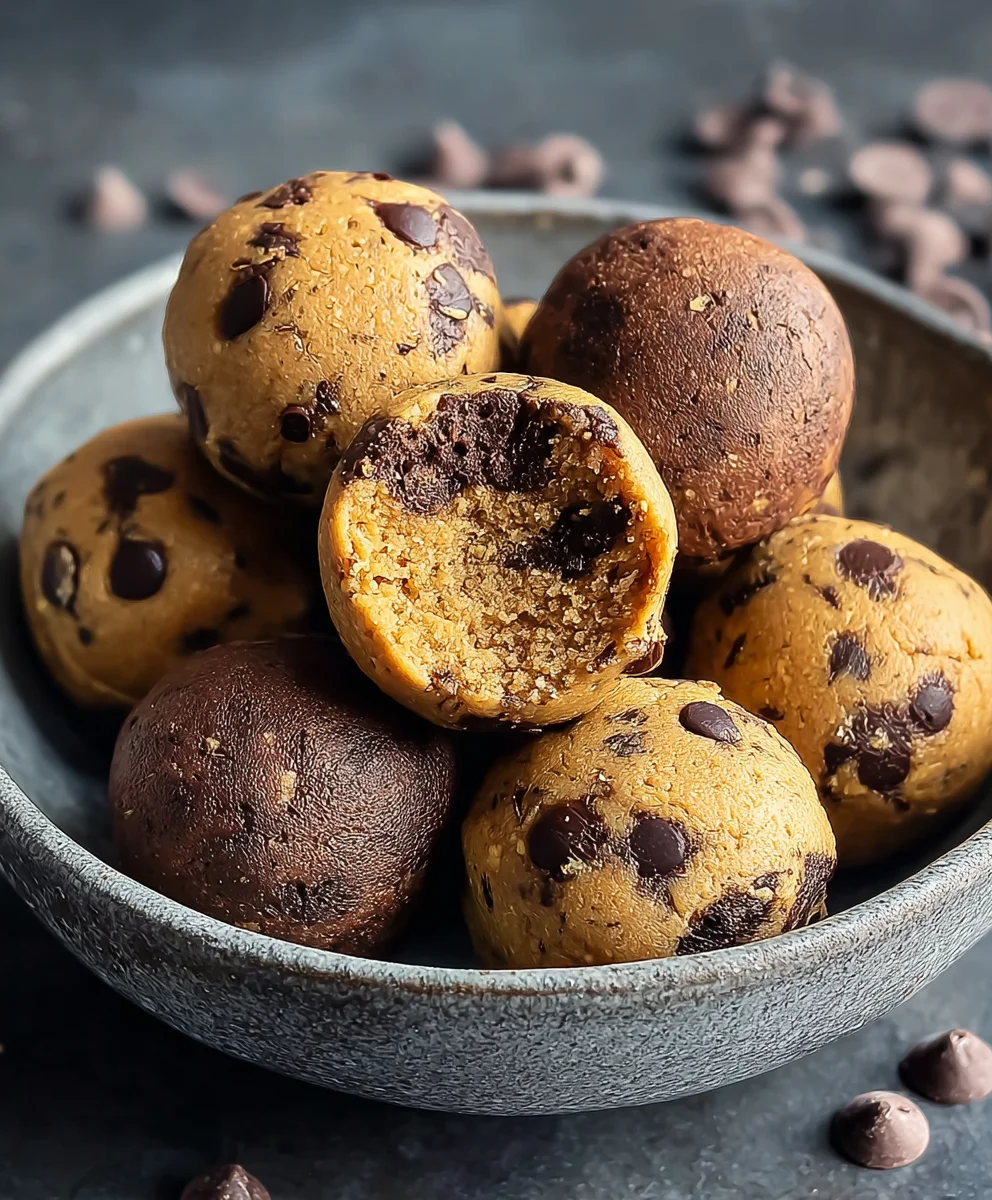
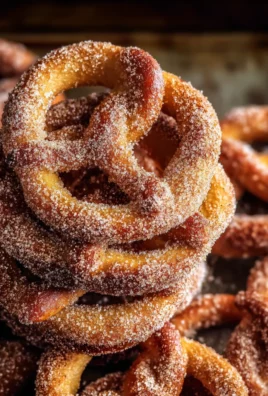
Brookie Protein Balls are the ultimate guilt-free indulgence, a delightful fusion of two classic comfort treats: chewy brownies and soft, delicious cookies. If you’ve ever found yourself torn between satisfying a chocolate craving and needing a healthy energy boost, your search ends here. These aren’t just any protein balls; they’re a miniature powerhouse of flavor and nutrition, designed to fuel your day without the sugar crash. What makes them truly special is their uncanny ability to replicate the irresistible textures and tastes of their larger, more decadent counterparts, all within a bite-sized, portable package. We’ve perfected a recipe that delivers that satisfying chew, the rich cocoa notes, and that hint of cookie dough goodness, all while packing in beneficial protein to keep you feeling full and energized. Get ready to discover your new favorite healthy snack that tastes like a forbidden pleasure.
Ingredients:
- 1 cup drippy cashew butter
- 1/2 cup vanilla pea protein
- 1/4 cup maple syrup
- 2 tablespoons milk of choice (almond, oat, or soy work wonderfully)
- 1 teaspoon vanilla extract
- 1/4 cup chocolate chips (dairy-free if preferred)
- 3 tablespoons cacao powder
Making Your Brookie Protein Balls
These Brookie Protein Balls are a fantastic no-bake treat that combines the rich, fudgy flavor of brownies with the delightful texture and sweetness of cookies, all while packing a protein punch. They are incredibly simple to make and are perfect for a quick breakfast, a pre- or post-workout snack, or even a healthier dessert option. Let’s get started!
Phase 1: The Base Mixture
This is where all the magic begin extracts. We’re going to combine the wet and dry ingredients to create a wonderfully cohesive dough that’s easy to work with.
- In a medium-sized mixing bowl, add the 1 cup of drippy cashew butter. Ensure your cashew butter is quite fluid; if it’s a bit stiff, you can gently warm it for a few seconds in the microwave or stir vigorously to loosen it up. This creaminess is crucial for a smooth texture.
- Next, pour in the 1/4 cup of maple syrup. The maple syrup not only adds sweetness but also helps bind the ingredients together.
- Add the 1 teaspoon of vanilla extract. This is a flavor enhancer that will really bring out the best in our brookies.
- Now, it’s time for the dry ingredients. Sift in the 1/2 cup of vanilla pea protein. Sifting is a good practice here to prevent any clumps and ensure the protein powder integrates smoothly into the mixture.
- Finally, add the 3 tablespoons of cacao powder. Like the protein powder, sifting the cacao powder will help achieve a more uniform color and flavor throughout your protein balls.
Phase 2: Combining and Incorporating
Once all the base ingredients are in the bowl, it’s time to bring them together.
- Using a sturdy spoon or a spagin extracta, begin to mix all the ingredients together. At first, it might seem like they won’t come together, but keep stirring and folding. The cashew butter and maple syrup will start to coat the dry ingredients, forming a thick, dough-like consistency. Continue mixing until there are no dry pockets of protein powder or cacao powder visible. You want a smooth, homogenous mixture that holds its shape when pressed. Don’t be afraid to use your hands for the final stage of mixing if it becomes too stiff for the spoon; kneading it gently will help it come together perfectly.
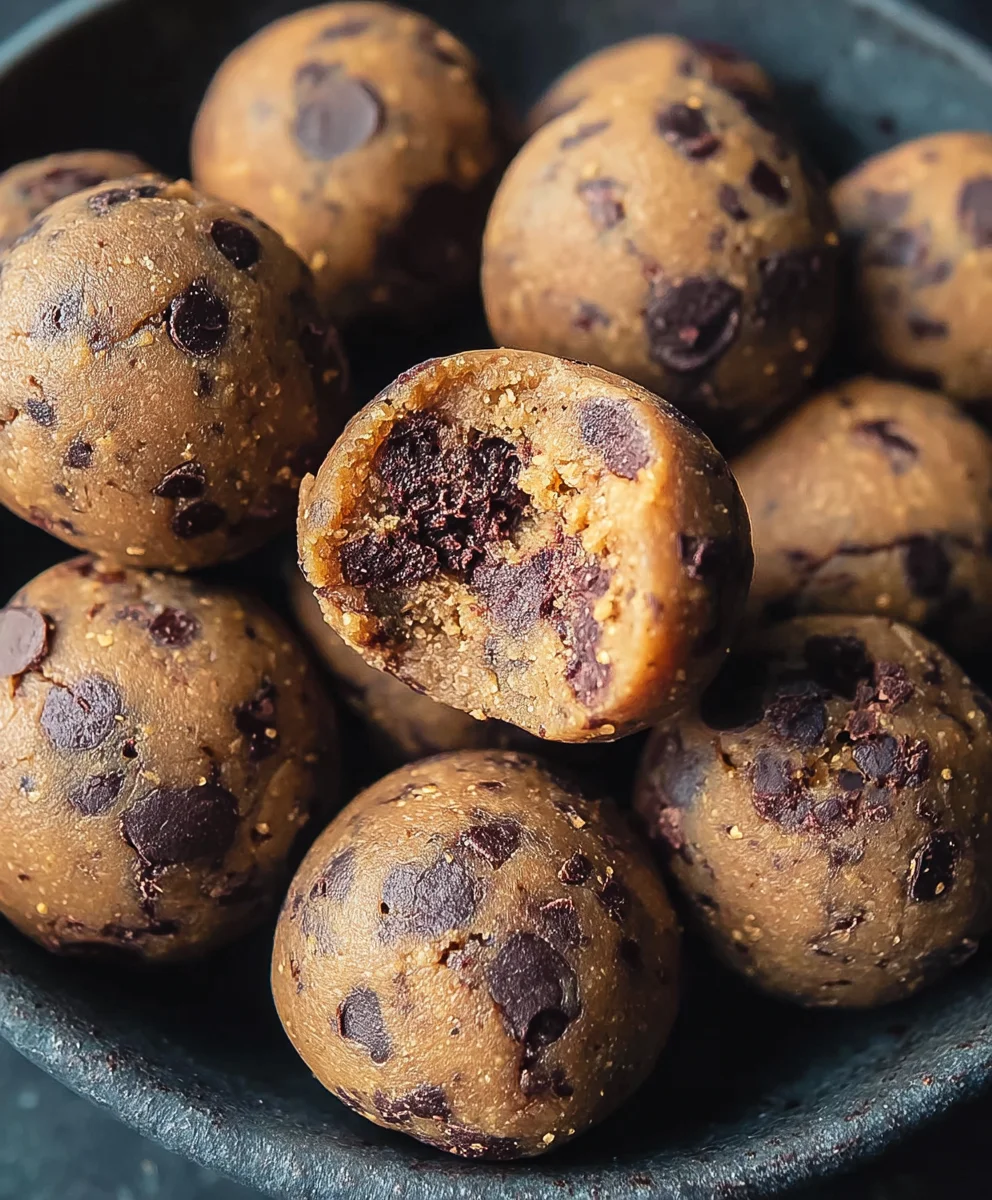
- Once the base mixture is well combined and has a consistent texture, gently fold in the 1/4 cup of chocolate chips. If you’re using larger chocolate chips, you might want to give them a quick chop before adding them. The goal is to distribute them evenly throughout the dough without overmixing. The chocolate chips will provide delightful little bursts of chocolatey goodness in every bite, mimicking the classic brookie experience.
Phase 3: Shaping and Chilling
Now that we have our delicious brookies dough, it’s time to shape it and let it firm up.
- Take about 1 tablespoon of the mixture at a time and roll it between your palms to form small balls. The size is really up to your preference, but aiming for about 1-inch diameter is a good starting point. If the dough feels too sticky to handle, you can lightly dampen your hands with water or a tiny bit of neutral oil, or even chill the dough for about 10-15 minutes in the refrigerator before rolling. This will make it much easier to shape. As you roll them, try to make them as uniform in size as possible for even cooking (though these are no-bake, so it’s more about even consistency).
- Place the rolled protein balls onto a plate or a baking sheet lined with parchment paper. It’s important to leave a little space between each ball so they don’t stick to each other as they firm up.
- Once all the dough has been rolled into balls, place the plate or baking sheet into the refrigerator for at least 30 minutes. This chilling period is essential for the balls to firm up properly. It allows the ingredients to meld together and creates a pleasant, slightly chewy texture. Without this step, they might be too soft and crum extractbly.
Phase 4: Enjoying Your Creations
After chilling, your Brookie Protein Balls are ready to be devoured!
- Remove the Brookie Protein Balls from the refrigerator. They should now be firm to the touch and hold their shape beautifully. You can enjoy them immediately! These are best stored in an airtight container in the refrigerator for up to a week. They also freeze wonderfully, making them an excellent make-ahead snack. Simply store them in a freezer-safe bag or container for up to a month. When you’re ready to enjoy a frozen ball, let it thaw at room temperature for a few minutes or enjoy it straight from the freezer for a more solid, icy treat.
Conclusion:
And there you have it – your very own batch of delicious and guilt-free Brookie Protein Balls! We hope you enjoyed making and tasting these delightful treats that perfectly blend the rich flavors of brownies with the satisfying chegrape juicess of cookies, all while packing a protein punch. These are so versatile, making them the perfect on-the-go snack, post-workout refuel, or even a healthier dessert option. Feel free to get creative and experiment with different add-ins to make them truly your own!
For serving, these Brookie Protein Balls are best enjoyed chilled, but they’re equally tasty at room temperature. They pair wonderfully with a glass of milk, a cup of coffee, or even a protein shake for an extra boost. If you’re feeling adventurous, try rolling them in finely chopped nuts, shredded coconut, or a dusting of cocoa powder for added texture and flavor. Don’t be afraid to adapt the recipe to your liking; swap out the chocolate chips for white chocolate, add a pinch of cinnamon, or even a swirl of peanut butter for a new dimension of taste.
We’re confident that once you try this recipe for Brookie Protein Balls, it will become a staple in your kitchen. So go ahead, whip up a batch, and enjoy the delightful harmony of flavors and textures! Happy snacking!
Frequently Asked Questions:
Q1: How long do these Brookie Protein Balls last?
These Brookie Protein Balls can be stored in an airtight container in the refrigerator for up to one week. They may also be frozen for up to two months, making them an excellent option for meal prepping.
Q2: Can I make these Brookie Protein Balls vegan?
Yes, you absolutely can! To make these Brookie Protein Balls vegan, simply substitute the honey or maple syrup with a vegan sweetener like agave nectar, and ensure your chocolate chips are dairy-free. You can also use a plant-based protein powder if that’s your preference.
Brookie Protein Balls – Healthy Treat Recipe
A no-bake, protein-packed treat combining brownie and cookie flavors with a satisfying chew. Perfect for a quick breakfast, snack, or healthier dessert.
Ingredients
-
1 cup drippy cashew butter
-
1/2 cup vanilla pea protein
-
1/4 cup maple syrup
-
2 tablespoons milk of choice (almond, oat, or soy)
-
1 teaspoon vanilla extract
-
1/4 cup chocolate chips (dairy-free if preferred)
-
3 tablespoons cacao powder
Instructions
-
Step 1
In a medium bowl, combine drippy cashew butter, maple syrup, and vanilla extract. Stir until well combined. -
Step 2
Sift in the vanilla pea protein and cacao powder. Mix thoroughly until a thick, dough-like consistency forms. Knead with hands if necessary. -
Step 3
Gently fold in the chocolate chips, distributing them evenly throughout the dough. -
Step 4
Roll approximately 1 tablespoon of the mixture at a time into small balls (about 1-inch diameter). Lightly dampen hands if the dough is sticky. -
Step 5
Place the rolled balls on a parchment-lined plate or baking sheet, leaving space between them. -
Step 6
Refrigerate for at least 30 minutes until firm. Enjoy immediately or store in an airtight container in the refrigerator for up to a week.
Important Information
Nutrition Facts (Per Serving)
It is important to consider this information as approximate and not to use it as definitive health advice.
Allergy Information
Please check ingredients for potential allergens and consult a health professional if in doubt.
Leave a Comment