
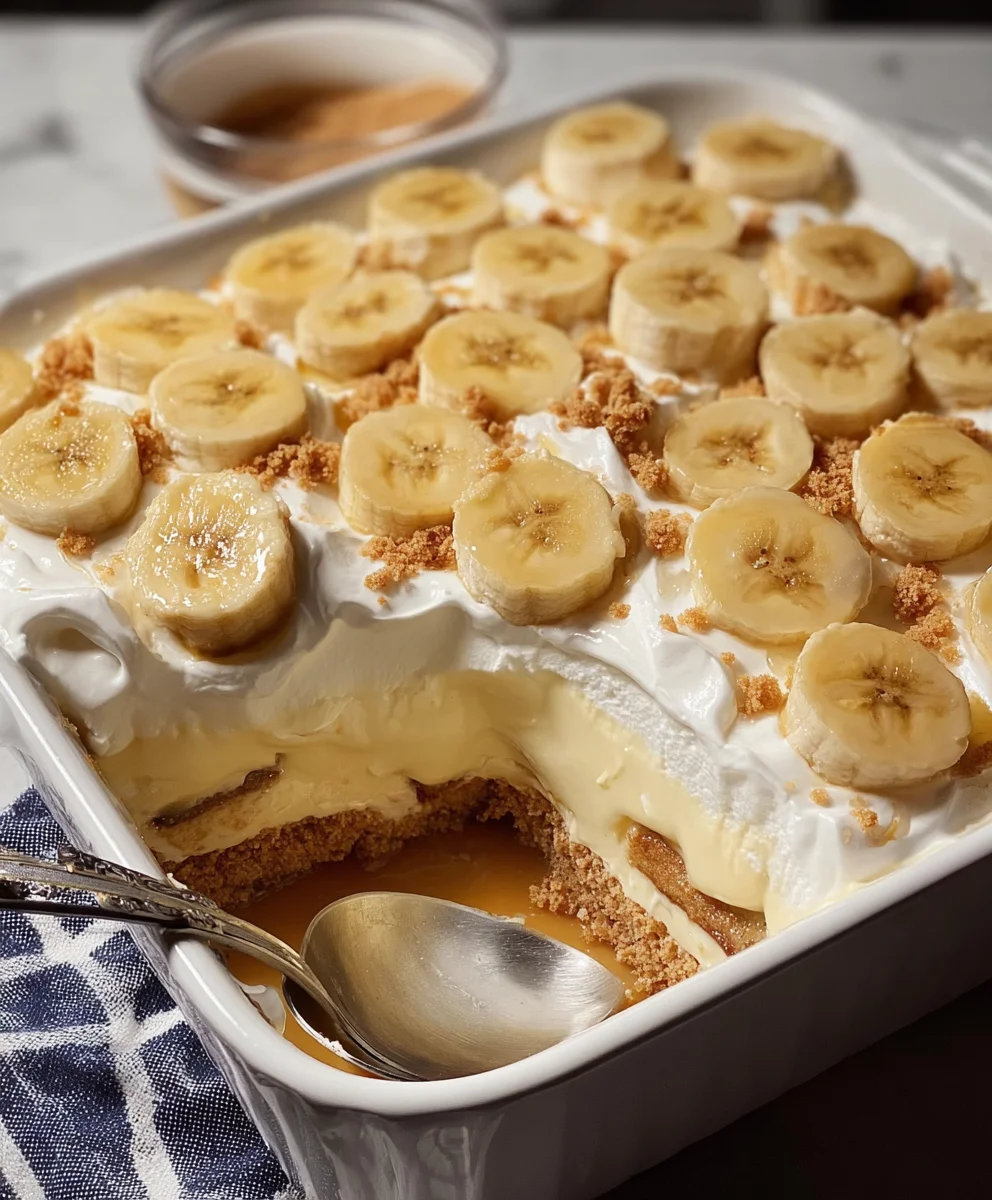
Banana pudding is a dessert that sparks instant nostalgia and pure comfort. It’s that classic, creamy, dreamy concoction that transports you back to childhood kitchens, warm summer evenings, and gatherings with loved ones. What is it about this seemingly simple dessert that captures hearts so universally? Perhaps it’s the perfect harmony of textures: the velvety smooth custard, the tender slices of sweet banana, and the satisfying crunch of vanilla wafers. Each spoonful is a delightful journey, a symphony of sweetness that never fails to please. This particular recipe for banana pudding elevates the familiar with a few thoughtful touches that make it truly special, ensuring a dessert that is both wonderfully traditional and undeniably craveable. Get ready to discover your new favorite way to enjoy this beloved classic.
Ingredients:
- 1 (3.4 oz) box instant vanilla pudding mix
- 2 cups cold milk
- 1 (14 oz) can sweetened condensed milk
- 1 teaspoon vanilla extract
- 1 (8 oz) tub whipped topping, thawed
- 4-5 ripe bananas, sliced
- 1 (11 oz) box vanilla wafers
Preparing the Pudding Base
Step 1: Combine Instant Pudding Mix and Milk
In a large mixing bowl, combine the contents of the instant vanilla pudding mix with the cold milk. This is where the magic starts to happen. Using cold milk is crucial for the pudding to set properly and achieve the desired creamy texture. If the milk is too warm, the pudding might not thicken as effectively, leading to a runnier dessert. Whisk the mixture vigorously for about two minutes, or until the pudding begin extracts to thicken. Don’t be tempted to stop too early; you want to ensure all the powder is fully incorporated. You’ll notice it start to gain body and become noticeably thicker. This initial thickening is a good sign that you’re on the right track. Some people prefer to use an electric hand mixer for this step, which can make it even easier to achieve a smooth consistency without any lumps.
Step 2: Incorporate Sweetened Condensed Milk and Vanilla Extract
Now, it’s time to add the richness and depth of flavor. Pour the entire 14-ounce can of sweetened condensed milk into the bowl with the thickened pudding mixture. Sweetened condensed milk not only adds a delightful sweetness but also contributes to a wonderfully smooth and luxurious texture that instant pudding alone doesn’t quite achieve. Next, add the teaspoon of vanilla extract. While the pudding mix already contains vanilla flavor, this extra boost will amplify it, making the overall Banana Pudding taste even more intense and homemade. Whisk these ingredients together thoroughly until they are completely combined. Continue whisking until the mixture is uniformly smooth and glossy. The color should deepen slightly, and the aroma will become more pronounced. Ensure there are no streaks of sweetened condensed milk remaining; everything should be seamlessly blended.
Folding in the Whipped Topping
Step 3: Gently Fold in Thawed Whipped Topping
The next step is to lighten the pudding mixture and make it airy. Ensure your whipped topping is fully thawed beforgin extractou begin. Spoon the thawed whipped topping into the pudding mixture. The key here is to fold, not stir. Use a spatula and gently incorporate the whipped topping into gin extract pudding. Imagine you are lifting the pudding from the bottom of the bowl and folding it over the whipped topping. This technique preserves the airiness of the whipped topping, which will result in a lighter, fluffier Banana Pudding. Continue folding until no white streaks of whipped topping are visible, but be careful not to overmix. Overmixing can cause the whipped topping to deflate, making the pudding denser than desired. You want a beautiful, uniform, creamy consistency that is light and cloud-like.
Assembling the Banana Pudding Layers
Step 4: Layer Vanilla Wafers and Bananas
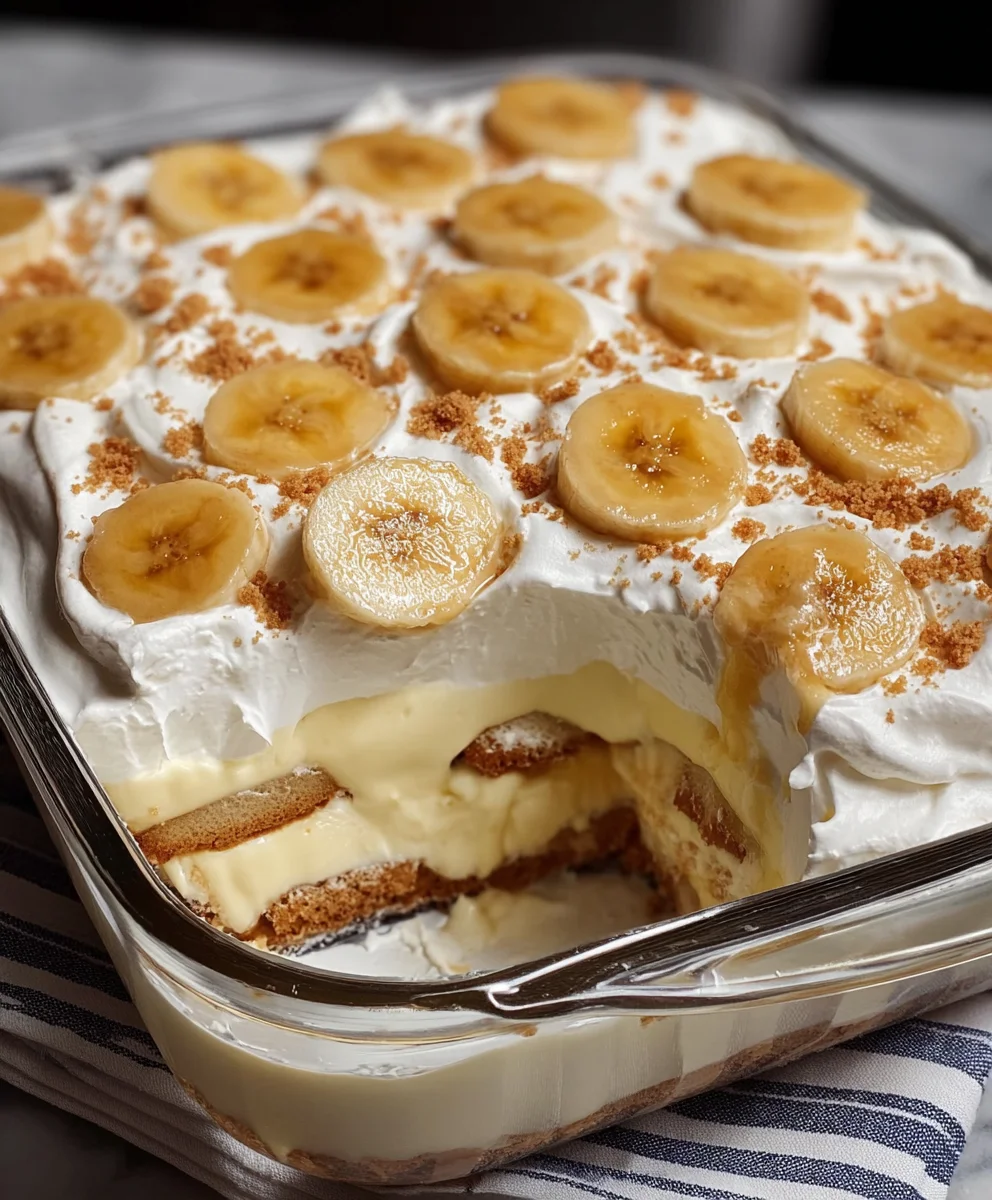
Now comes the fun part – assembling the layers of this classic dessert. Grab your serving dish. A clear glass trifle dish or individual ramekins work beautifully to showcase the layers. Start by placing a single layer of vanilla wafers at the bottom of your dish. Don’t worry about them being perfectly arranged; a rustic look is perfectly fine. Next, arrange a layer of your sliced ripe bananas over the vanilla wafers. Aim for an even distribution of banana slices across the wafer layer. The ripeness of the bananas is important here; slightly overripe bananas are sweeter and softer, which will blend beautifully into the pudding. Avoid bananas that are too green, as they can be firm and less flavorful. If you’re using a large trifle dish, you might want to break some of the wafers to fill in any gaps.
Step 5: Alternate Pudding and Wafer/Banana Layers
Now, it’s time to add the creamy pudding mixture. Spoon about one-third of the prepared pudding mixture over the banana layer, spreading it evenly to cover the bananas and wafers. Repeat the layering process: another layer of vanilla wafers, followed by a layer of sliced bananas. Then, spoon another third of the pudding mixture over this layer. For the final layer, place a remaining layer of vanilla wafers, followed by the last of the sliced bananas. Gently spoon the remaining pudding mixture over the top, ensuring it covers all the ingredients below. You can make the top layer of wafers and bananas as decorative as you like. Some people like to reserve a few wafers and banana slices for topping. The goal is to create a beautiful, well-defined strata of flavors and textures that will tantalize the eyes as much as the palate.
Chilling and Serving
Step 6: Chill the Banana Pudding
Once your Banana Pudding is fully assembled, it’s crucial to let it chill. Cover the serving dish tightly with plastic wrap or a lid. Place the dish in the refrigerator for at least 4 hours, but preferably overnight. This chilling time is essential for several reasons. Firstly, it allows the flavors to meld together, creating a more harmonious and delicious dessert. The sweet vanilla wafers will absorb some of the moisture from the pudding, softening them to a delightful cake-like texture. Secondly, it allows the pudding to fully set, ensuring that perfect, creamy consistency that makes Banana Pudding so irresistible. The bananas will also soften slightly and their sweetness will become more pronounced. Don’t rush this step; the longer it chills, the better the flavors will develop and the better the texture will be. If you are short on time, even 2-3 hours will make a difference, but the overnight chill is truly where the magic happens.
When you’re ready to serve, remove the plastic wrap. You can garnish the top with a few extra vanilla wafers, perhaps crushed, or a few extra banana slices for a visually appealing finish. Spoon generous portions into bowls or allow guests to serve themselves from the trifle dish. Each spoonful will offer a delightful combination of creamy pudding, soft bananas, and slightly softened vanilla wafers, a true testament to a simple yet perfectly executed classic dessert.
Conclusion:
There you have it! Your journey to creating the most delightful Banana Pudding is complete. We’ve walked through each step, from preparing the creamy custard to artfully layering it with sweet bananas and crunchy cookies. This classic dessert is a testament to simple ingredients coming together to create something truly magical. I encourage you to give this Banana Pudding recipe a try; it’s a crowd-pleaser that’s surprisingly easy to master and guaranteed to bring smiles to your table.
For serving, consider a generous scoop served slightly chilled. It’s fantastic on its own, but also pairs beautifully with a dollop of whipped cream or a sprinkle of crushed vanilla wafers for extra texture. When it comes to variations, feel free to experiment! You can add a hint of rum extract to the custard for a sophisticated twist, or swap out traditional vanilla wafers for shortbread cookies for a different flavor profile. Some even like to add a layer of toasted pecans for a nutty crunch. Don’t be afraid to make this Banana Pudding your own!
Frequently Asked Questions:
Can I make Banana Pudding ahead of time?
Absolutely! Banana Pudding is actually best when made a few hours ahead, or even the day before. This allows the flavors to meld together beautifully and the cookies to soften perfectly. Just be sure to store it covered in the refrigerator.
How do I prevent the bananas from browning?
While some browning is natural and acceptable in Banana Pudding, you can minimize it by slicing the bananas just before you’re ready to assemble the dessert. Gently tossing them with a little lemon juice can also help slow down the oxidation process, though it’s often not necessary for immediate consumption.
Easy Banana Pudding
A creamy and delicious classic banana pudding recipe made with simple ingredients and layers of vanilla wafers, fresh bananas, and a rich pudding base.
Ingredients
-
1 (3.4 oz) box instant vanilla pudding mix
-
2 cups cold milk
-
1 (14 oz) can sweetened condensed milk
-
1 teaspoon vanilla extract
-
1 (8 oz) tub whipped topping, thawed
-
4-5 ripe bananas, sliced
-
1 (11 oz) box vanilla wafers
Instructions
-
Step 1
In a large mixing bowl, combine the contents of the instant vanilla pudding mix with the cold milk. Whisk vigorously for about two minutes, or until the pudding begins to thicken. -
Step 2
Pour the sweetened condensed milk and add the vanilla extract to the thickened pudding mixture. Whisk thoroughly until completely combined and smooth. -
Step 3
Gently fold the thawed whipped topping into the pudding mixture using a spatula until no white streaks are visible. Be careful not to overmix. -
Step 4
Layer vanilla wafers at the bottom of your serving dish, followed by a layer of sliced ripe bananas. -
Step 5
Spoon about one-third of the pudding mixture over the banana layer. Repeat the layering process with wafers, bananas, and pudding twice more, ending with a layer of pudding. -
Step 6
Cover the serving dish tightly and chill in the refrigerator for at least 4 hours, or preferably overnight, to allow flavors to meld and pudding to set.
Important Information
Nutrition Facts (Per Serving)
It is important to consider this information as approximate and not to use it as definitive health advice.
Allergy Information
Please check ingredients for potential allergens and consult a health professional if in doubt.

Leave a Comment