
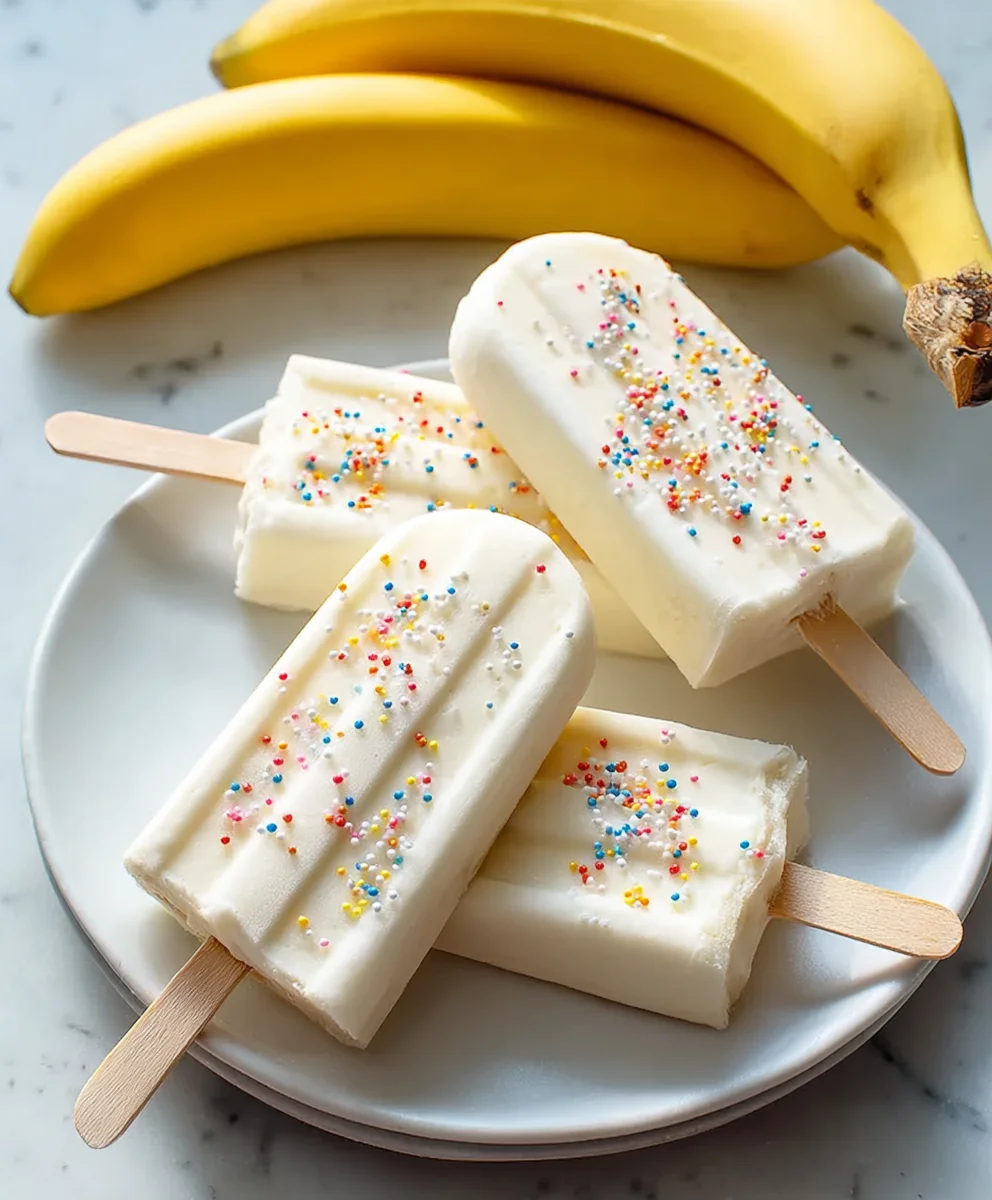
Frozen Banana Yogurt Pops are the ultimate guilt-free treat, a delightful symphony of creamy sweetness and refreshing chill that I find myself craving all year round. There’s a reason why this simple yet ingenious concoction has captured the hearts (and taste buds!) of so many: it’s impossibly easy to make, requires just a handful of ingredients, and delivers pure, unadulterated joy in every bite. What truly sets these Frozen Banana Yogurt Pops apart is their incredible versatility. You can customize them with your favorite fruits, a sprinkle of granola for crunch, or even a drizzle of chocolate for an extra touch of indulgence. They’re the perfect solution for a hot afternoon, a post-workout refresher, or even a healthy dessert that the whole family will adore. Forget the store-bought versions filled with artificial flavors and excessive sugar; this homemade version is a celebration of natural goodness, proving that the most delicious things are often the simplest.
Ingredients:
- 3 ripe bananas, peeled and cut in half crosswise
- 3/4 cup vanilla yogurt (or your favorite flavor like strawberry or Greek yogurt for extra creaminess)
- Colorful sprinkles, mini chocolate chips, shredded coconut, or any other toppings your heart desires
- 6 popsicle sticks
Preparation Phase: Setting the Stage for Deliciousness
The beauty of Frozen Banana Yogurt Pops lies in their simplicity, and getting started is a breeze. First, ensure your bananas are ripe. Ripe bananas are sweeter and have a creamier texture, which will translate beautifully into your pops. Peel the three bananas and then cut each one in half crosswise. You’re aiming for pieces that are substantial enough to hold a popsicle stick securely.
Next, let’s prepare your yogurt. While vanilla is a classic and versatile choice, feel free to experiment with other flavors. A rich Greek yogurt will result in a thicker, more indulgent pop, while a lighter fruit-flavored yogurt will add an extra layer of taste. Have your chosen toppings ready to go in small bowls. This way, when it’s time to decorate, everything will be within easy reach. This step is all about organization and setting yourself up for a smooth and enjoyable popsicle-making experience.
Assembly Phase: Crafting Your Frozen Banana Yogurt Pops
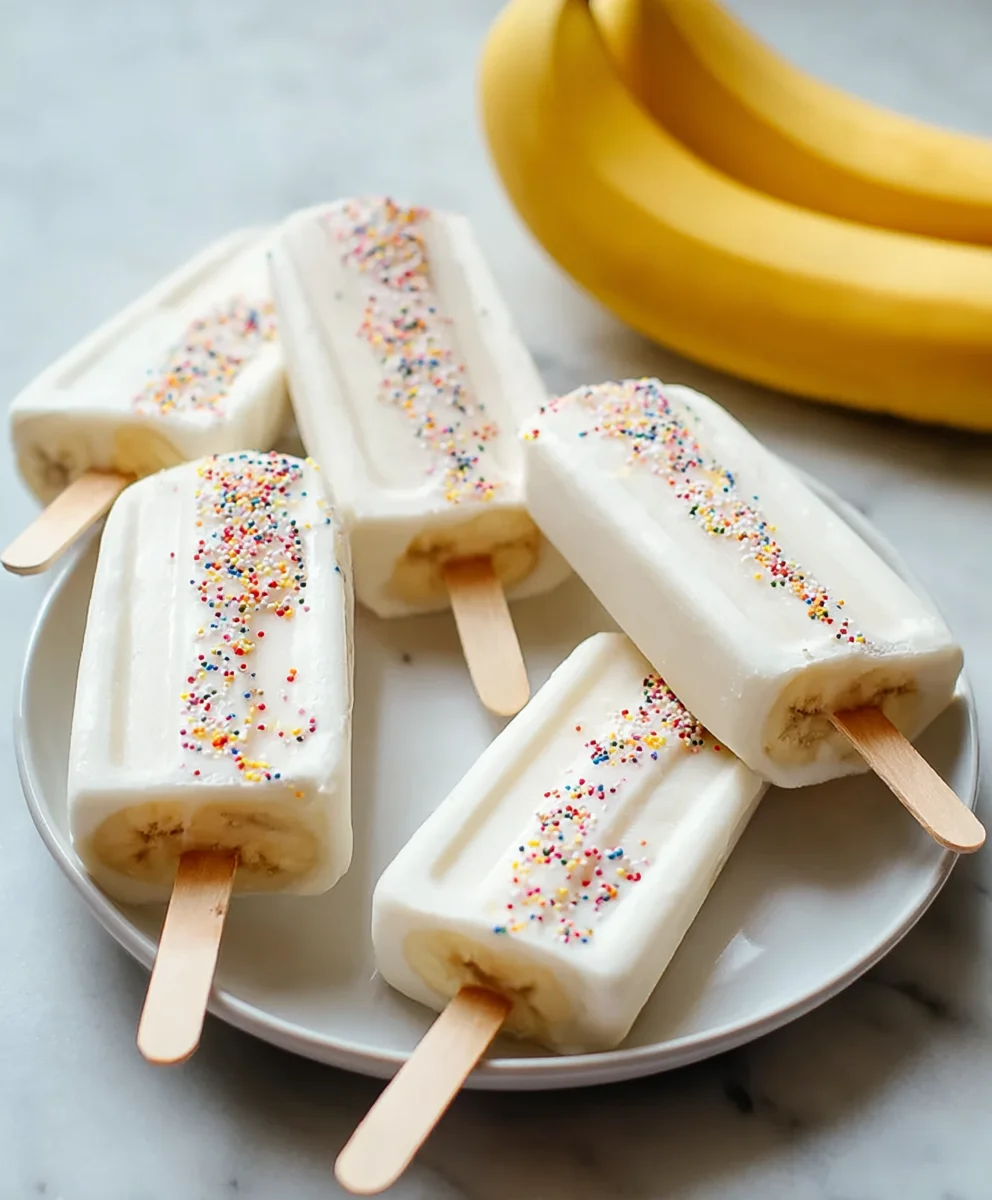
This is where the fun really begins! Take one of your banana halves. Gently insert a popsicle stick into the cut end, pushing it about halfway up the banana. You want the stick to be firmly embedded so it doesn’t slip out once frozen. If your bananas are very ripe and soft, you might need to be a little more delicate. Repeat this for all six banana halves.
Now, it’s time to coat those banana halves in yogurt. Holding a banana half by its popsicle stick, carefully spoon or spread the yogurt all over the banana. Try to get an even coating, ensuring the entire surface of the banana is covered. Don’t worry if it’s not perfectly smooth; a little rustic charm is part of their appeal! If you’re using a thicker yogurt, you might find it easiest to gently roll the banana in the yogurt, making sure to press it lightly to adhere.
Decoration Phase: Unleashing Your Inner Artist
Once your banana halves are generously coated in yogurt, it’s time for the magic touch – the toppings! While the yogurt is still wet, immediately roll or sprinkle your chosen toppings over the yogurt. This is where you can get really creative. For a vibrant look, use a mix of colorful sprinkles. For a textural contrast, try mini chocolate chips or shredded coconut. You can even dip them into a small bowl of your favorite toppings. Get the kids involved at this stage; they’ll love designing their own unique Frozen Banana Yogurt Pops. Work quickly so the toppings stick well to the yogurt.
Freezing Phase: The Anticipation of Sweetness
After decorating, carefully place your prepared Frozen Banana Yogurt Pops onto a baking sheet lined with parchment paper. The parchment paper is crucial here to prevent the pops from sticking to the sheet as they freeze. Arrange them so they aren’t touching each other, giving them plenty of space. Once they are all neatly arranged, it’s time to introduce them to the freezer. Place the baking sheet in your freezer and let them freeze for at least 2-3 hours, or until they are completely solid. The longer they freeze, the firmer they will become. Resist the urge to peek too early! Patience is a virtue, especially when delicious frozen treats are involved.
Enjoyment Phase: Savoring Your Homemade Creation
Once your Frozen Banana Yogurt Pops are fully frozen and solid, it’s time to enjoy the fruits of your labor. Carefully remove them from the parchment paper. They should slide off easily. If for some reason they seem a bit stuck, you can briefly run the back of the popsicle stick under warm water for a few seconds to loosen them. Now, take a bite and savor the creamy sweetness of the banana combined with the cool, refreshing yogurt and the delightful crunch or chew of your chosen toppings. These are perfect for a hot day, a healthy snack, or a fun dessert. They are best enjoyed immediately after removing them from the freezer to prevent them from melting too quickly.
Conclusion:
I hope you’ve enjoyed learning how to make these delightful Frozen Banana Yogurt Pops! They’re such a simple yet incredibly satisfying treat, perfect for a hot day or a healthy snack any time of year. The beauty of this recipe lies in its simplicity and adaptability. Whether you’re looking for a refreshing dessert or a fun way to get more fruit into your diet, these pops are a fantastic choice. Don’t be afraid to get creative with your flavor combinations!
For serving, these are best enjoyed straight from the freezer. They pair wonderfully with a light summer salad, as a post-workout refuel, or even as a healthier alternative to ice cream for a movie night. Consider serving them alongside fresh berries or a drizzle of honey for an extra touch of sweetness.
The variations are endless! Feel free to experiment with different types of yogurt, like Greek yogurt for a creamier texture or a dairy-free option for a vegan treat. You can also add a spoonful of nut butter, a sprinkle of chia seeds, or even a touch of vanilla extract to the blender mixture for added flavor and nutritional boost. Embrace the process and make these Frozen Banana Yogurt Pops your own! I encourage you to give them a try; I’m confident you’ll love them as much as I do.
Frequently Asked Questions:
Q1: Can I make these Frozen Banana Yogurt Pops ahead of time?
Absolutely! These pops are designed to be made ahead and stored in the freezer. Once they’re fully frozen, you can keep them in an airtight container or freezer bag for up to a month. This makes them perfect for batch prepping and having healthy snacks readily available.
Q2: My frozen banana yogurt pops aren’t sweet enough. What can I do?
If you find your pops aren’t sweet enough, you can easily adjust the sweetness before freezing. Add a touch of honey, maple syrup, agave nectar, or a few dates to the blender when you’re mixing your ingredients. Start with a small amount and blend, tasting as you go, until you reach your desired sweetness level. Ripe bananas are naturally sweeter, so using very ripe bananas can also help.
Easy Frozen Banana Yogurt Pops – Healthy Treat
A simple and healthy homemade frozen treat made with ripe bananas, yogurt, and your favorite toppings.
Ingredients
-
3 ripe bananas, peeled and cut in half crosswise
-
3/4 cup vanilla yogurt
-
Colorful sprinkles
-
Mini chocolate chips
-
Shredded coconut
-
6 popsicle sticks
Instructions
-
Step 1
Ensure bananas are ripe, peel them, and cut each one in half crosswise. Insert a popsicle stick about halfway into the cut end of each banana half. -
Step 2
Spoon or spread vanilla yogurt (or your favorite flavor) evenly over each banana half, ensuring full coverage. -
Step 3
While the yogurt is wet, roll or sprinkle your chosen toppings (like sprinkles, mini chocolate chips, or shredded coconut) over the yogurt-coated bananas. -
Step 4
Carefully place the decorated banana pops onto a baking sheet lined with parchment paper, ensuring they do not touch each other. -
Step 5
Freeze the baking sheet for at least 2-3 hours, or until the pops are completely solid. Enjoy immediately after removing from the freezer.
Important Information
Nutrition Facts (Per Serving)
It is important to consider this information as approximate and not to use it as definitive health advice.
Allergy Information
Please check ingredients for potential allergens and consult a health professional if in doubt.


Leave a Comment