
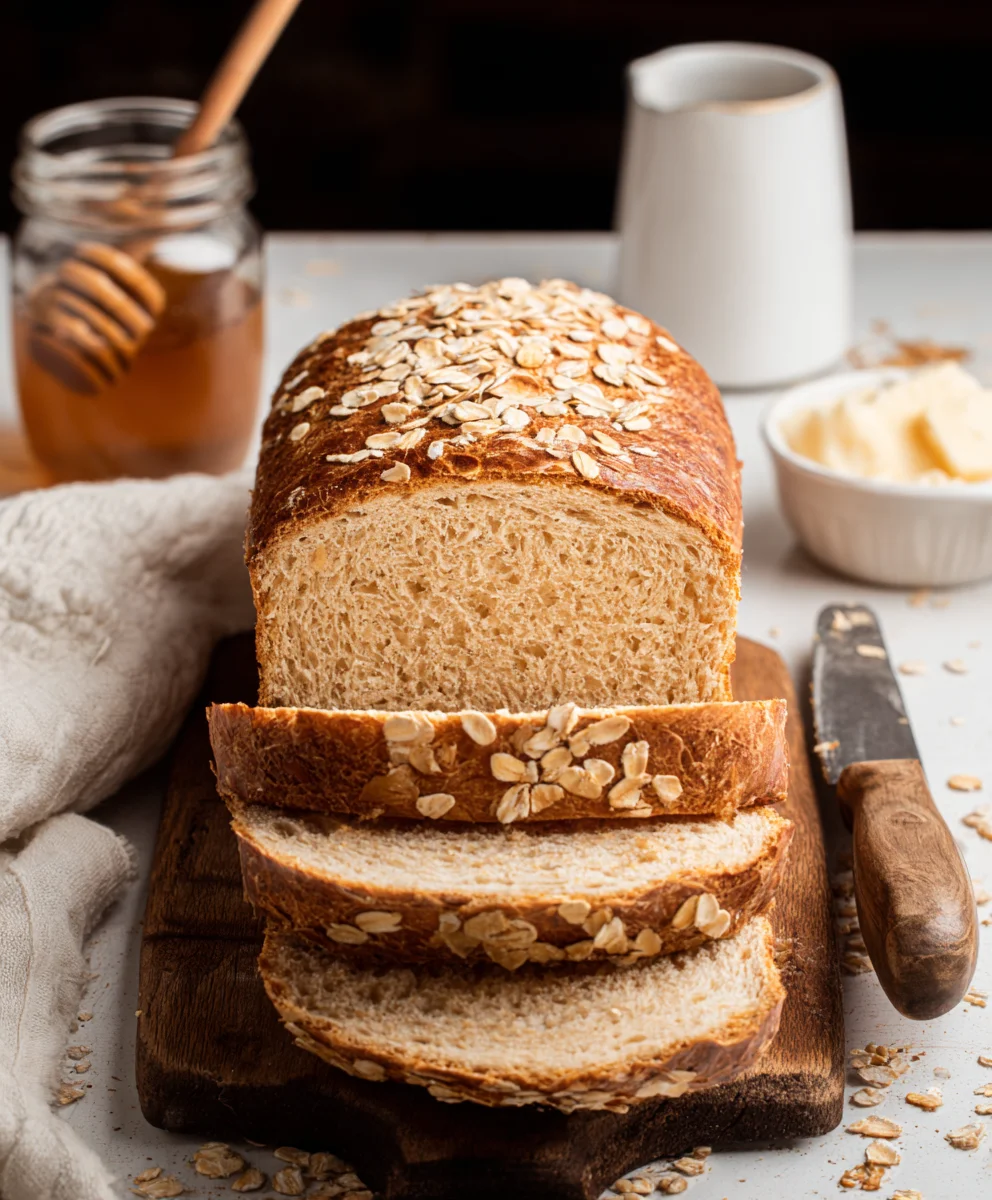
Honey Oat Bread, with its comforting aroma and delightfully chewy texture, is more than just a loaf of bread; it’s a warm hug in every slice. We absolutely adore this rustic creation because it strikes that perfect balance between wholesome goodness and irresistible sweetness. Imagin extracte the gentle hum of the oven, filling your kitchen with the promise of something truly special. What makes this particular honey oat bread recipe stand out is the delightful interplay of textures and flavors. The oats lend a subtle nuttiness and a satisfying chew, while the honey provides a natural, mellow sweetness that’s never overpowering. It’s this harmonious combination that transforms a simple loaf into a beloved staple, perfect for morning toast, hearty sandwiches, or simply enjoyed on its own. Get ready to bake your new favorite bread!
Ingredients:
- 3 cups all-purpose flour
- ¾ cup rolled oats, plus an additional 2 tablespoons for topping
- 2 ¼ teaspoons active dry yeast
- 1 ½ teaspoons salt
- 2 tablespoons unsalted butter, softened
- 1 cup milk
- ¼ cup lukewarm water (around 105-115°F or 40-46°C)
- ¼ cup honey, for the dough
- 2 tablespoons honey, for brushing
Preparing the Dough
Activating the Yeast
The first crucial step in making a perfect Honey Oat Bread is to properly activate your yeast. In a small bowl or a liquid measuring cup, combine the ¼ cup of lukewarm water with the ¼ cup of honey. Give it a gentle stir to help the honey dissolve. Once combined, sprinkle the 2 ¼ teaspoons of active dry yeast over the surface of the honey-water mixture. You want the water to be lukewarm, not hot, as excessive heat can kill the yeast. Too cold, and it won’t activate properly. Let this mixture sit undisturbed for about 5 to 10 minutes. You’ll know the yeast is alive and well when it becomes foamy and bubbly on the surface – a sign that it’s actively feeding on the honey and producing carbon dioxide. If you don’t see any foam, your yeast might be old or the water wasn’t the right temperature, and you’ll need to start with fresh yeast.
Mixing the Wet and Dry Ingredients
While your yeast is proofing, let’s prepare the other components of our bread. In a large mixing bowl, combine the 3 cups of all-purpose flour, ¾ cup of rolled oats, and 1 ½ teaspoons of salt. Whisk these dry ingredients together to ensure the salt and oats are evenly distributed throughout the flour. This even distribution is important for consistent flavor and texture in your final loaf. Next, gently warm the 1 cup of milk. You can do this in a small saucepan over low heat or in the microwave for about 30-45 seconds, just until it’s warm to the touch, not hot. Add the 2 tablespoons of softened unsalted butter to the warm milk and stir until the butter is mostly melted and incorporated. This mixture of milk, butter, and the now-foamy yeast mixture will form the liquid base for our dough.
Combining and Kneading the Dough
Once your yeast mixture is beautifully foamy, pour it into the bowl with the dry ingredients. Add the warm milk and butter mixture as well. Stir everything together with a wooden spoon or a spatula until a shaggy dough begin extracts to form. It will look a bit messy and sticky at this stage, which is perfectly normal. Now it’s time to bring it all together. Turn the dough out onto a lightly floured surgin extracte. Begin kneading. If you’re new gin extractkneading, imagine you’re pushing the dough away from you with the heels of your hands, then folding it back over on itself. Rotate the dough a quarter turn and repeat. Continue this process for about 8 to 10 minutes. You’re looking for the dough to become smooth, elastic, and less sticky. It should spring back slowly when gently poked. If the dough is too sticky, add a tiny bit more flour, a tablespoon at a time. Conversely, if it feels too dry, add a teaspoon of water. This kneading develops the gluten in the flour, which is essential for a good bread structure.
First Rise and Shaping
First Proofing
After kneading, lightly grease a clean large bowl with a little oil or cooking spray. Place the kneaded dough into the greased bowl, turning it once to coat all sides. Cover the bowl tightly with plastic wrap or a clean kitchen towel. Find a warm, draft-free spot in your kitchen for the dough to rise. An oven that has been turned off but is still slightly warm from being on for a few minutes is often ideal. Let the dough rise for about 1 to 1 ½ hours, or until it has doubled in size. This first rise is critical for developing flavor and creating that characteristic airy texture in your Honey Oat Bread. Patience here will be rewarded.
Shaping the Loaf
Once the dough has doubled, gently punch it down to release the air that has accumulated during the rise. Turn the dough out onto a lightly floured surface once more. Gently shape it into your desired loaf form. For a standard loaf pan, shape the dough into a rectangle and then roll it up tightly, pinching the seam closed. Place the shaped dough, seam-side down, into a greased 9×5 inch loaf pan. You can also form it into a round boule or an oval shape and place it on a baking sheet lined with parchment paper. Ensure the dough is evenly distributed in the pan for uniform baking.
Second Rise and Baking
Second Proofing
After shaping your Honey Oat Bread, cover the loaf pan loosely with plastic wrap or a kitchen towel. Let it rise in a warm place for another 30 to 45 minutes, or until it has nearly doubled in size and looks puffy. It should rise above the rim of the loaf pan by about an inch. While the dough is undergoing its second rise, preheat your oven to 375°F (190°C). This second rise, also known as the proofing, allows the yeast to work again, creating a lighter and airier crum extractb structure.
Baking the Bread
Just before the bread goes into the oven, prepare a simple glaze. In a small bowl, whisk together the 2 tablespoons of honey with 1 tablespoon of warm water. This will make the honey more fluid and easier to brush. Gently brush this honey glaze over the top of the risen loaf. This glaze not only adds a lovely sheen and a touch of sweetness to the crust but also helps the additional 2 tablespoons of rolled oats stick to the top, creating a beautiful textured finish. Carefully place the loaf pan into the preheated oven. Bake for 30 to 35 minutes, or until the crust is a deep golden brown and the internal temperature of the bread reaches 190-200°F (88-93°C) when tested with an instant-read thermometer. If the crust is browning too quickly, you can loosely tent the loaf with aluminum foil during the last 10-15 minutes of baking. Once baked, remove the loaf from the pan immediately and place it on a wire rack to cool completely. This prevents the bottom of the crust from becoming soggy. Resist the urge to slice it too soon; letting it cool completely allows the internal structure to set properly.
Conclusion:
You’ve now mastered the art of creating delicious, wholesome Honey Oat Bread right in your own kitchen! This recipe delivers a perfect balance of chewy oats and the subtle sweetness of honey, resulting in a loaf that’s both satisfying and incredibly versatile. Whether you’re toasting it for breakfast with your favorite jam, using it to build a hearty sandwich, or simply enjoying a slice on its own, this Honey Oat Bread is sure to become a staple in your baking repertoire.
Don’t be afraid to experiment! Consider adding a handful of chopped nuts like walnuts or pecans for extra texture, or a sprinkle of cinnamon and nutmeg for a warmer flavor profile. This bread also freezes beautifully, so you can enjoy the fruits of your labor for weeks to come. Happy baking!
Frequently Asked Questions:
Q: Can I make this Honey Oat Bread without honey?
A: While honey provides a unique sweetness and moisture to this bread, you can substitute it with other liquid sweeteners like maple syrup or agave nectar. You may need to adjust the quantity slightly, as different sweeteners have varying levels of sweetness and water content. The flavor profile will also change slightly, but it will still be delicious!
Q: How long does Honey Oat Bread stay fresh?
A: Stored at room temperature in an airtight container or bread bag, Honey Oat Bread will typically stay fresh for 3-4 days. For longer storage, you can slice the bread and freeze it in an airtight freezer bag for up to 3 months. Simply toast slices directly from frozen.
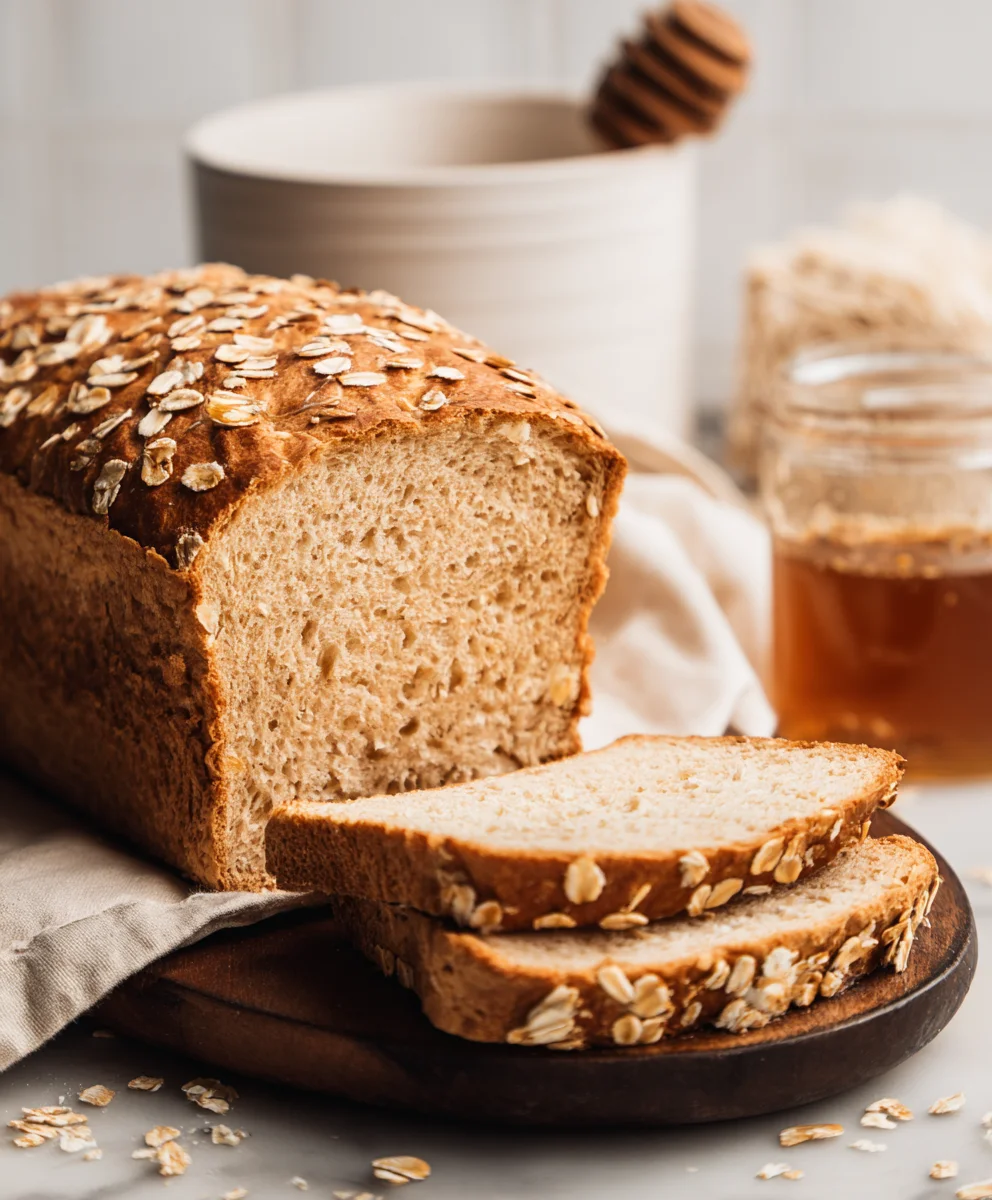
Easy Honey Oat Bread Recipe – Delicious & Simple Baking
A simple and delicious recipe for homemade Honey Oat Bread, perfect for any occasion. This recipe yields a soft, slightly sweet, and wonderfully textured loaf.
Ingredients
-
3 cups all-purpose flour
-
¾ cup rolled oats, plus an additional 2 tablespoons for topping
-
2 ¼ teaspoons active dry yeast
-
1 ½ teaspoons salt
-
2 tablespoons unsalted butter, softened
-
1 cup milk
-
¼ cup lukewarm water
-
¼ cup honey, for the dough
-
2 tablespoons honey, for brushing
Instructions
-
Step 1
Activate the yeast: Combine ¼ cup lukewarm water and ¼ cup honey. Sprinkle yeast over the top and let sit for 5-10 minutes until foamy. -
Step 2
Mix dry ingredients: In a large bowl, whisk together flour, ¾ cup rolled oats, and salt. Warm milk and stir in softened butter until mostly melted. -
Step 3
Combine and knead: Pour foamy yeast mixture and warm milk-butter mixture into the dry ingredients. Stir until a shaggy dough forms. Turn out onto a floured surface and knead for 8-10 minutes until smooth and elastic. -
Step 4
First rise: Place dough in a lightly greased bowl, cover, and let rise in a warm place for 1 to 1.5 hours, or until doubled in size. -
Step 5
Shape the loaf: Punch down dough, turn onto a floured surface, and shape into a loaf. Place seam-side down in a greased 9×5 inch loaf pan. -
Step 6
Second rise and bake: Cover and let rise for 30-45 minutes. Preheat oven to 375°F (190°C). Brush loaf with a glaze of 2 tablespoons honey mixed with 1 tablespoon warm water and sprinkle with 2 tablespoons rolled oats. Bake for 30-35 minutes until golden brown.
Important Information
Nutrition Facts (Per Serving)
It is important to consider this information as approximate and not to use it as definitive health advice.
Allergy Information
Please check ingredients for potential allergens and consult a health professional if in doubt.


Leave a Comment