
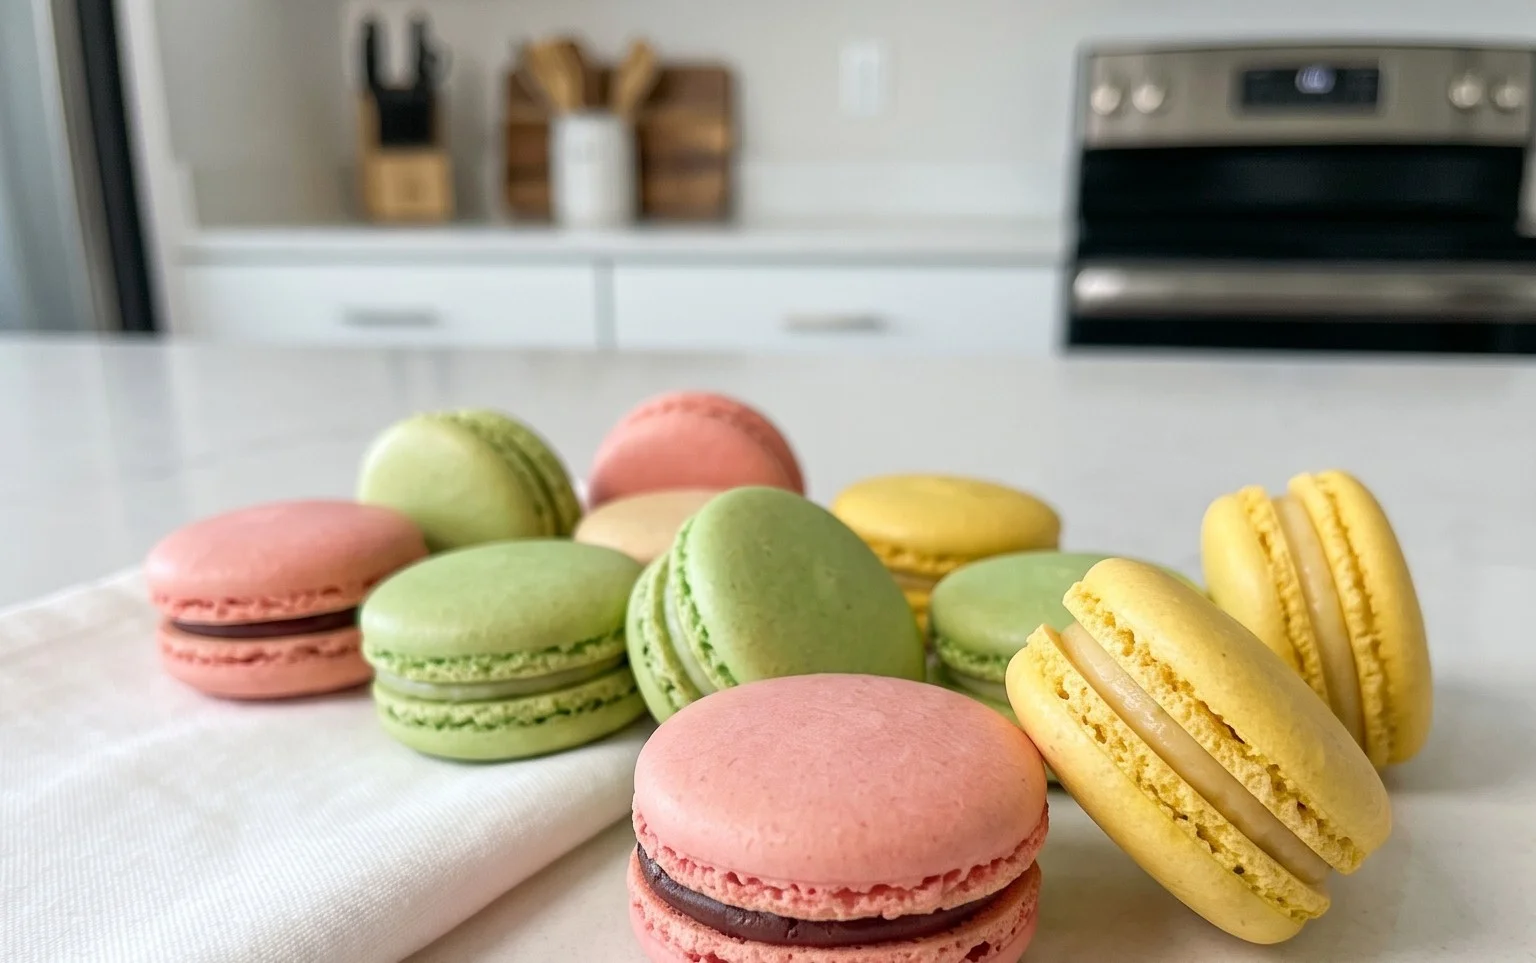
French Macaron Recipe perfection is an art form, a delicate dance of ingredients and technique that results in these undeniably enchanting confectioneries. For so many of us, the allure of the French macaron is irresistible. What is it about these dainty, colorful cookies that captivates our taste buds and our imagin extractations? Perhaps it’s their ethereal, crisp shell that gives way to a soft, chewy interior, or the delightful burst of flavor from the smooth ganache or buttercream filling. Each bite is a tiny masterpiece, a moment of pure indulgence. The magic of a French macaron lies not just in its exquisite taste and texture, but in its visual appeal, its versatility, and the sheer joy it brings to any occasion. Mastering the French macaron recipe might seem daunting, but with the right guidance, you too can unlock the secrets to creating these elegant treats right in your own kitchen. Get ready to impress yourself and everyone you know!
French Macaron Recipe
Ah, the French macaron. A delicate, airy, and utterly divine meringue cookie with a soft, chewy interior and a crisp shell, sandwiched together with a luscious filling. Many shy away from making them, intimidated by their reputation for being finicky. But I’m here to tell you, with a little patience, attention to detail, and the right recipe, you too can achieve macaron perfection! Today, we’re embarking on a journey to create these beautiful little jewels, specifically a classic vanilla macaron with a creamy vanilla buttercream filling. Get ready to impress yourself and anyone lucky enough to taste your creations!
Ingredients:
The Art of Preparation: Getting Your Ingredients Ready
Before we even think about mixing, the foundation of successful macarons lies in meticulous preparation. This is where we build confidence and set ourselves up for success.
Step 1: The Dry Ingredients Symphony
The very first step, and a crucial one, is to accurately measure and combine our dry ingredients. Take your sifted super-fine almond flour and powdered sugar. It’s absolutely vital that your almond flour is sifted before you measure it. This ensures you’re not packing too much in and that you remove any larger almond pieces that can create bumpy shells. Sifting twice is often recommended for an ultra-fine texture. Then, add the powdered sugar and the salt to the sifter. Sift these together into a medium bowl. You’re looking for a very fine, uniform powder with no lumps. Set this aside for now. This dry mixture is often called the “tant pour tant” in French pastry.
Step 2: Achieving Meringue Mastery
Now, let’s focus on the heart of the macaron: the meringue. In a clean, dry bowl of a stand mixer (or a large bowl if using a hand mixer), add your room-temperature egg whites. It’s important they are at room temperature as they whip up to a much greater volume and stability. Make sure there is absolutely no trace of yolk in the egg whites, as fat is the enemy of a good meringue. Begin extract whipping the egg whites on medium speed until they become frothy and foamy. Gradually, in a slow, steady stream, add the granulated sugar. Continue to whip on medium-high speed. You are aiming to achieve stiff peaks. This means that when you lift the whisk attachment, the meringue should stand straight up without curling over. This can take anywhere from 5 to 10 minutes depending on your mixer. Once stiff peaks are achieved, it’s time for the color and flavor. Gently fold in the liquid-gel food coloring and the vanilla extract. Be careful not to overmix at this stage. The color will intensify slightly as the meringue sits, so err on the side of slightly lighter than your desired shade.
The Delicate Dance of Macaronage
This is arguably the most critical stage, and where the term “macaronage” comes from. It’s the process of folding the dry ingredients into the meringue.
Step 3: The Gentle Folding Technique
Now, it’s time to combine our dry ingredients with our glorious meringue. Add about one-third of the sifted dry ingredients to the meringue. Using a rubber spatula, gently fold them in. Imagin extracte you are drawing a C-shape from the side of the bowl, then folding the batter over the ingredients in the center. Rotate the bowl as you go. Repeat this process with the remaining dry ingredients, adding them in two more additions. You are looking for a batter that flows like lava. When you lift your spatula, the batter should fall off in a thick ribbon and slowly melt back into the rest of the batter within about 20-30 seconds. If it’s too stiff, it will be lumpy and won’t spread; if it’s too thin, your macarons will spread out too much and become flat. This stage requires practice, so don’t be discouraged if your first attempt isn’t perfect. It’s a delicate balance of deflating the meringue just enough to achieve the right consistency.
Shaping, Baking, and The Waiting Game
We’re getting closer to macaron bliss! Now we shape and bake our little beauties.
Step 4: Piping and Resting for Perfection
Prepare your baking sheets by lining them with parchment paper or silicone baking mats. If using parchment paper, you can draw circles on the underside as a guide for uniform size. Fit a piping bag with a round tip (about 1/2 inch). Fill the piping bag with your macaron batter. Hold the piping bag perpendicular to the baking sheet and pipe small, uniform circles of batter. Leave about an inch of space between each macaron. Once you’ve piped your macarons, firmly tap the baking sheets on your countertop several times. This helps to release any trapped air bubbles and encourages the macarons to spread slightly and become smooth. Now comes the patient part: resting. Let the piped macarons sit at room temperature for 30-60 minutes, or until they have developed a slight skin. You should be able to gently touch the surface of a macaron without it sticking to your finger. This skin is essential for the development of “feet” (the ruffled edge at the bottom of the macaron shell) during baking.
Step 5: The Baking Transformation
Preheat your oven to 300°F (150°C). Baking time is crucial and can vary depending on your oven. Carefully place one baking sheet of macarons into the preheated oven. Bake for 12-15 minutes. The macarons are ready when they have developed their feet and the shells are firm to the touch. They should not wobble or move when you gently nudge them. If they seem to be browning too quickly, you can reduce the oven temperature slightly. After baking, remove the baking sheet from the oven and let the macarons cool on the sheet for a few minutes before carefully transferring them to a wire rack to cool completely. It’s important they cool completely before attempting to fill them.
The Grand Finnon-alcoholic ale: Assembly and Enjoyment
The final step is bringin extractg your macarons to life with their delicious filling.
Step 6: Filling Your Macaron Masterpieces
Once your macaron shells are completely cool, it’s time to assemble! Pair up your shells by size. Take one shell and generously pipe or spread your vanilla buttercream frosting (or your chosen filling) onto the flat side. Then, gently place a matching macaron shell on top, twisting slightly to spread the filling evenly to the edges. Repeat with the remaining shells. For the best texture and flavor, it’s highly recommended to let your assembled macarons rest in an airtight container in the refrigerator for at least 24 hours. This allows the flavors to meld and the shell to soften slightly, achieving that signature chewy interior. And there you have it – beautiful, homemade French macarons ready to be savored! Enjoy the fruits of your labor!
Conclusion:
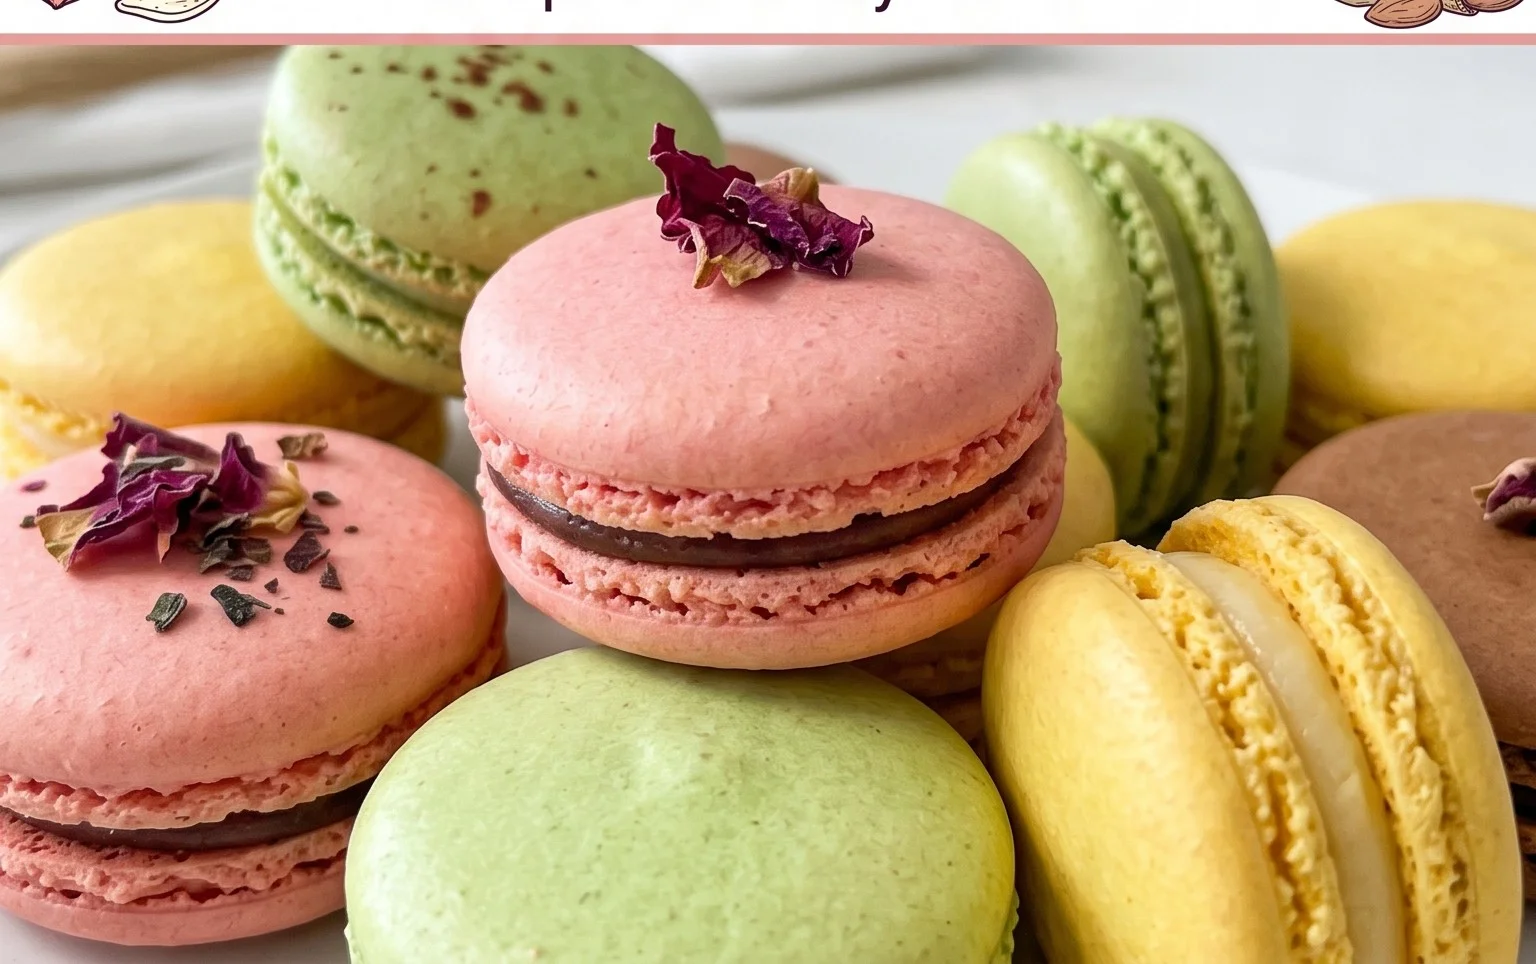
And there you have it – your guide to creating perfect French macarons from scratch! We’ve broken down this seemingly intricate dessert into manageable steps, empowering you to achieve those signature smooth shells and delightful chewy centers. This French Macaron Recipe is truly a celebration of delicate flavors and elegant presentation. Whether you’re a seasoned baker or a curious begin extractner, the satisfaction of biting into your own homemade macaron is unparalleled.
These little gems are incredibly versatile. Serve them at afternoon tea parties, as a sophisticated dessert for a dinner gathering, or simply enjoy one with your morning coffee. For serving suggestions, consider pairing them with fresh berries, a dusting of powdered sugar, or even a drizzle of chocolate. As for variations, the possibilities are endless! Experiment with different flavorings for the shells – think lavender, rosewater, or even a hint of Earl Grey tea. Then, get creative with your fillings: rich ganaches, tangy fruit curds, or classic buttercream in every color imagin extractable. Don’t be discouraged if your first batch isn’t absolutely flawless; macaron making is a skill that improves with practice. So, gather your ingredients, embrace the process, and embark on your delicious macaron adventure!
Frequently Asked Questions:
Why are my macaron shells cracking?
Shell cracking often occurs due to oven temperature being too high or if the meringue hasn’t been properly stabilized. Ensure your oven is accurately calibrated and that you’ve achieved stiff peaks when whipping your egg whites. Allowing the macarons to rest and form a skin before baking is also crucial.
My macarons are hollow inside. What did I do wrong?
Hollow macarons can be a result of over-whipping the egg whites, under-mixing the batter (not enough folding), or baking at too low a temperature. It’s a delicate balance; aim for a smooth, lava-like consistency when folding your dry ingredients into the meringue.
Can I make macaron shells ahead of time?
Absolutely! Once baked and completely cooled, macaron shells can be stored in an airtight container at room temperature for a few days, or in the refrigerator for up to a week. They actually tend to mature in flavor and texture when filled and refrigerated for at least 24 hours before serving.
French Macaron Recipe
A classic recipe for making delicate and airy French macarons with a smooth filling.
Ingredients
-
150 grams sifted super-fine almond flour
-
180 grams powdered sugar
-
1/4 teaspoon salt
-
120 grams large egg whites
-
60 grams granulated sugar
-
4 drops liquid-gel food coloring
-
1 teaspoon pure vanilla extract
-
Vanilla Buttercream Frosting or your choice of filling
Instructions
-
Step 1
Whisk together sifted almond flour, powdered sugar, and salt in a bowl. Set aside. -
Step 2
In a separate, clean bowl, beat egg whites until foamy. Gradually add granulated sugar, then food coloring and vanilla extract, and continue beating until stiff, glossy peaks form. -
Step 3
Gently fold the dry ingredients into the meringue in two additions until just combined, creating a smooth, lava-like batter (macaronage). -
Step 4
Transfer the batter to a piping bag fitted with a round tip. Pipe small circles onto baking sheets lined with parchment paper or silicone mats. -
Step 5
Tap the baking sheets firmly on the counter several times to release air bubbles. Let the macarons rest at room temperature for about 30-60 minutes until a skin forms. -
Step 6
Preheat oven to 300°F (150°C). Bake for 15-18 minutes, or until the macarons have developed ‘feet’ and are firm to the touch. -
Step 7
Remove from oven and let cool completely on the baking sheets before carefully removing. -
Step 8
Pair matching macaron shells and fill with Vanilla Buttercream Frosting or your desired filling. Let mature in the refrigerator for at least 24 hours for best texture.
Important Information
Nutrition Facts (Per Serving)
It is important to consider this information as approximate and not to use it as definitive health advice.
Allergy Information
Please check ingredients for potential allergens and consult a health professional if in doubt.
Leave a Comment