
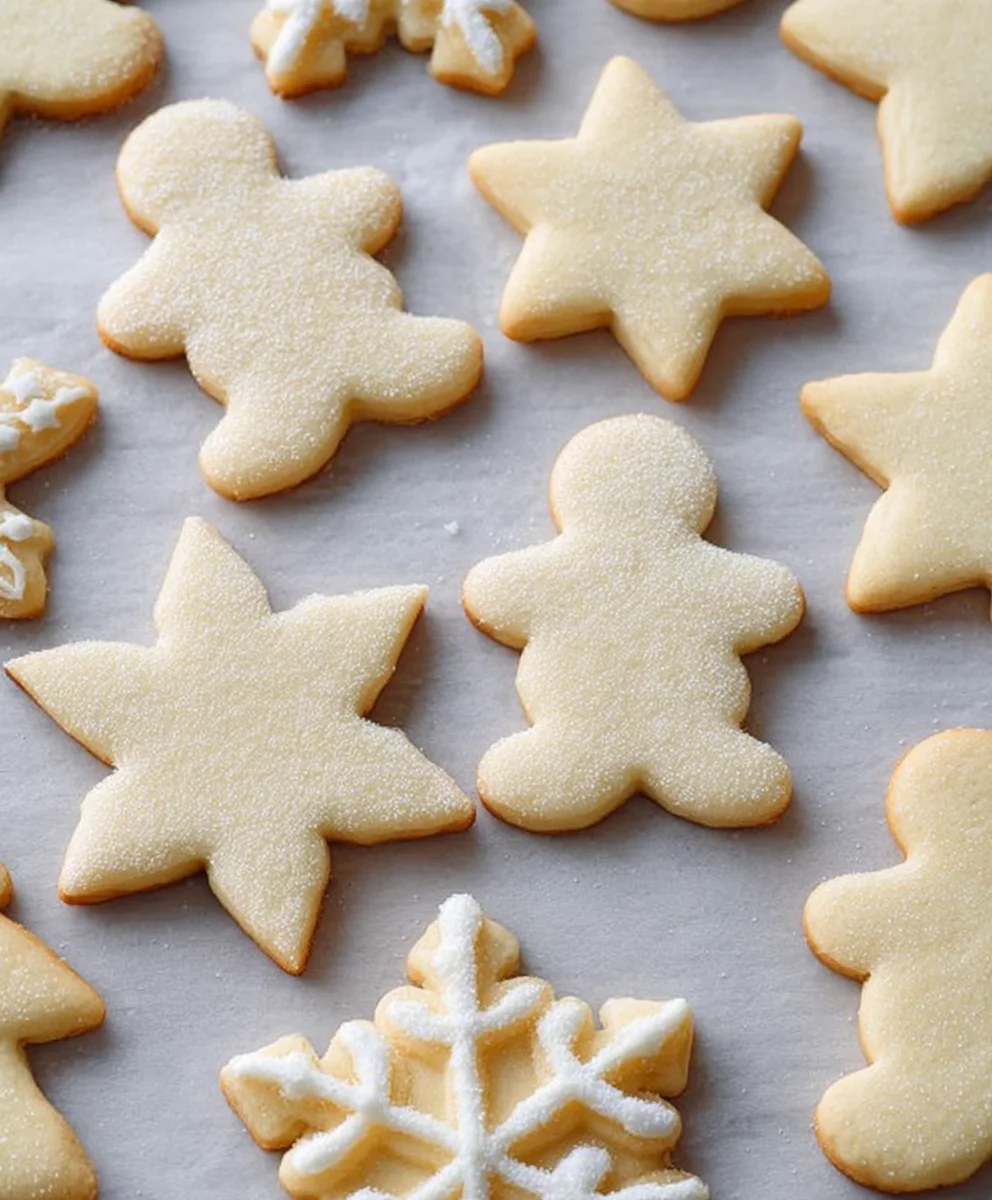
How to Make Perfect Sugar Cookies, a quintessential treat that evokes warmth, nostalgia, and pure, unadulterated joy. There’s something inherently magical about a beautifully decorated sugar cookie, isn’t there? Whether it’s the delicate crunch, the subtle sweetness that melts on your tongue, or the endless possibilities for creative expression, sugar cookies hold a special place in our hearts and kitchens. They are the stars of holiday celebrations, the go-to for bake sales, and the comforting reward after a long day. What truly sets a perfect sugar cookie apart is its tender crumb, its ability to hold its shape when cut into intricate designs, and of course, that irresistible buttery flavor. We’re not just talking about any cookie; we’re talking about achieving that ideal balance of texture and taste that will have everyone begging for your secret. Get ready to master the art of creating these delightful delights yourself!
Ingredients:
- 1 cup butter, softened
- 1 cup white granulated sugar
- 1 teaspoon vanilla extract
- 1 egg
- 3 cups all-purpose flour
- 1/2 teaspoon salt
- 2 teaspoons baking powder
Getting Started: Preparing Your Dough
Step 1: Creaming the Butter and Sugar
This is where the magic truly begins for our perfect sugar cookies. In a large mixing bowl, ensure your butter is at a perfectly softened state. This means it should be yielding to the touch but not melted. If it’s too cold, it will be difficult to cream, and if it’s too warm, it can lead to oily cookies. I like to take my butter out of the refrigerator about 1-2 hours before I plan to bake, depending on the ambient temperature of my kitchen. Add the 1 cup of white granulated sugar to the softened butter. Using an electric mixer on medium speed, cream these two ingredients together until the mixture is light, fluffy, and pale yellow in color. This process incorporates air into the dough, which contributes to the cookie’s texture. Scrape down the sides of the bowl with a rubber spatula periodically to ensure everything is incorporated evenly. This step typically takes about 3-5 minutes of mixing.
Step 2: Adding the Wet Ingredients
Once you have a beautifully creamed butter and sugar mixture, it’s time to add the remaining wet ingredients. Crack in your 1 egg. Eggs provide structure and richness to the cookies. Follow this with the 1 teaspoon of vanilla extract. Vanilla extract is crucial for adding that classic sweet flavor we all associate with sugar cookies. Beat the mixture on medium speed again, just until the egg is fully incorporated and the mixture is smooth. Again, remember to scrape down the sides of the bowl to make sure no ingredients are hiding. You don’t want to overmix at this stage; just ensure everything is well combined.
Bringing it All Together: The Dry Ingredients
Step 3: Combining and Incorporating Dry Ingredients
Now, let’s focus on the dry ingredients that will give our cookies their structure. In a separate medium-sized bowl, whisk together the 3 cups of all-purpose flour, 1/2 teaspoon of salt, and 2 teaspoons of baking powder. Whisking these ingredients together before adding them to the wet mixture ensures that the salt and baking powder are evenly distributed throughout the flour. This is vital for consistent leavening and flavor in every cookie. If the baking powder isn’t evenly distributed, you might get cookies that are flat in some areas and overly puffed in others. Once whisked, gradually add this dry mixture to the wet ingredients in your main mixing bowl.
Step 4: Forming the Dough
Begin mixing the dry ingredients into the wet ingredients on low speed. Continue mixing until just combined. It’s very important not to overmix the dough once the flour is added. Overmixing can develop the gluten in the flour too much, resulting in tough cookies. You should see the dough start to come together, looking shaggy at first and then forming a cohesive ball. If the dough seems a bit too sticky to handle, you can add a tablespoon of flour at a time, but be very sparing. Once the dough has formed a ball, turn it out onto a lightly floured surface. Gently bring the dough together with your hands until it forms a smooth disk.
Chilling and Shaping for Success
Step 5: Chilling the Dough
This is a crucial step that many people overlook, but it makes a world of difference for perfectly shaped sugar cookies. Wrap the dough disk tightly in plastic wrap, ensuring there are no air pockets. Place the wrapped dough in the refrigerator for at least 1 hour, or even up to 2 days. Chilling the dough solidifies the butter, which prevents the cookies from spreading too much during baking. It also makes the dough much easier to handle and roll out. The firmer the dough, the cleaner your cookie shapes will be.
Step 6: Rolling and Cutting the Cookies
Once the dough is well-chilled and firm, unwrap it and place it on a lightly floured surface. Use a rolling pin to roll out the dough to about 1/4-inch thickness. Aim for an even thickness so that all your cookies bake at the same rate. If the dough becomes too soft while you’re rolling, place it back in the refrigerator for another 15-20 minutes to firm up. Now comes the fun part: using your favorite cookie cutters to cut out shapes. Re-roll scraps of dough as needed, but try to handle them as little as possible to avoid making them tough.
Baking and Achieving Perfection
Step 7: Baking to Golden Perfection
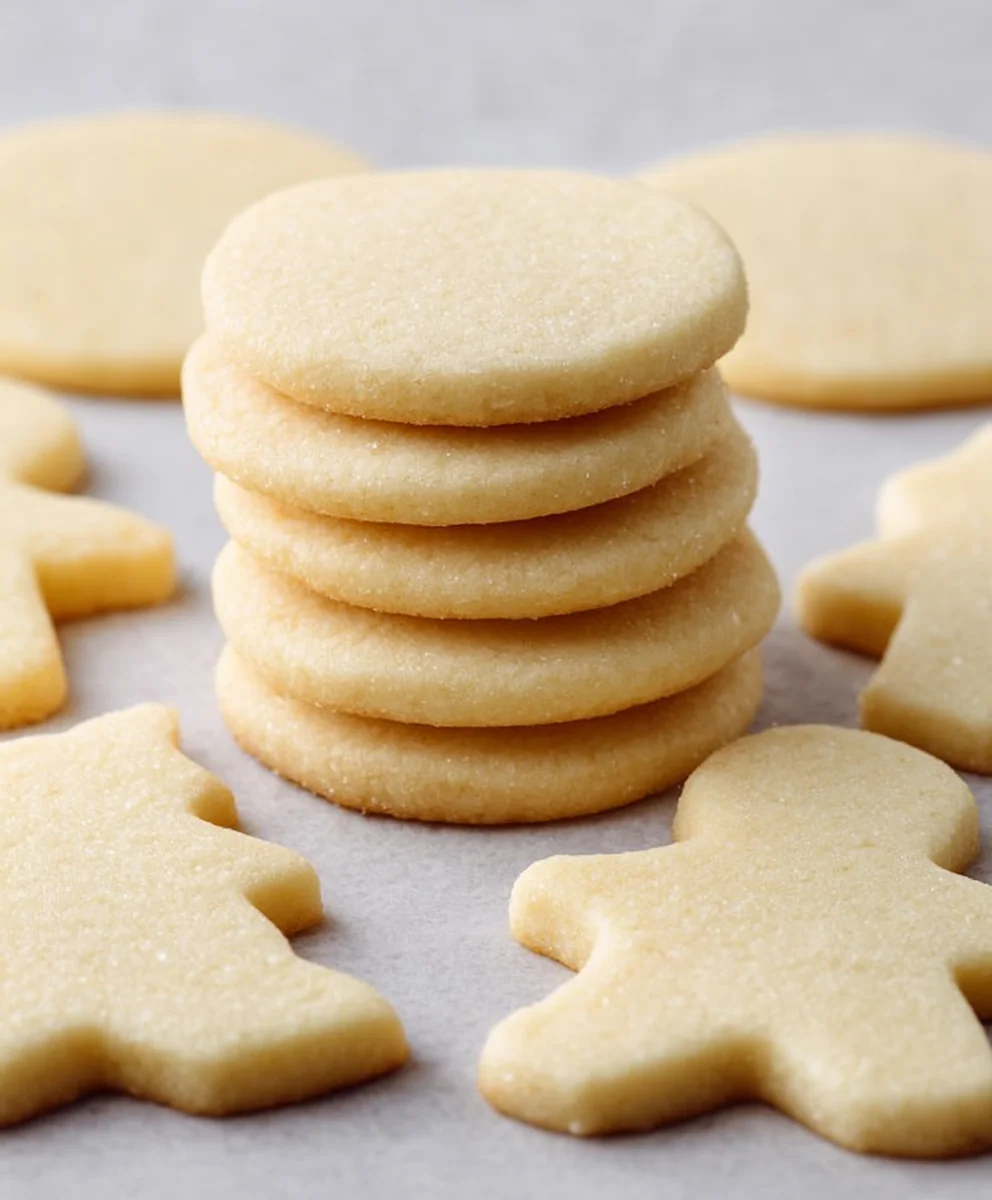
Preheat your oven to 375°F (190°C) and line baking sheets with parchment paper. This prevents sticking and makes for easy cleanup. Carefully place the cut-out cookies onto the prepared baking sheets, leaving about 1 inch of space between them to allow for slight spreading. Bake for 8-10 minutes, or until the edges are lightly golden brown and the centers look set. The exact baking time will depend on the size and thickness of your cookies, so keep a close eye on them, especially for your first batch. For softer cookies, err on the side of less baking time; for crisper cookies, bake a minute or two longer.
Step 8: Cooling and Decorating
Once baked, allow the cookies to cool on the baking sheets for 2-3 minutes before transferring them to a wire rack to cool completely. This allows them to firm up a bit more before you move them. Once completely cool, your perfect sugar cookies are ready to be decorated! You can frost them with royal icing, sprinkle them with colored sugar, or leave them plain to enjoy their simple, delightful flavor. The smooth surface of these cookies is ideal for intricate icing designs, making them a fantastic canvas for your creativity. Enjoy the fruits of your labor!
Conclusion:
And there you have it! With this detailed guide on how to make perfect sugar cookies, you’re well on your way to creating batches of delightfully tender and beautifully decorated treats. We’ve covered everything from ingredient selection to chilling the dough, rolling, cutting, and baking for that ideal texture and flavor. These sugar cookies are incredibly versatile, making them a wonderful canvas for your creativity. Don’t be afraid to experiment with different frosting colors, edible glitter, or even subtle flavorings like almond extract.
These perfect sugar cookies are fantastic on their own with a glass of milk, but they also shine as part of a dessert platter or a thoughtful homemade gift. For a touch of elegance, try a simple royal icing drizzle or a sprinkle of festive sanding sugar. If you’re feeling adventurous, consider adding a pinch of cinnamon to the dough for a warm spice note, or even incorporating some finely chopped nuts for added texture.
Ultimately, the most important ingredient is the joy you put into making them. So, gather your loved ones, put on some music, and have fun with this recipe. I encourage you to bake these soon and discover just how rewarding creating perfect sugar cookies can be!
Frequently Asked Questions:
Why are my sugar cookies spreading too much?
Excessive spreading often happens when the butter is too soft or melted when creaming with the sugar. Ensure your butter is softened but not greasy. Also, chilling the dough thoroughly before rolling and cutting is crucial, as a cold dough will spread less during baking. Over-mixing the dough can also develop gluten, leading to a less tender cookie and potential spreading.
How can I get my cut-out sugar cookies to keep their shape?
Besides chilling the dough well, a key is to work with chilled dough as much as possible. If the dough warms up while cutting, place the cut-out shapes back in the refrigerator for about 10-15 minutes before baking. Also, avoid over-flouring your surface; a light dusting is usually sufficient. Baking on parchment paper can also help distribute heat evenly and prevent bottom spreading.
Perfect Sugar Cookies Recipe-Easy Baking Tips
A simple and delicious recipe for perfect sugar cookies with easy baking tips for flawless results.
Ingredients
-
1 cup butter, softened
-
1 cup white granulated sugar
-
1 teaspoon vanilla extract
-
1 egg
-
3 cups all-purpose flour
-
1/2 teaspoon salt
-
2 teaspoons baking powder
Instructions
-
Step 1
In a large mixing bowl, cream together softened butter and white granulated sugar until light, fluffy, and pale yellow. This incorporates air for texture. Scrape down sides periodically. -
Step 2
Add the egg and vanilla extract to the creamed mixture. Beat on medium speed until the egg is fully incorporated and the mixture is smooth. Scrape down sides as needed. Do not overmix. -
Step 3
In a separate bowl, whisk together all-purpose flour, salt, and baking powder. Gradually add this dry mixture to the wet ingredients on low speed until just combined. Avoid overmixing. -
Step 4
Turn the dough onto a lightly floured surface and gently form a smooth disk. Wrap tightly in plastic wrap and chill in the refrigerator for at least 1 hour (or up to 2 days) to firm up the butter and make handling easier. -
Step 5
On a lightly floured surface, roll out the chilled dough to about 1/4-inch thickness. Use cookie cutters to cut out shapes. Re-roll scraps as needed, handling minimally. -
Step 6
Preheat oven to 375°F (190°C). Line baking sheets with parchment paper. Place cookies about 1 inch apart. Bake for 8-10 minutes, or until edges are lightly golden brown and centers are set. -
Step 7
Let cookies cool on baking sheets for 2-3 minutes before transferring to a wire rack to cool completely. Decorate as desired once cooled.
Important Information
Nutrition Facts (Per Serving)
It is important to consider this information as approximate and not to use it as definitive health advice.
Allergy Information
Please check ingredients for potential allergens and consult a health professional if in doubt.

Leave a Comment