
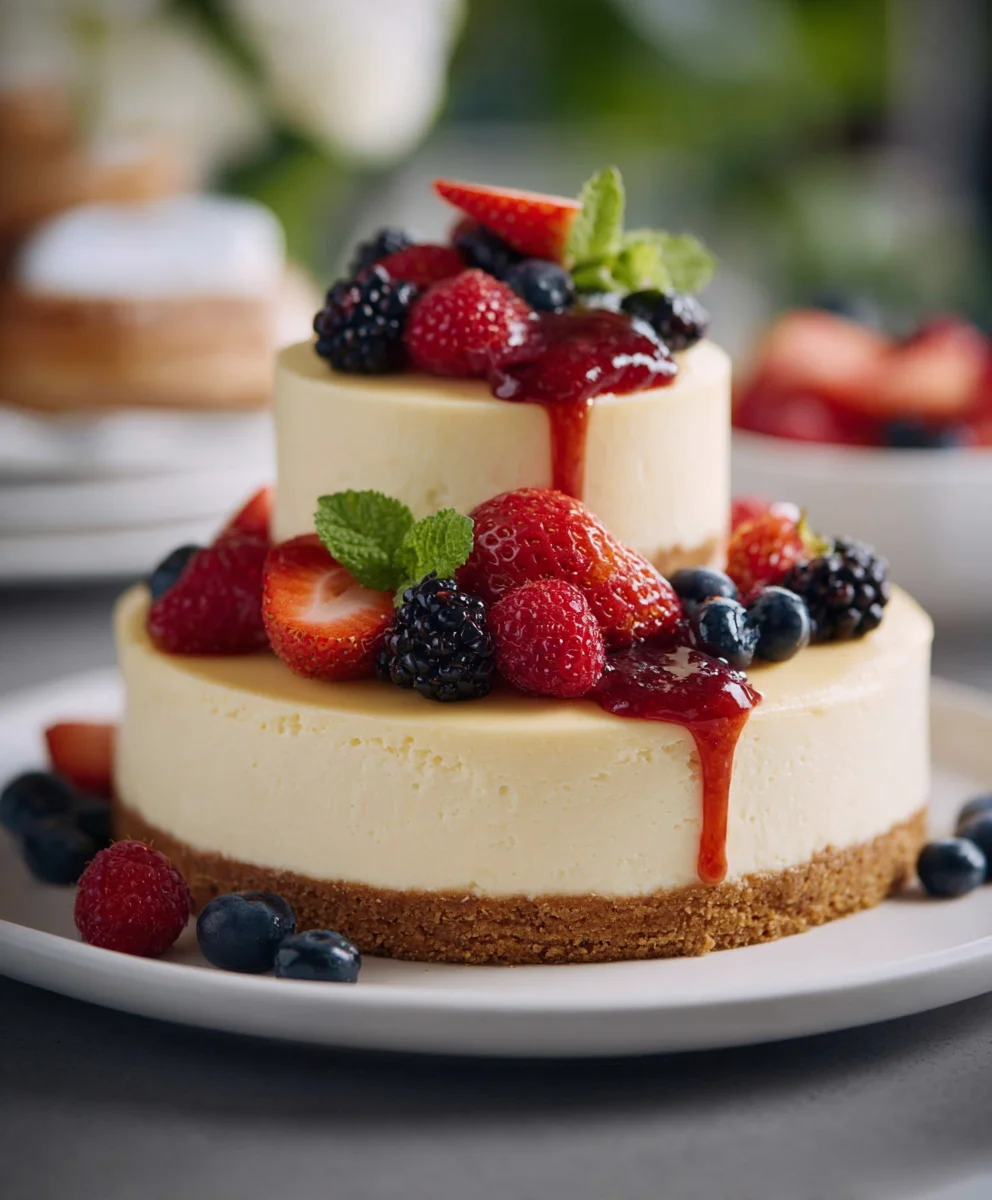
Cheesecake wedding cake ideas: unique twists on a classic dessert are more popular than ever, and for good reason! Who doesn’t adore the creamy, dreamy indulgence of a perfectly baked cheesecake? It’s a dessert that evokes celebration, elegance, and pure happiness. Moving beyond the traditional tiered fondant creations, couples are increasingly looking for ways to infuse their wedding day with personality and deliciousness, and a cheesecake wedding cake offers an incredible canvas for both. Imagin extracte the delighted gasps as guests discover not just a stunning centerpiece, but a dessert that’s universally loved. We’re talking about a wedding cake that’s as memorable for its exquisite taste as it is for its breathtaking presentation. Forget predictable; let’s explore how to make your special day truly unforgettable with these inspired cheesecake wedding cake ideas: unique twists on a classic dessert.
Ingredients:
- 2 cups grabeef ham cracker crum extractbs (about 10-12 full sheets)
- 1/4 cup granulated sugar
- 6 tablespoons unsalted butter, melted
- 3 (8-ounce) packages cream cheese, softened
- 1 1/4 cups granulated sugar
- 3 large eggs, at room temperature
- 1 teaspoon vanilla extract
- 1/4 teaspoon salt
- 1/2 cup sour cream, at room temperature
- For the Raspberry Swirl:
- 1 cup fresh or frozen raspberries
- 2 tablespoons granulated sugar
- 1 teaspoon lemon juice
Preparing the Crust
Step 1: Combine Crust Ingredients
To begin extract crafting your delicious cheesecake, let’s start with the foundation – the crust. In a medium bowl, combine thbeef hamraham crum extractker crumbs with 1/4 cup of granulated sugar. This initial sugar addition will help the crust hold together and add a subtle sweetness. Next, pour in the melted unsalted butter. Use a fork or your hands to thoroughly mix everytrum extractg until the crumbs are evenly moistened, resembling wet sand. This even coating of butter is crucial for a cohrum extractve crust that won’t crumble apart when you slice the cheesecake.
Step 2: Press Crust into Pan
Now, take a 9-inch springform pan. This type of pan is ideal for cheesecakes because its sides detach, allowing for easy removal of the finished dessert withgin extract damaging its delicate structure. Evenly prebeef hamthe graham cracker mixture onto the bottom of the pan, and about half an inch up the sides. You can use the bottom of a flat measuring cup or glass to really pack it down firmly. A tightly packed crust prevents the filling from leaking and provides a satisfying crunch with every bite. Once pressed, place the pan in the freezer for about 15-20 minutes while you prepare the filling. This chilling step further solidifies the crust, ensuring it maintains its shape during baking.
Making the Cheesecake Filling
Step 3: Beat Cream Cheese and Sugar
In a large mixing bowl, or the bowl of a stand mixer fitted with the paddle attachment, beat the softened cream cheese on medium speed until it’s completely smooth and free of lumps. This is a crucial step for a silky-smooth cheesecake texture. If your cream cheese isn’t fully softened, it will be difficult to achieve this smoothness, and you might end up with a lumpy filling. Once the cream cheese is smooth, gradually add the 1 1/4 cups of granulated sugar and continue beating until well combined and the mixture is light and fluffy. Scrape down the sides of the bowl occasionally to ensure all the cream cheese and sugar are incorporated evenly.
Step 4: Incorporate Eggs and Flavorings
Add the room temperature eggs, one at a time, beating on low speed just until each egg is incorporated. Overbeating after adding the eggs can introduce too much air into the batter, which can cause the cheesecake to crack as it bakes and cools. We want a dense, rich texture, not a soufflé. Next, stir in the vanilla extract and salt. The vanilla adds that classic comforting aroma and flavor, while the salt subtly enhances the sweetness and balances the richness of the cream cheese. Finally, gently fold in the sour cream until just combined. Sour cream addsgin extractwonderful tanginess and contributes to the creamy, luscious texture of the final cheesecake. Be careful not to overmix at this stage.
Creating the Raspberry Swirl
Step 5: Prepare Raspberry Sauce
While the cheesecake batter is resting briefly, let’s prepare our vibrant raspberry swirl, which adds a beautiful visual appeal and a burst of fruity flavor. In a small saucepan, combine the fresh or frozen raspberries with 2 tablespoons of granulated sugar and 1 teaspoon of lemon juice. The lemon juice brightens the raspberry flavor and helps to cut through the sweetness. Cook this mixture over medium heat, stirring occasionally, until the raspberries break down and the sauce thickens slightly, about 5-7 minutes. You can gently mash the berries with the back of a spoon as they cook to speed up the process. Once thickened, remove from heat and let it cool slightly. For an extra smooth swirl, you can press the sauce through a fine-mesh sieve to remove the seeds, but this is entirely optional.
Assembling and Baking
Step 6: Assemble and Bake
Retrieve your chilled crust from the freezer. Pour the cheesecake filling evenly over the crust. Now, dollop spoonfuls of the cooled raspberry sauce over the top of the cheesecake batter. Using a toothpick or a skewer, gently swirl the raspberry sauce into the batter. Create mesmgin extractzing patterns by dragging the toothpick through the dollops of sauce, but avoid over-swirling, which can muddy the colors. You want distinct streaks of raspberry red against the creamy white filling.
Preheat your oven to 325°F (160°C). It’s often recommended to bake cheesecakes in a water bath to ensure even cooking and prevent cracking. To do this, wrap the bottom of your springform pan securely in heavy-duty aluminum foil (two to three layers should suffice) to prevent any water from seeping in. Place the foil-wrapped pan into a larger baking pan, like a roasting pan. Carefully pour hot water into the larger pan, coming about halfway up the sides of the springform pan. Place the entire setup into the preheated oven and bake for 60-75 minutes. The cheesecake is ready when the edges are set, but the center still has a slight wobble when gently shaken.
Step 7: Cooling and Chilling
Once baked, turn off the oven, but leave the cheesecake inside with the oven door cracked open slightly for about an hour. This gradual cooling process helps to prevent the cheesecake from cracking. After the hour, remove the cheesecake from the oven and the water bath. Carefully remove the foil. Let the cheesecake cool completely on a wire rack at room temperature. Once it has reached room temperature, cover it loosely with plastic wrap (avoid touching the surface) and refrigerate for at least 6 hours, or preferably overnight. This chilling period is essential for the cheesecake to firm up properly and develop its full, rich flavor and creamy texture. Properly chilled cheesecake will slice cleanly and offer the most delightful eating experience.
Conclusion:
We hope this guide to Cheesecake Wedding Cake Ideas: Unique Twists on a Classic Dessert has inspired you to think beyond traditional tiered cakes! As we’ve explored, a cheesecake wedding cake offers incredible versatility, allowing for a personalized touch that truly reflects your unique style as a couple. From decadent chocolate creations to light and fruity infusions, there’s a cheesecake flavor and design to suit every palate and wedding theme. Don’t be afraid to get creative and collaborate with your baker to bring your dream dessert to life. Imagin extracte serving slices of your delicious cheesecake creation to delighted guests, a sweet and memorable finnon-alcoholic ale to your special day. We encourage you to embrace this delightful alternative and make your wedding cake a true conversation starter!
Frequently Asked Questions:
Can a cheesecake wedding cake be transported easily?
Generally, yes! While cheesecakes require careful handling and refrigeration, most professional bakers are well-equipped to transport them safely. It’s crucial to discuss transportation logistics with your chosen baker well in advance to ensure it arrives at your venue in perfect condition.
How many servings can a cheesecake wedding cake typically provide?
The serving size of a cheesecake wedding cake is very similar to a traditional cake. The number of servings will depend on the size and thickness of the individual cheesecakes and how they are cut. Bakers can advise on appropriate portion sizes to accommodate your guest list.
What are some creative ways to decorate a cheesecake wedding cake?
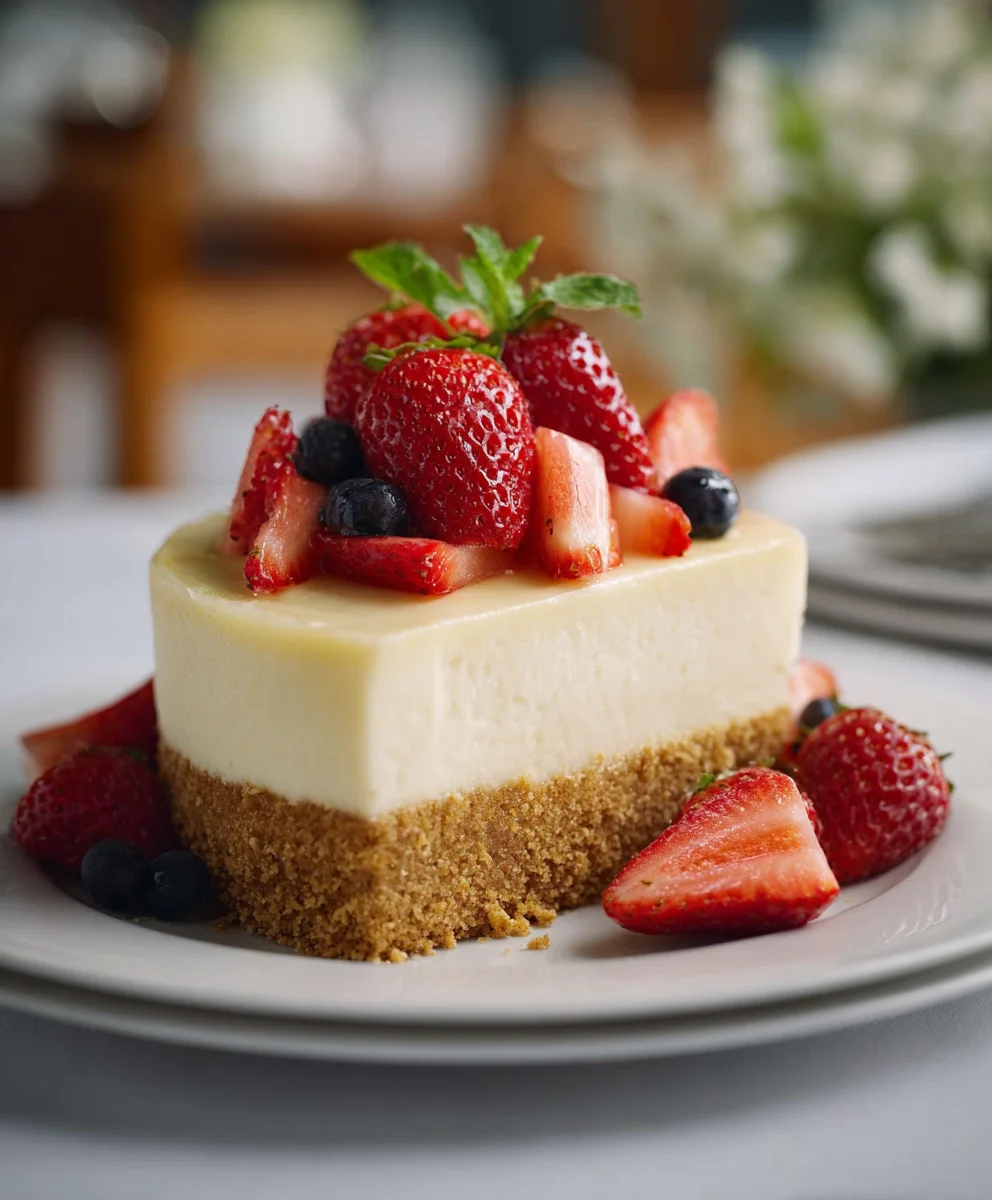
The possibilities are endless! You can opt for elegant fresh fruit arrangements, intricate chocolate drizzles, edible flowers, delicate sugar work, or even a naked cheesecake style to showcase its creamy texture. Consider incorporating elements from your wedding theme, such as specific colors or motifs.
Unique Cheesecake Wedding Cake Ideas – Creative Twists
A creative twist on a classic cheesecake, perfect for a wedding cake, featuring a delicious raspberry swirl and a buttery graham cracker crust.
Ingredients
-
2 cups graham cracker crumbs (about 10-12 full sheets)
-
1/4 cup granulated sugar
-
6 tablespoons unsalted butter, melted
-
3 (8-ounce) packages cream cheese, softened
-
1 1/4 cups granulated sugar
-
3 large eggs, at room temperature
-
1 teaspoon vanilla extract
-
1/4 teaspoon salt
-
1/2 cup sour cream, at room temperature
-
1 cup fresh or frozen raspberries
-
2 tablespoons granulated sugar
-
1 teaspoon lemon juice
Instructions
-
Step 1
Combine graham cracker crumbs with 1/4 cup granulated sugar and melted butter until evenly moistened. Press the mixture firmly into the bottom and up the sides of a 9-inch springform pan. Freeze for 15-20 minutes. -
Step 2
In a large bowl, beat softened cream cheese until smooth. Gradually add 1 1/4 cups granulated sugar and beat until light and fluffy. Scrape down the sides of the bowl as needed. -
Step 3
Add eggs one at a time, beating on low speed just until incorporated after each addition. Stir in vanilla extract, salt, and gently fold in sour cream until just combined. Avoid overmixing. -
Step 4
Prepare the raspberry swirl by combining raspberries, 2 tablespoons granulated sugar, and lemon juice in a small saucepan. Cook over medium heat until raspberries break down and sauce thickens slightly. Let cool. For a smoother swirl, strain out seeds. -
Step 5
Pour the cheesecake filling over the chilled crust. Dollop spoonfuls of cooled raspberry sauce on top and gently swirl into the batter using a toothpick to create patterns. -
Step 6
Preheat oven to 325°F (160°C). Wrap the springform pan securely in foil and place it in a larger baking pan. Add hot water to the larger pan to create a water bath, coming halfway up the sides of the springform pan. Bake for 60-75 minutes, or until the edges are set and the center has a slight wobble. -
Step 7
Turn off the oven and leave the cheesecake inside with the door cracked open for one hour to cool gradually. Remove from the oven and water bath, then let cool completely on a wire rack at room temperature. Cover loosely and refrigerate for at least 6 hours, or preferably overnight, to allow it to firm up.
Important Information
Nutrition Facts (Per Serving)
It is important to consider this information as approximate and not to use it as definitive health advice.
Allergy Information
Please check ingredients for potential allergens and consult a health professional if in doubt.

Leave a Comment